
This morning I checked the angular alignment of the nozzle on my caster and found that it was off a tiny bit, so I adjusted that. I also reset the nozzle to its proper center position on the assumption that the faulty alignment was causing the leakage.
I also took apart my mould again, including removing the two side blocks on the crossblock and the two type blocks on the main body of the mould. I cleaned off some accumulations of well-adhered type metal, and on reassembly I took great care to ensure that the mating surfaces were absolutely clean and free of oil.
I put everything back on the caster, and tried it out. It was casting beautiful quads with no sign of nozzle freeze. But looking at the nozzle area revealed why: The nozzle was leaking plenty of type metal, and all this extra flow was keeping the nozzle hot.
I lowered the pot and swung it out, and gave the outside of the nozzle a good cleaning and examination.

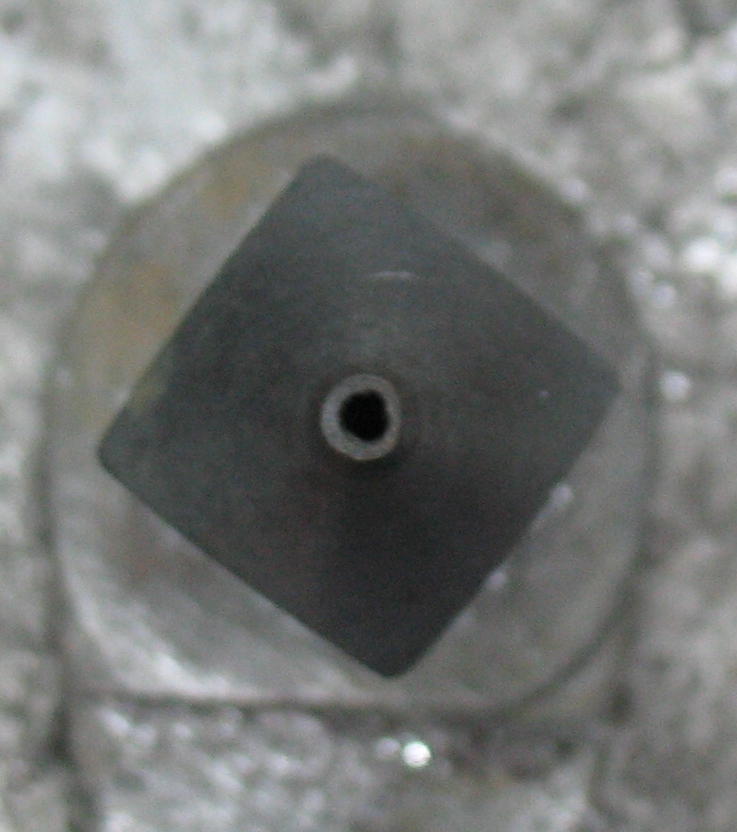
A close look revealed that there was something off-center or out of round, perhaps as a result of being used too much with the centering position out of adjustment.
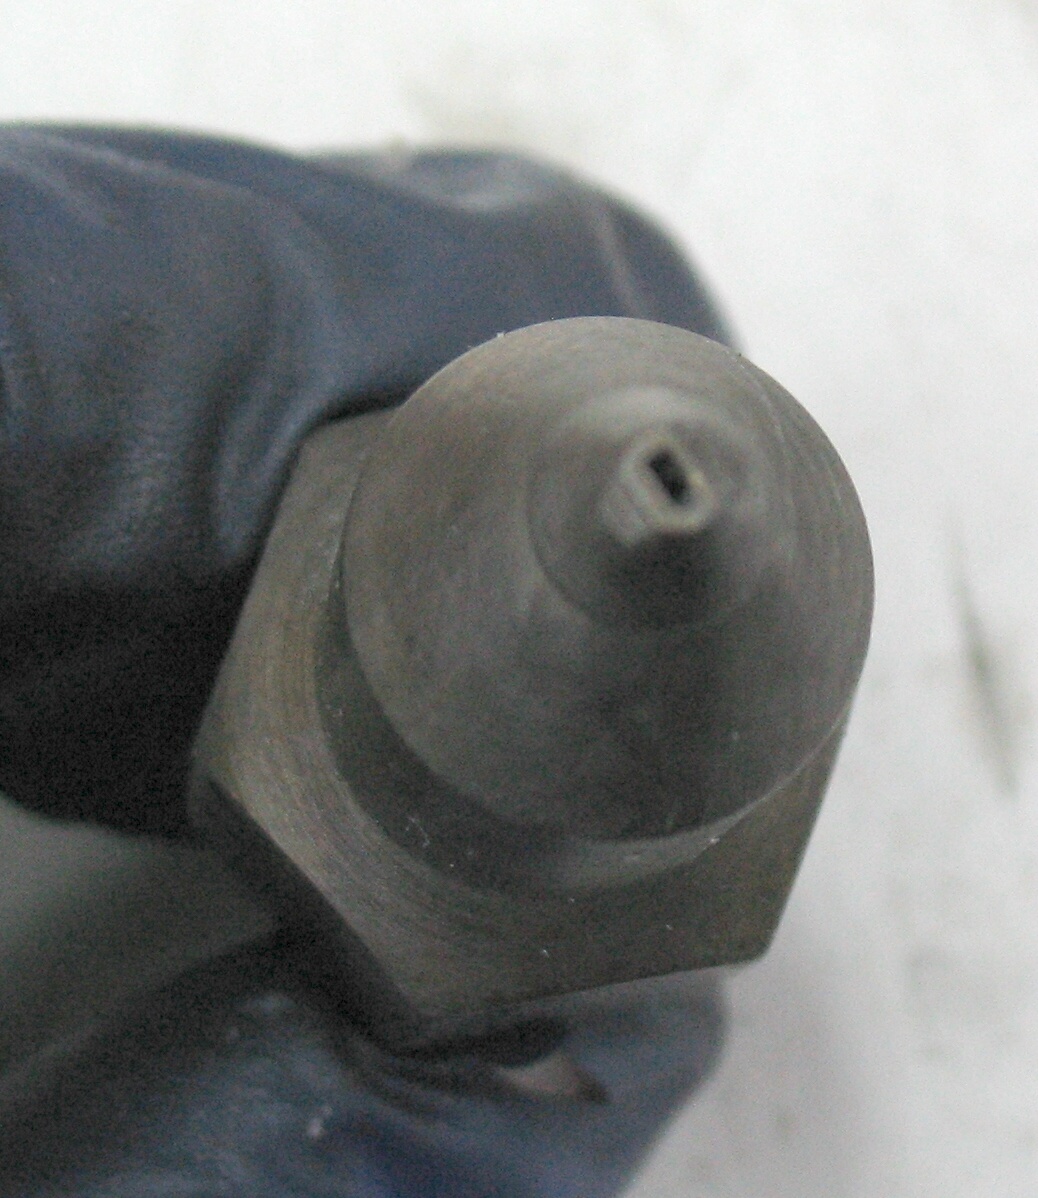
Unfortunately the only spare I had (aside from the display casting nozzle) was in even worse shape. It looked like someone had pinched its tip with pliers!
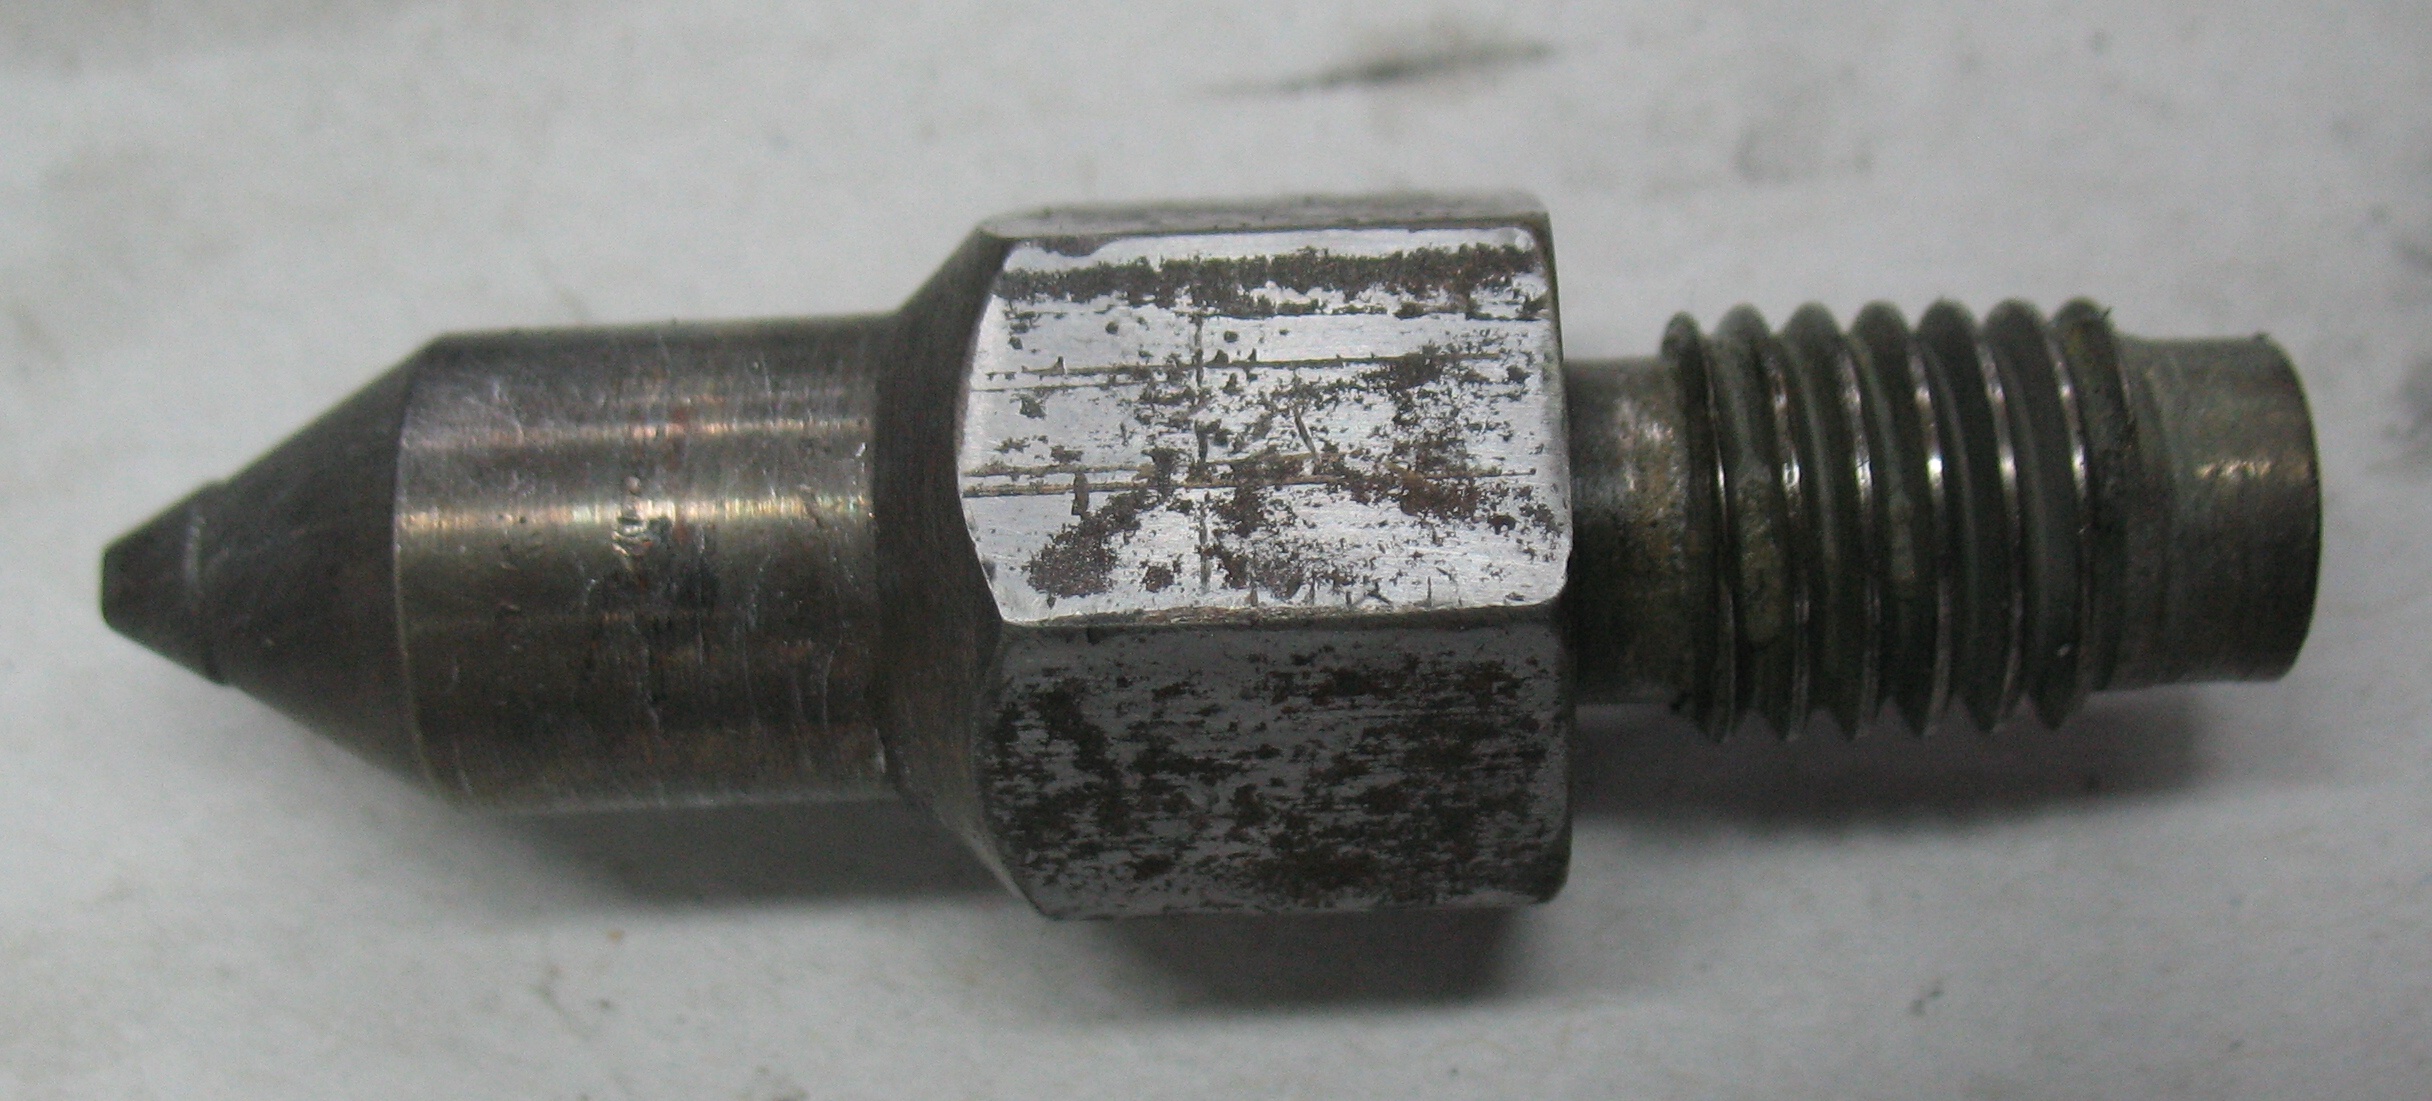
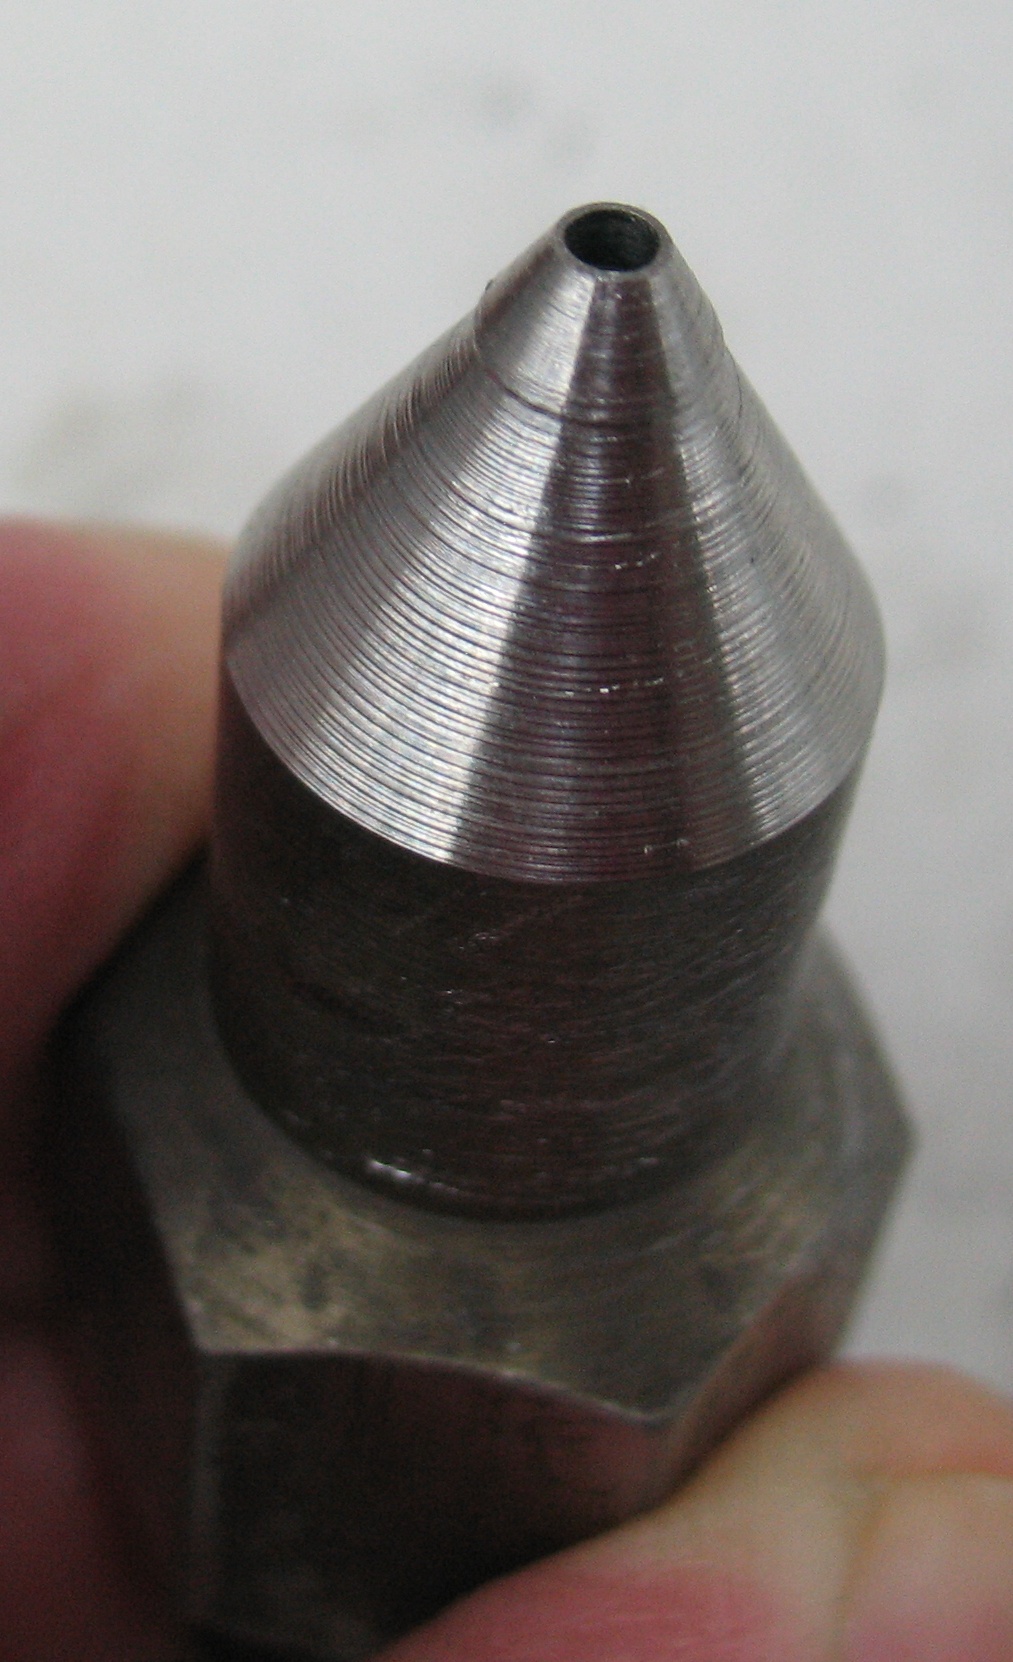
I have a factory drawing of the dimensions of several nozzles so I knew what shape the tip should have. I didn’t have much to lose in trying to reshape these nozzles, so I started with the pinched one. I mounted it in my lathe, carefully centered it, and turned a thin cut off the conical end until the pinched area was gone. Then I cut the slight step in the shape and drilled out the hole to 0.070″ per the diagram. Finally I used a file to cut the tip down until there was a flat spot 0.093″ in diameter.
 I put this on the caster and readjusted the nozzle height. This nozzle did not seem to screw in quite all the way so despite me shortening it, I actually had to lower the nozzle height so it would seat at the right time.
After casting a couple of lines of quads the mould was warmed up and ran with no freezes, and, even better, no nozzle leakage! Furthermore it was clear the mould was running tighter because the cast of the air vent on the jet had almost no flash on it, unlike previous times.
One other problem I had encountered last weekend was the casting of letters directly above the correct ones in the matcase (and also the line length being wrong as a result). I though it might be due to excessive air leakage between the pins, but reducing the air pressure had not helped. However, during the week, while I was working on one of the other problems I noticed that the front pin jaws were not closing fully around the air pin. In fact they stayed far enough open that the rack might be more than half a tooth out of position, so when the locking bar seats it actually pushes the rack to the next position from where it should have been. I traced the open jaws to the rod that connects the tongs spring box to the bell crank. A nut had come loose on this rod so the rod had some end play. When the rod was pushed by the spring box (which closes the pin jaws) it would not push far enough. I tightened the nut and thing were running properly again. Quieter too because the rack was not making any “clack” noises as it was snapped into position by the locking bar.
I tried casting the ribbon again. At first the galley was not operating when it should. It seemed that the air pins for the two justification lines had become a bit lazy so I turned up the air pressure a bit and they started working properly. I got through a run of the ribbon with only a few events: The line lengths are still all over the map so I had to stop to clear over-long lines and spend time dropping quads into the too-short lines. I had a couple of lines where the column pusher did not push far enough (instead compressing its spring box). There were also some miscasts too, often involving a position on the ribbon reading holes from adjacent positions. Perhaps I turned the pressure up too much in my effort to get the line breaks working.
Finally I still have the problem of the magnetic starter that supplies the VFD tripping its overload protection after casting 4 lines or so. The average current draw isn’t actually that high, but because the VFD is converting the supply to DC using a simple bridge rectifier and capacitors, the peak current is actually quite high but only occurs for a small fraction of each AC cycle. This spike current might be spoofing the overload sensing on the starter. Because the VFD itself provides overload protection for the motor, all I really need is a switch and over current protection (fuses or a circuit breaker) rather than the magnetic starter. For now I’ve turned up the overload limit on the starter so I hope this will stop these false trips.
Leave a Reply