Marshville Heritage Festival 2026

This is a rather late notice, but the Marshville Heritage Society will be holding its annual Marshville Heritage Festival this Labour Day weekend, September 5th, 6th, and 7th, 2026, at the fairgrounds in Wainfleet, Ontario.

The Mackenzie Printery & Newspaper Museum, as part of the festival, will be hosting the print shop which is part of the permanent facilities on the fairgrounds. We will be running the Whitlock Pony press to print commemorative posters, the Ludlow will be hot to cast slugs with people’s names, the Adana press will be set up for you to print your own bookmark, and we will have various odds and ends for sale including some ephemera, old cuts (illustrations), and type cases. These items are all available in return for a donation to the Printery.

There will be many other attractions at the Festival including an operating sawmill, music, food, crafts, old farm machinery on display (and some in operation), and a car show. You can check out the festival’s web site for more details.

The fair is open from 10am to 5pm every day, admission is only $8, children 10 and under get in free, and there is plenty of free parking.

Found some Whitlock press accessories!

The Mackenzie Printery and Newspaper Museum maintains a Whitlock Pony press in Wainfleet, Ontario, in a building at the local Fairgrounds. Every Labour Day weekend, the Marshville Heritage Festival is held on the fairgrounds, and as part of that, we at the Museum run the Whitlock as well as other printing equipment.

We have long had a few nagging minor issues with this press.

Read more ›

More tororo-aoi updates

One of the larger tororo-aoi plants seems to be dying back and losing all its leaves, though the pods are still on it and some are showing signs of ripening.

The other large plants seem fine, so I don’t know what’s bothering this one.

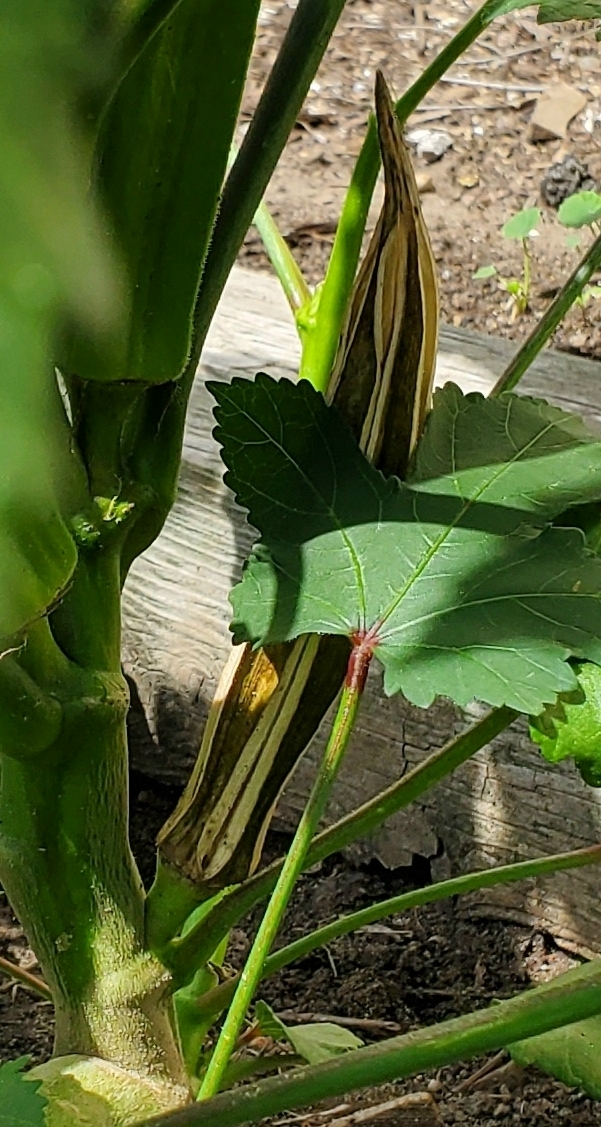
One of the other large plants has a fully-ripe pod on it:

As the pods ripen, they dry out and split, and, I assume, eventually open up to disperse the seeds. As they ripen I’ll be harvesting them and keeping them in the sunroom to dry them out to avoid mould growth, and at the end of the season I’ll strip out all the seeds.

I will be doing the same for the smaller plants, which have smaller pods and smaller seeds. Although I originally mused about cross-pollination experiments, the flowers shift from bud form, open up, and wilt away all within a day, and careful twice-daily inspections would be needed. Instead I took the lazy route and, once the small plants started flowering, I removed all flowers and buds from the large plants.

I think I forgot to mention it, but the direct-seeded plants are now in full bloom as well as the plants started indoors. The plants pretty much shade all the ground so weed growth is minimized and I’ve been managing to keep this garden clean.

Howard Iron Works Print Expo & Fair 2026

Howard Iron Works will once again be holding its Print Expo & Fair, this year on Saturday, September 26th from 10am-4pm. This is the eighth fair since starting in 2018 (skipping one year but including one virtual year due to the COVID-19 epidemic).

Along with about 15 or 20 other vendors of book arts materials and finished works, we will have a table at the fair selling our wares, including our handmade paper and marbling. If you order a few days ahead we can also bring along your order so you can avoid shipping costs.

In addition to the vendors, there are usually demonstrations and workshops—check the above link for updates—and of course, you can visit the museum where several pieces orf printing equipment will be running with many hands-on activities.

The fair will be held at 800 Westgate Road in Oakville, Ontario, which is just west of Toronto and Mississauga. This is about a 15-minute walk from the Bronte Go station if you want to take public transit. Admission is free and the location is fully accessible.

Mackenzie Printery’s Albion Press

The Mackenzie Printery and Newspaper Museum in Queenston, Ontario has a small Albion press which needs a bit of work to get it into top form. The pull handle does not retract all the way when released, so it interferes with opening the frisket frame. Over the years this has chewed up the pull handle a bit.
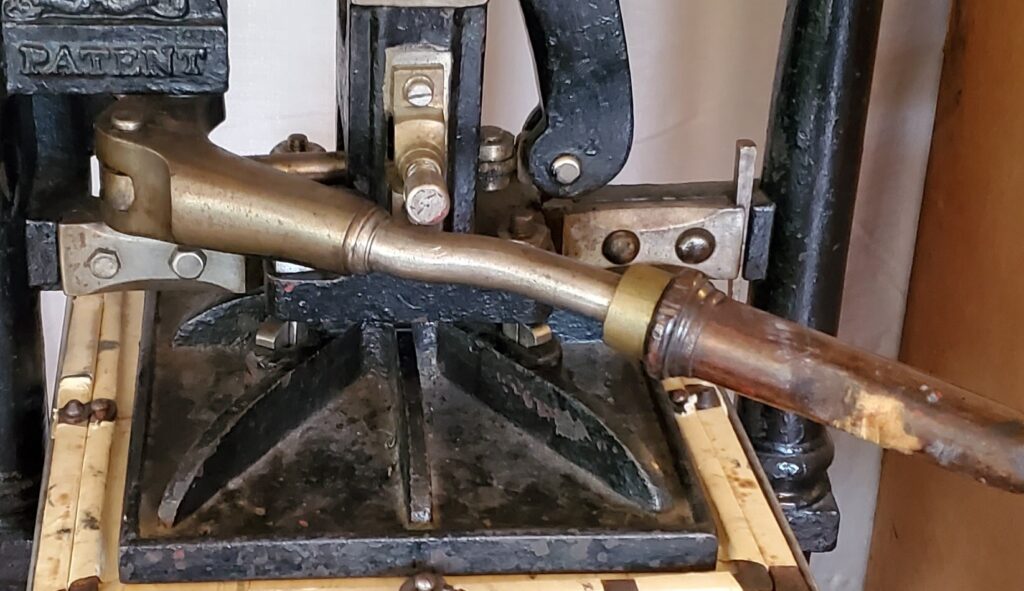
Pull handle damage from frisket frame. Bare wood is modern damage, but you can see older damage a bit to the left, though the latter might be due to not cranking the bed all the way out before opening the frisket

The handle is not retracting all the way because the pivot end is striking one of the bolts that hold the platen to the column. The bottom of the column actually has a land cut into it to place the nut a bit lower so the handle clears it, but the pull handle is hitting the bolt that extends above the nut. I think that ultimately this bolt will have to be shortened so it is flush with the top of the nut.

In the process of working on this problem I found that the spring mechanism that is supposed to hold the column and platen up (when the handle is released) was not up to the task.
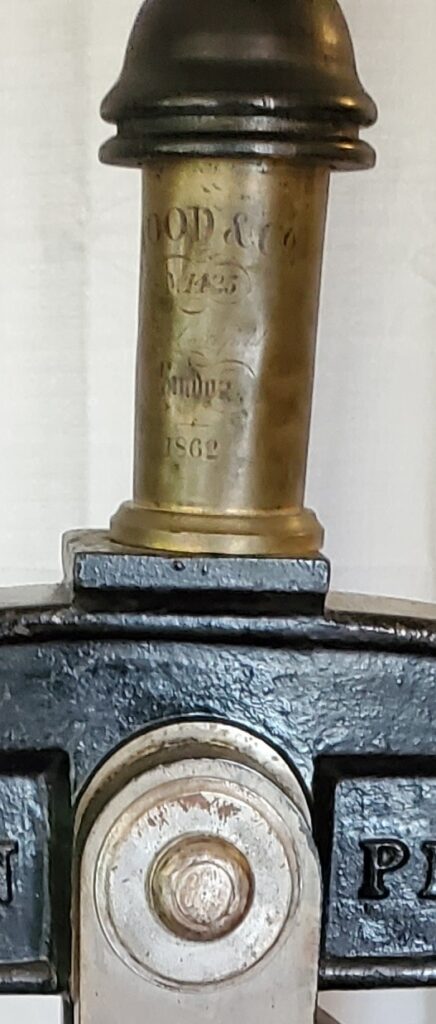
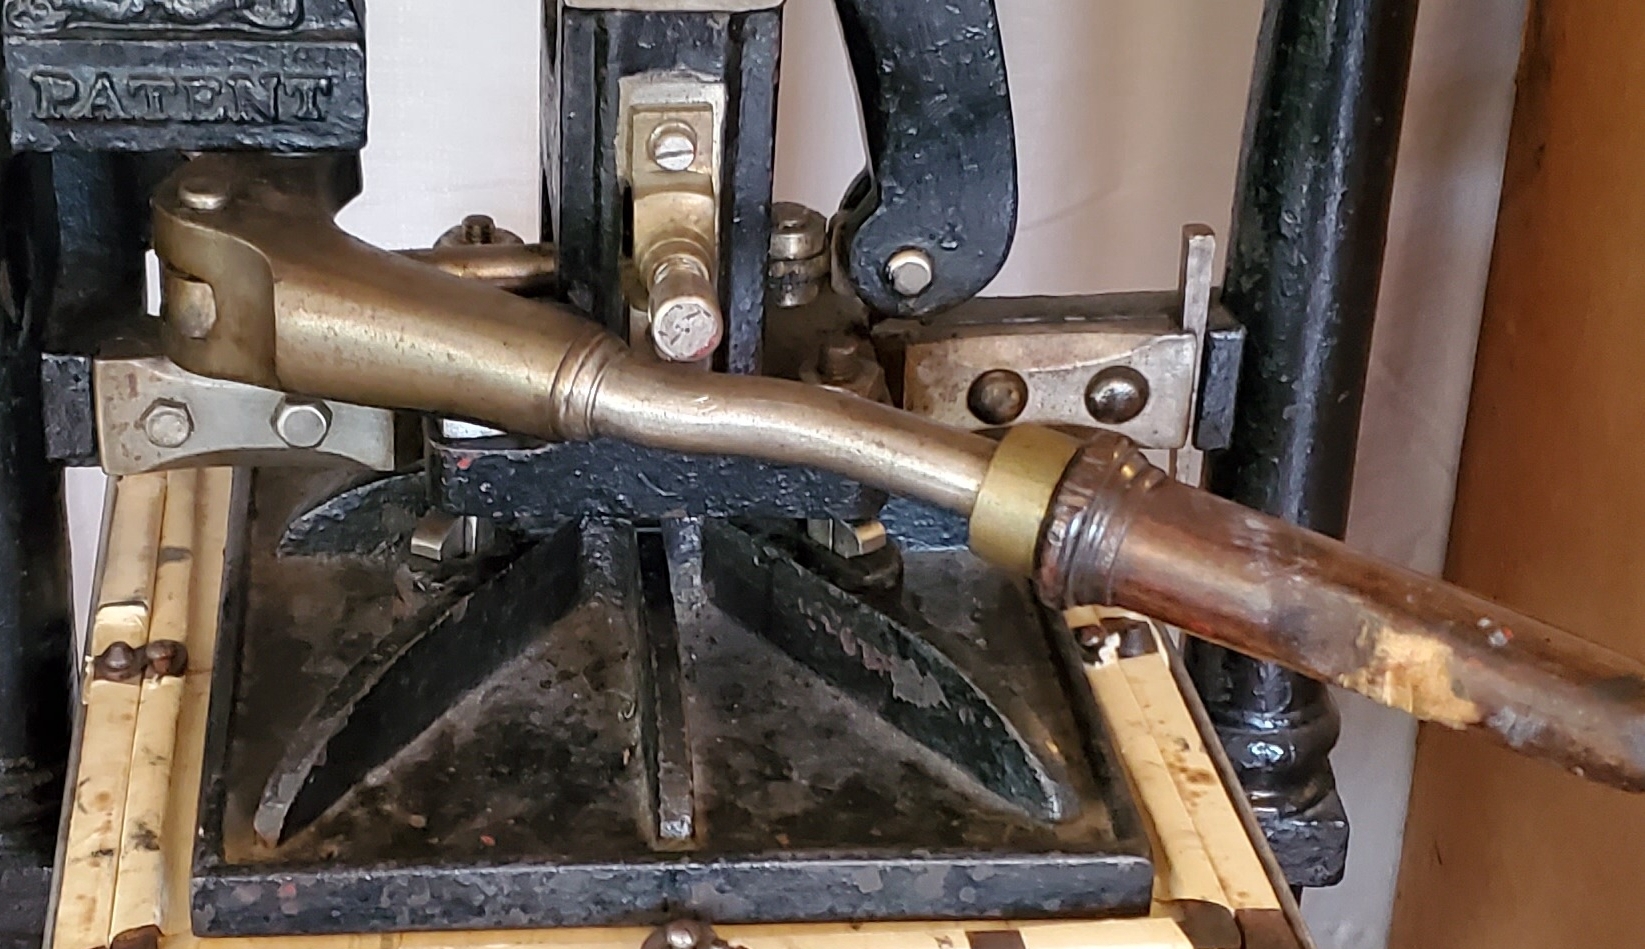
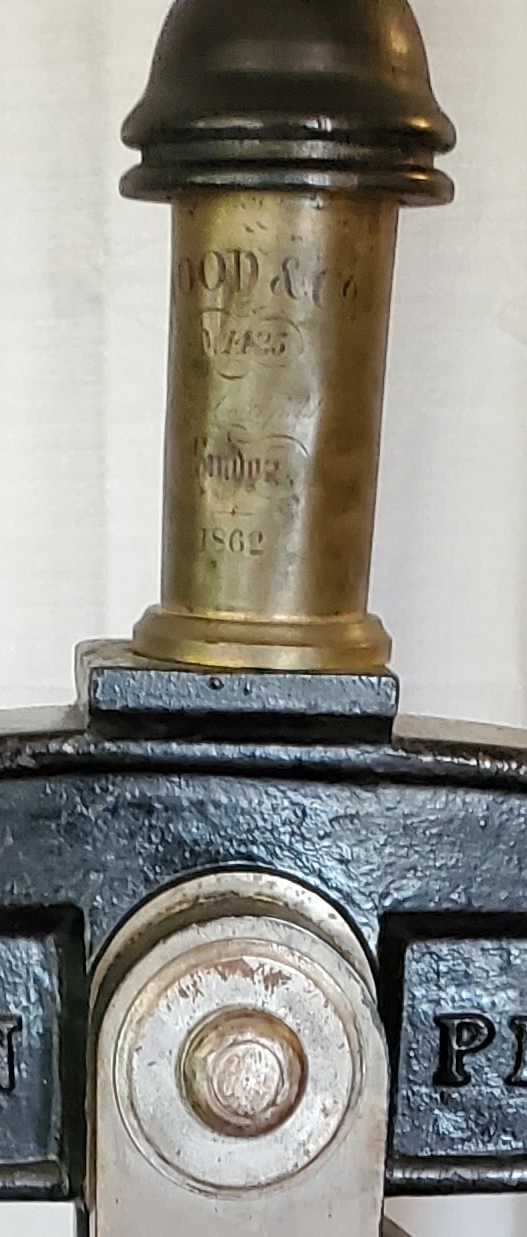
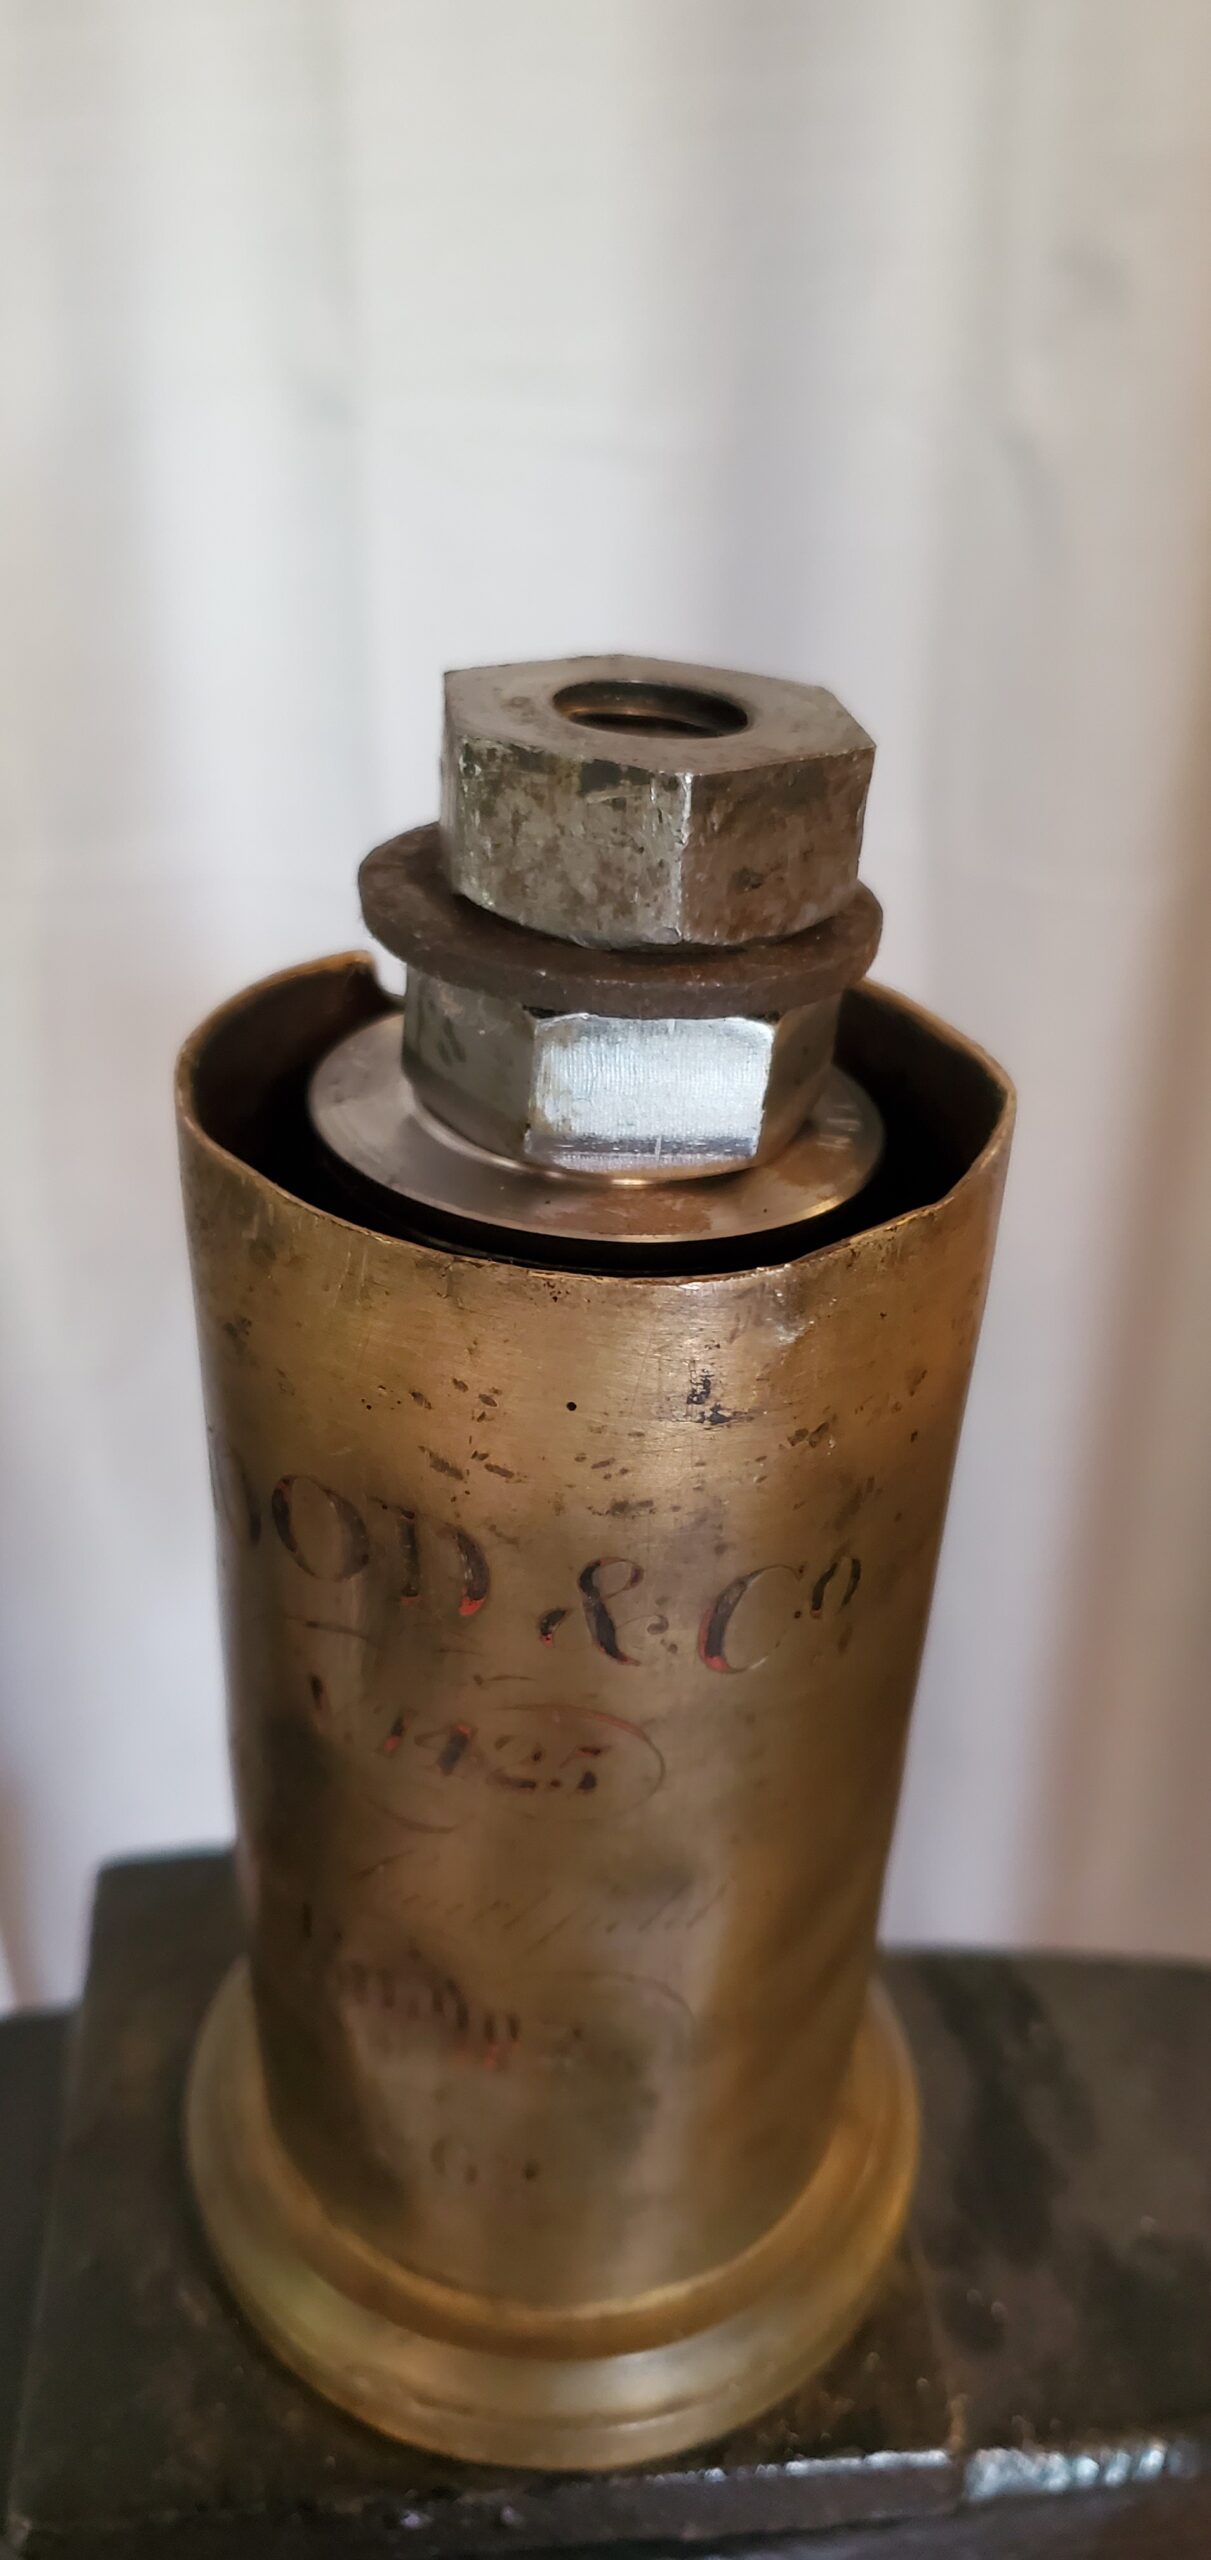
A spring and eye bolt in this brass tube pull up on the column

At the top of the press there is a long eye bolt with a heavy spring and adjusting nut, all enclosed in a decorative brass tube, which pulls up on the column via the large pin seen in the lower part of the above photo. For reasons unknown (wear, lax original manufacturing tolerances?) the adjusting nut was no longer able to hold against the eye bolt. Disassembling things, I found that I could pretty much just slide the nut along the threaded shaft of the eye bolt.
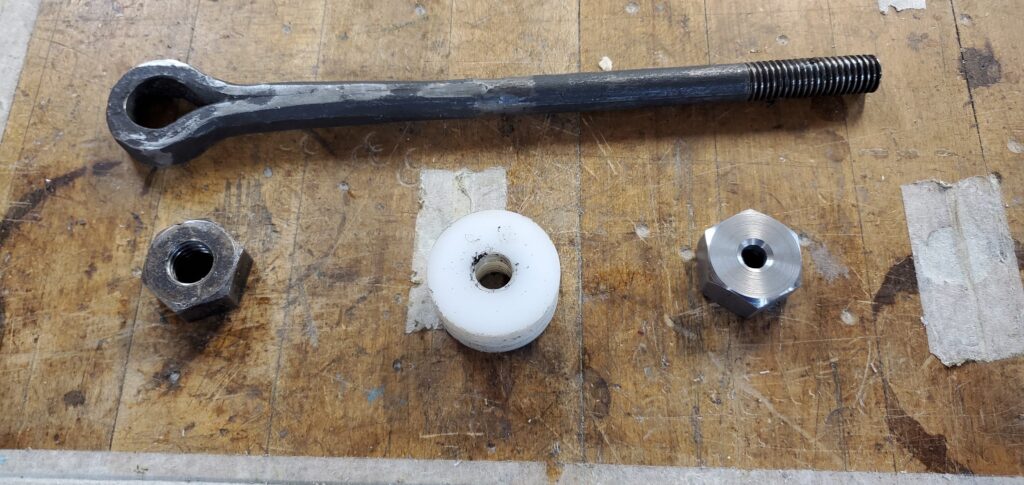
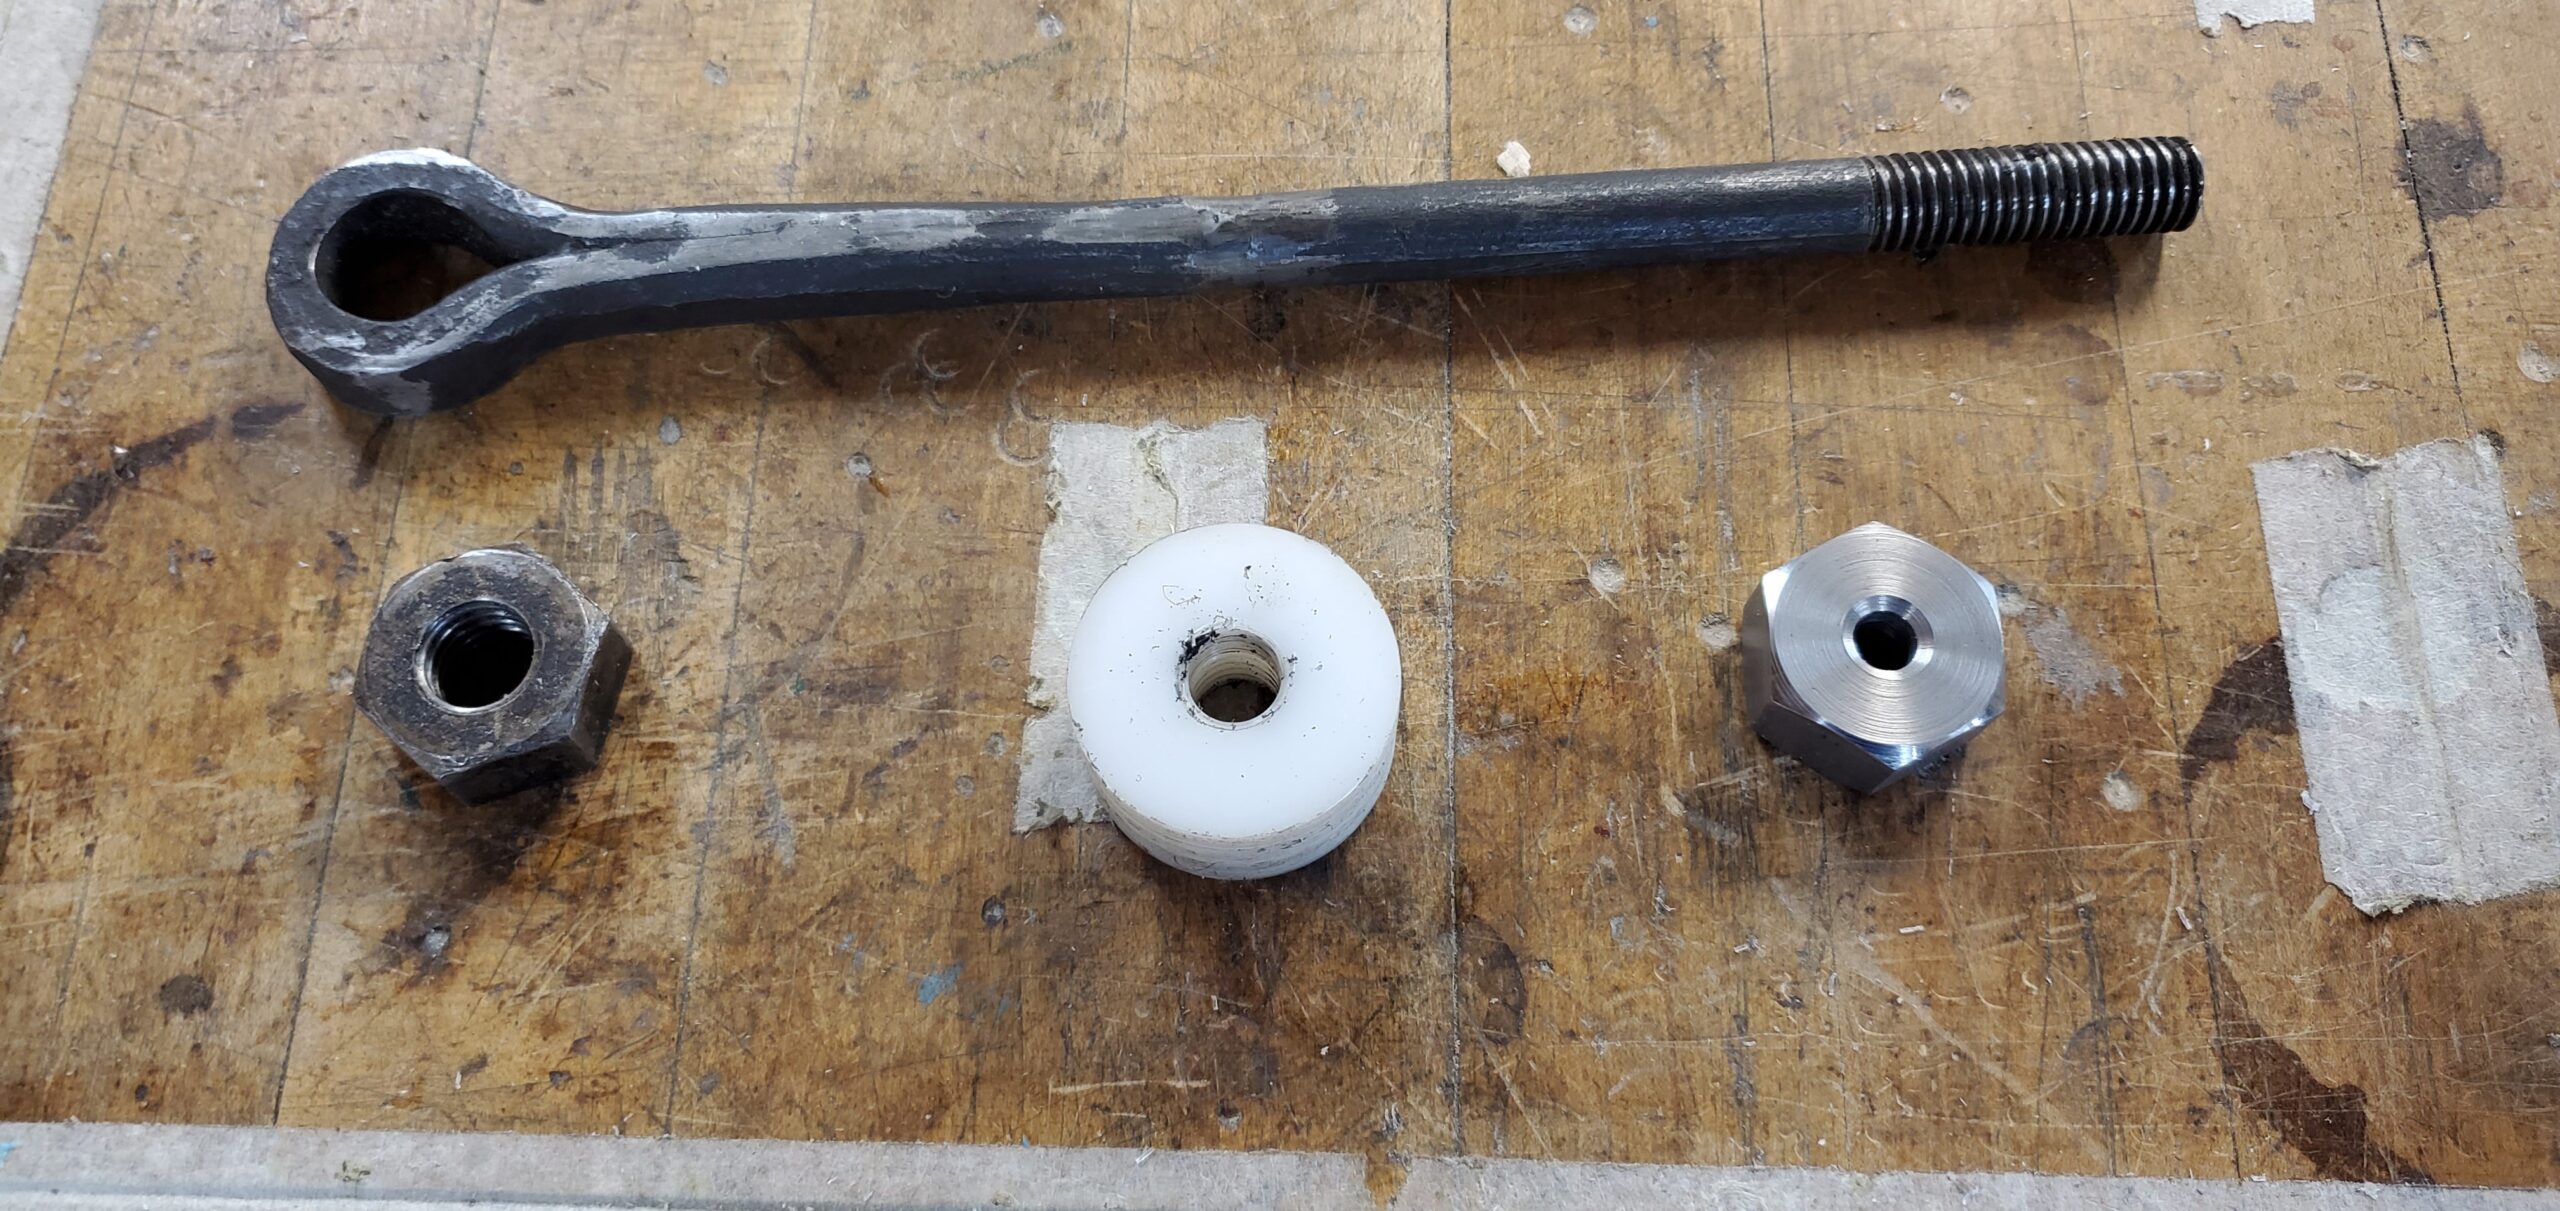
The eye bolt and (L-R) the original nut, a test nut cut in HDPE, and a steel blank for the replacement nut

The eye bolt is clearly forged. You can see how a bar was wrapped around a mandrel and forge-welded to itself to form the shank of the bolt. The forge-weld seam is visible extending partway down the shank from the eye. About half the length of the shank was then forged round, and a thread cut into it, probably using a threading die. Because of wear, and this predating modern standardized thread sizes, determining the actual thread size, especially its nominal diameter, was difficult. It has 11½ threads per inch, so the closest designation I could guess was 9/16-11½.

Taps for this size just don’t exist. I considered making a new eye bolt to a modern size, but this is a historic artifact in a museum, so I wanted to use as many original parts as possible, which meant making a new nut to match this oddball thread.

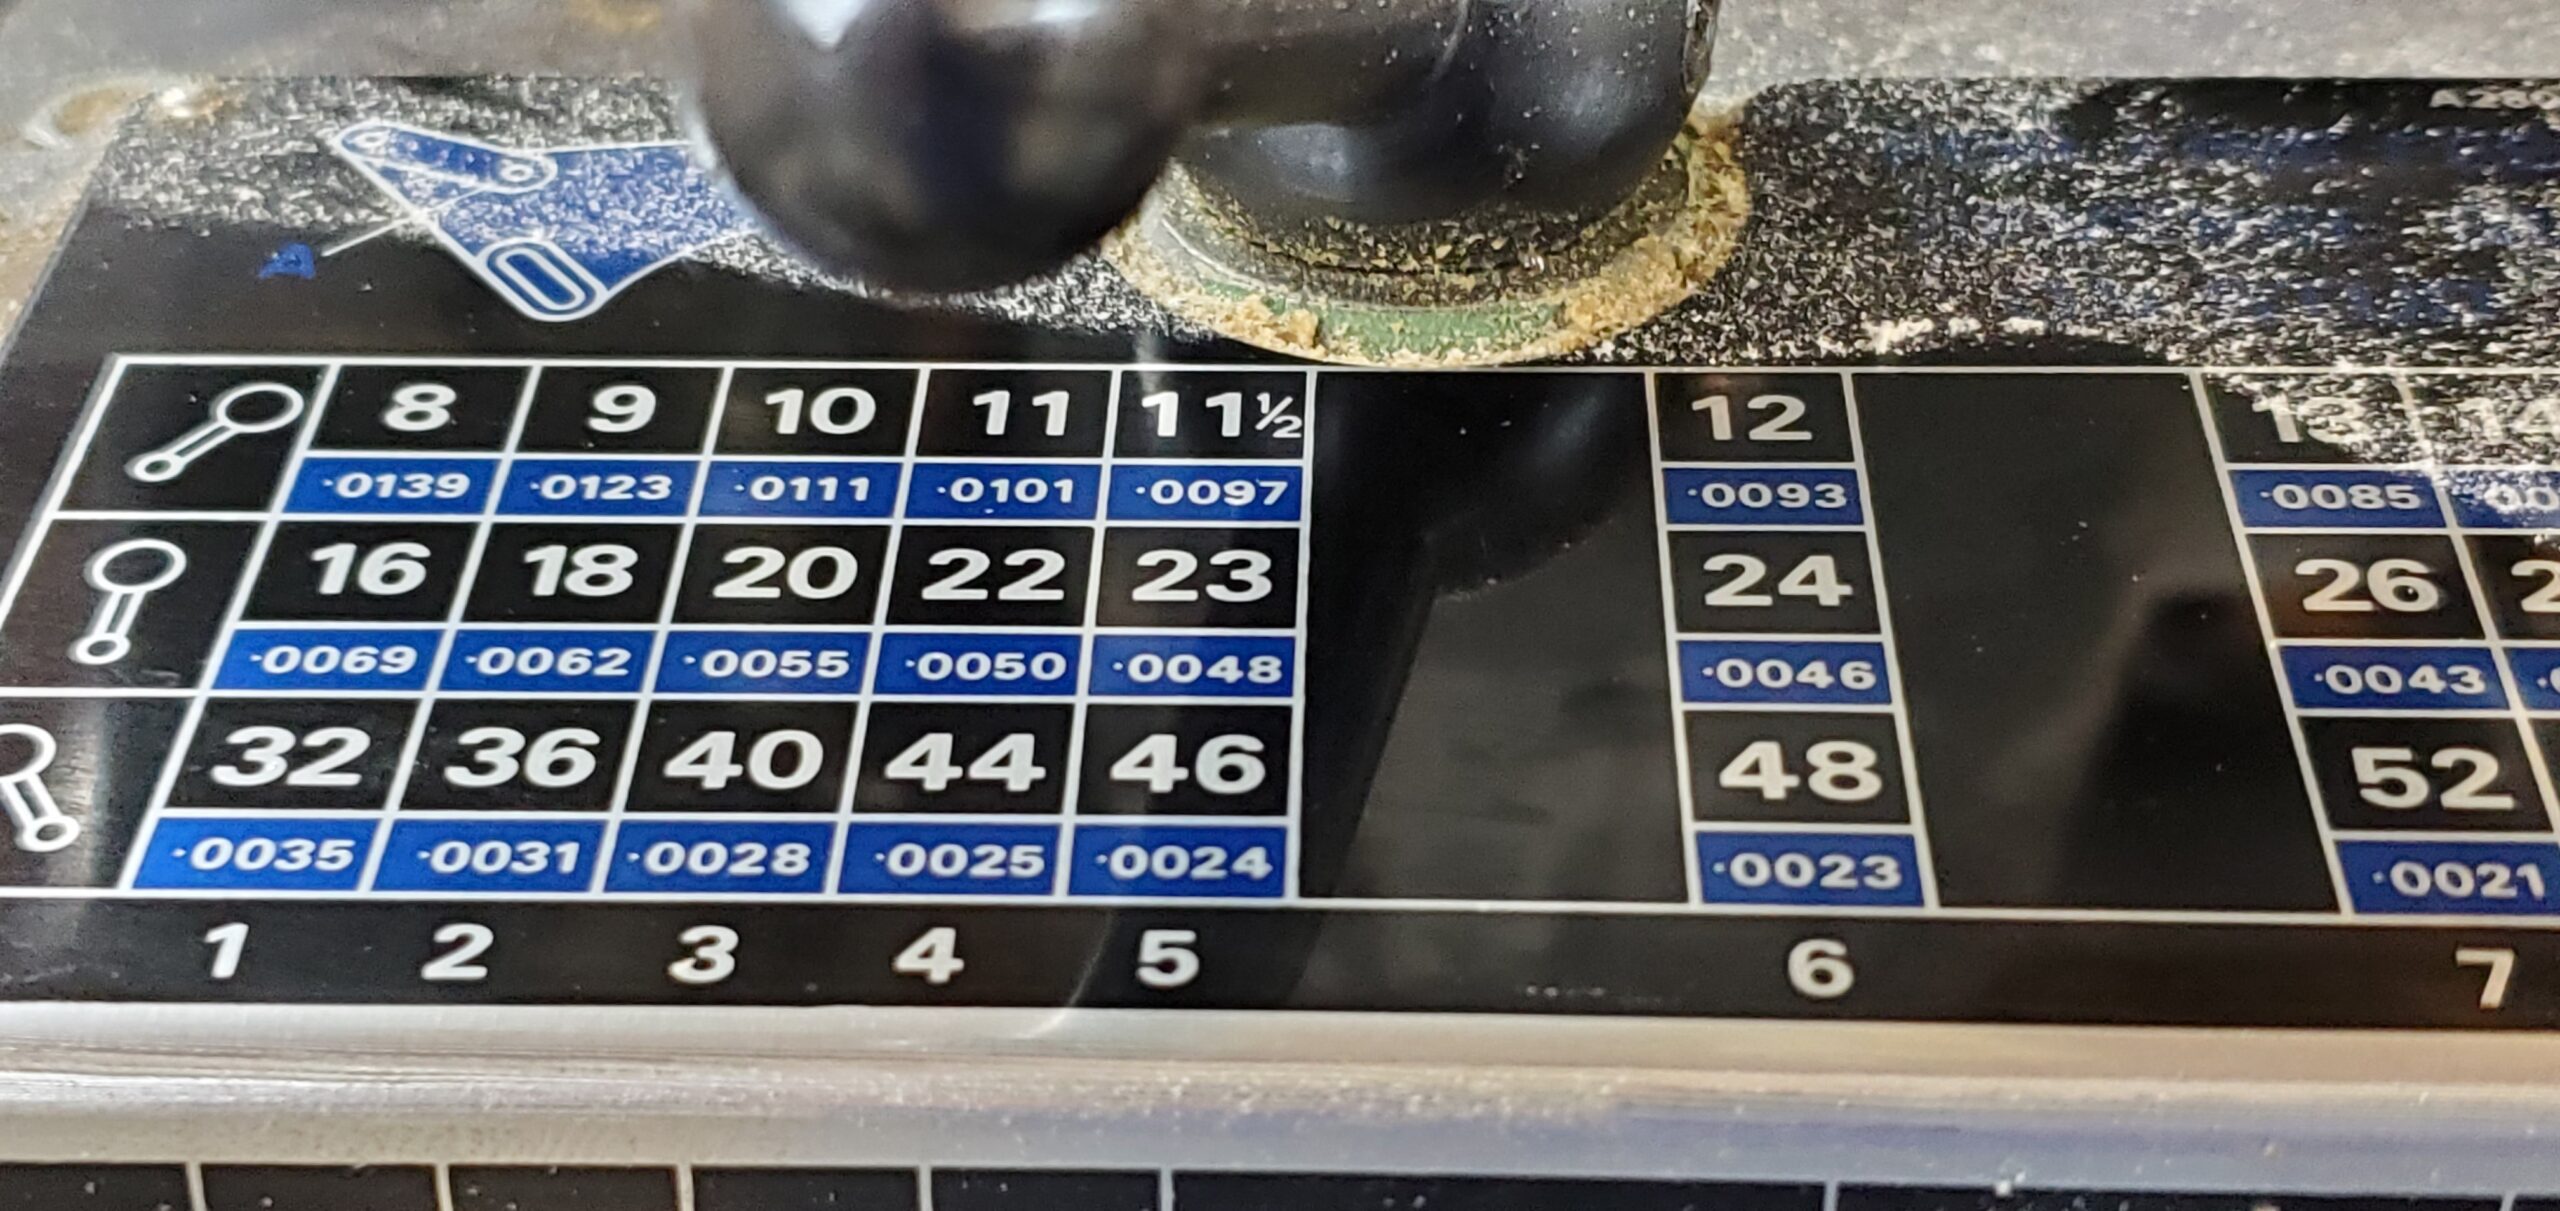
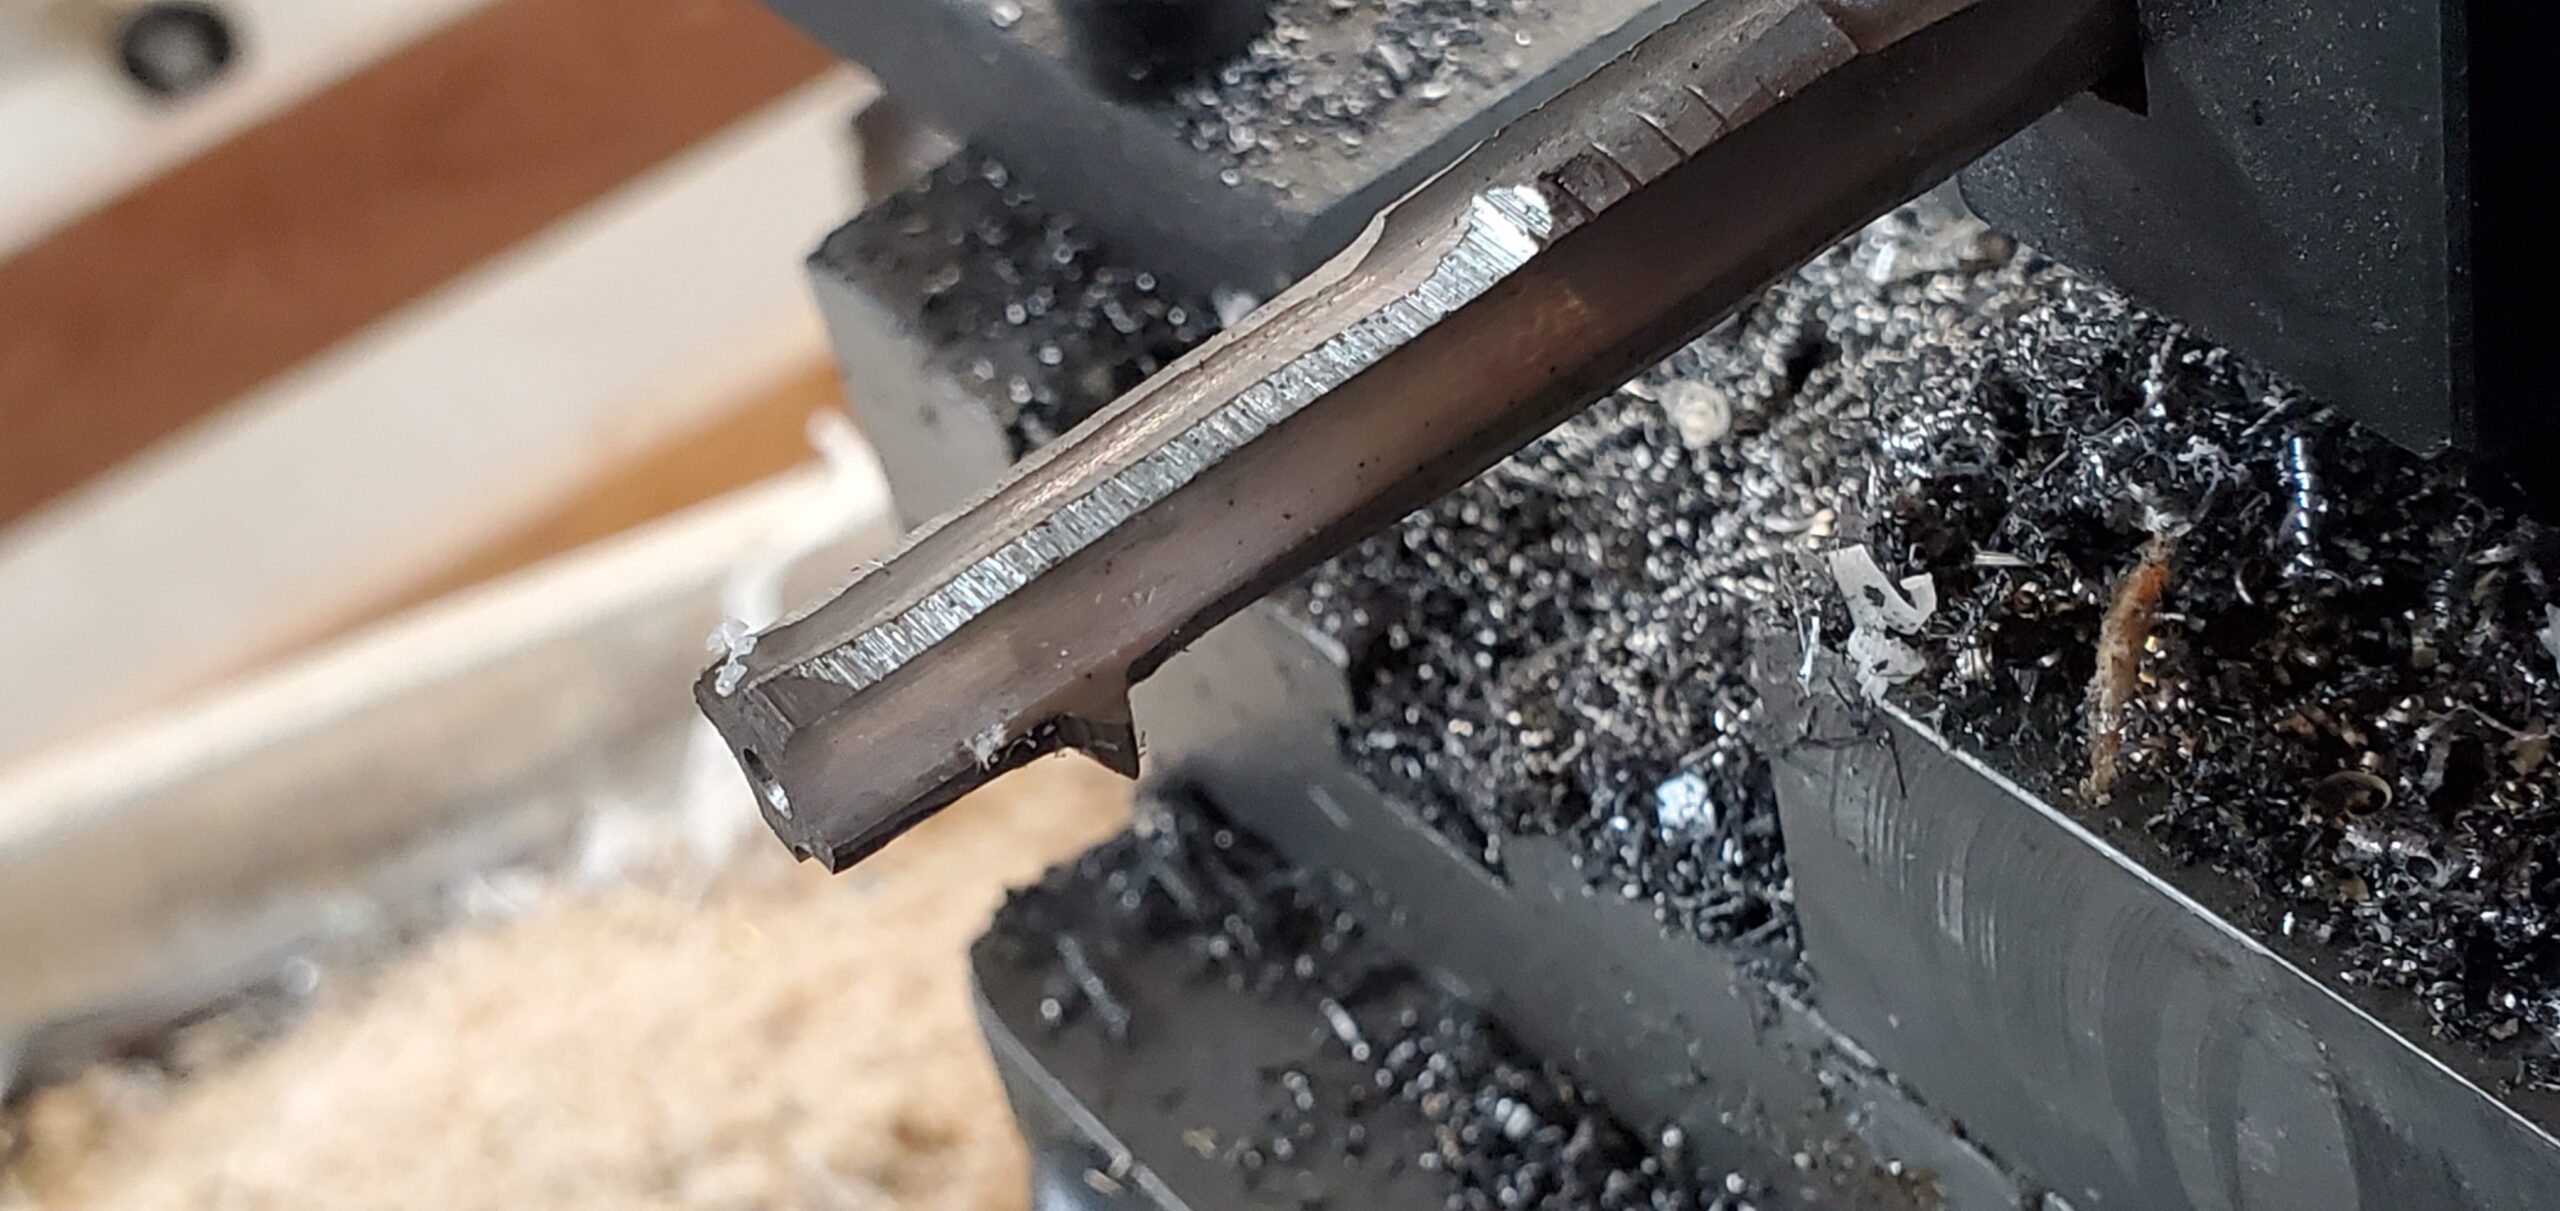
I had to cut the internal thread on the replacement nut using single-point threading on my lathe. At some point I mistakenly thought this was 12½ threads per inch, so I was working out how to set up special change gears on my lathe to get this, when a test measurement on the lathe revealed my confusion and that, amazingly, the lathe could actually do 11½TPI with the standard change gears!For the lathe cutting tool, I started with a tap for ½NC13 (a modern standard thread) and ground off all but one tooth. I also ground down on either side of the remaining tooth because the thread I was cutting was a bit coarser than 13TPI so the tooth needed to be wider and cut deeper.
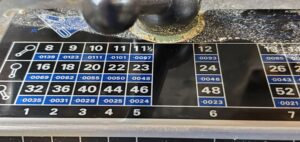
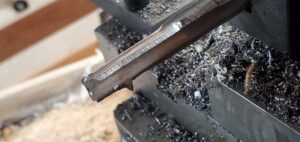
The modified tap mounted as an internal threading tool on my lathe

I did two test nuts, the first in HDPE, which is butter soft and easy to cut, and the second in aluminum, before tackling the final steel nut. I had already made the blank on the lathe, and used a rotary table on my mill to cut the hexagonal shape on the outside.

The final cutting process involved successive passes, cutting a couple of thousandths of an inch deeper each time, until the eye bolt would thread into the nut. Normally when threading on the lathe one uses an angled compound feed so only one side of the V groove is being cut, but on my lathe this introduces more play and more opportunities for mistakes so I opted for straight feed. After each pass, I had to retract the carriage two inches (the least common multiple of the 11½ thread pitch and the 8TPI pitch of the lathe feed screw), so I spent a lot of time “cutting air”. I also took light cuts because I did not want to risk breaking my cutting tool, so overall the process was quite time-consuming.
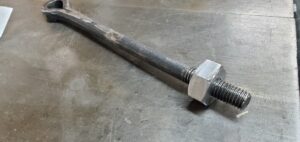
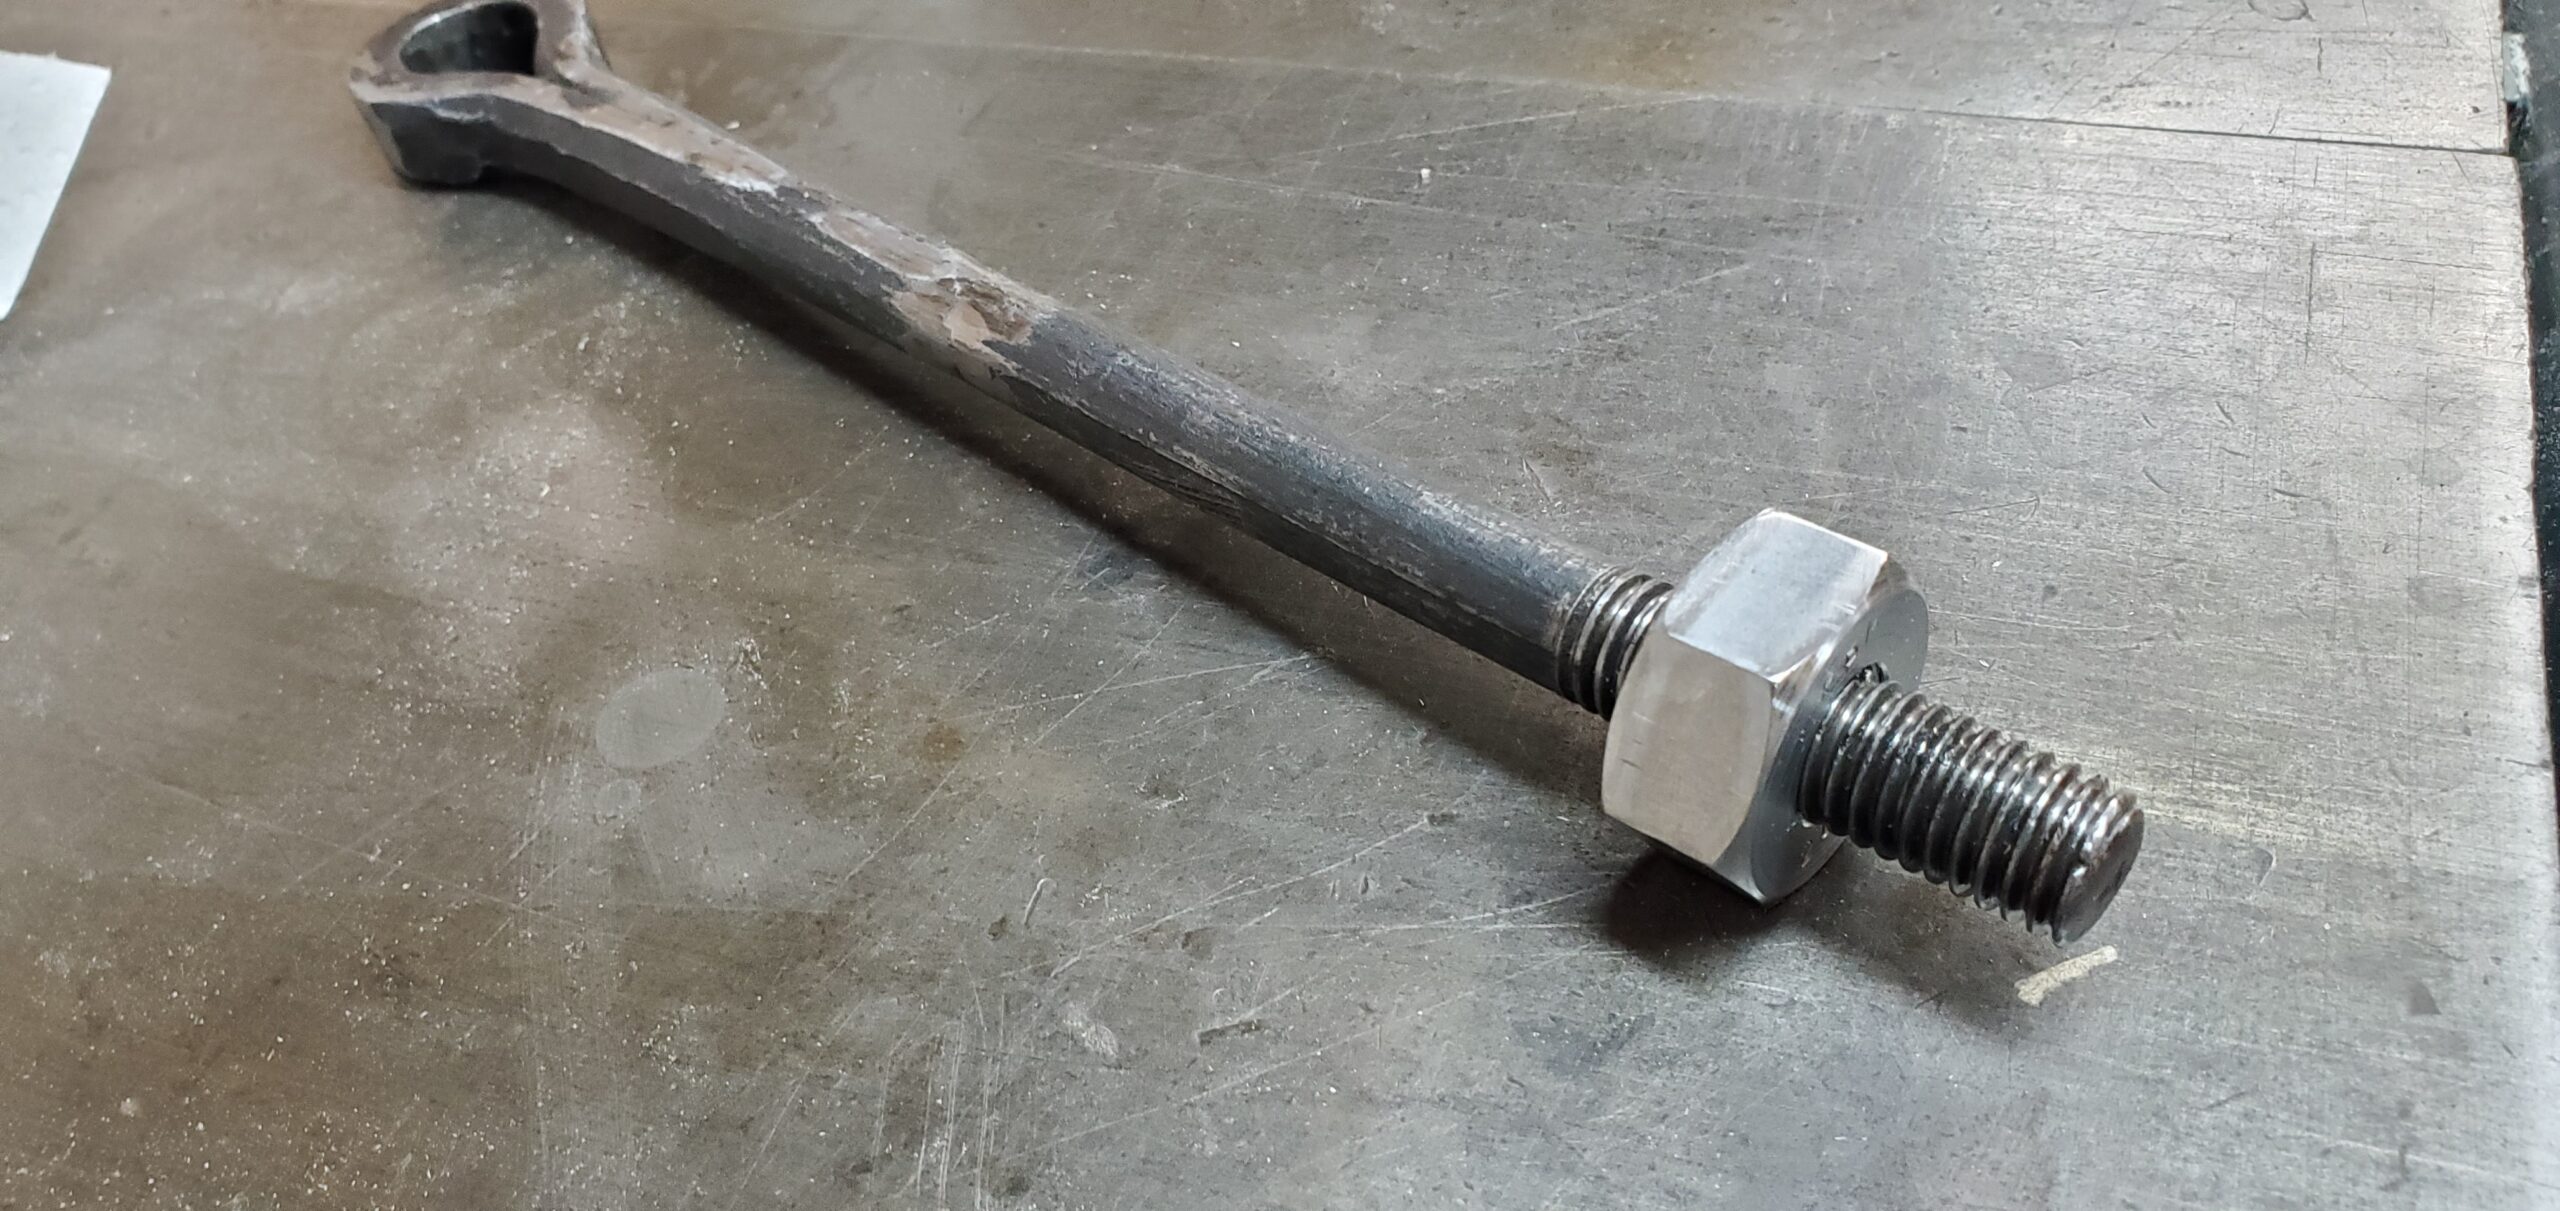
The new nut threaded onto the eye bolt

The finished nut still had tight spots on the eye bolt (though not so tight as to need a wrench), and was probably a really sloppy fit in terms of normal machining tolerances, but it fit well enough to do the job.

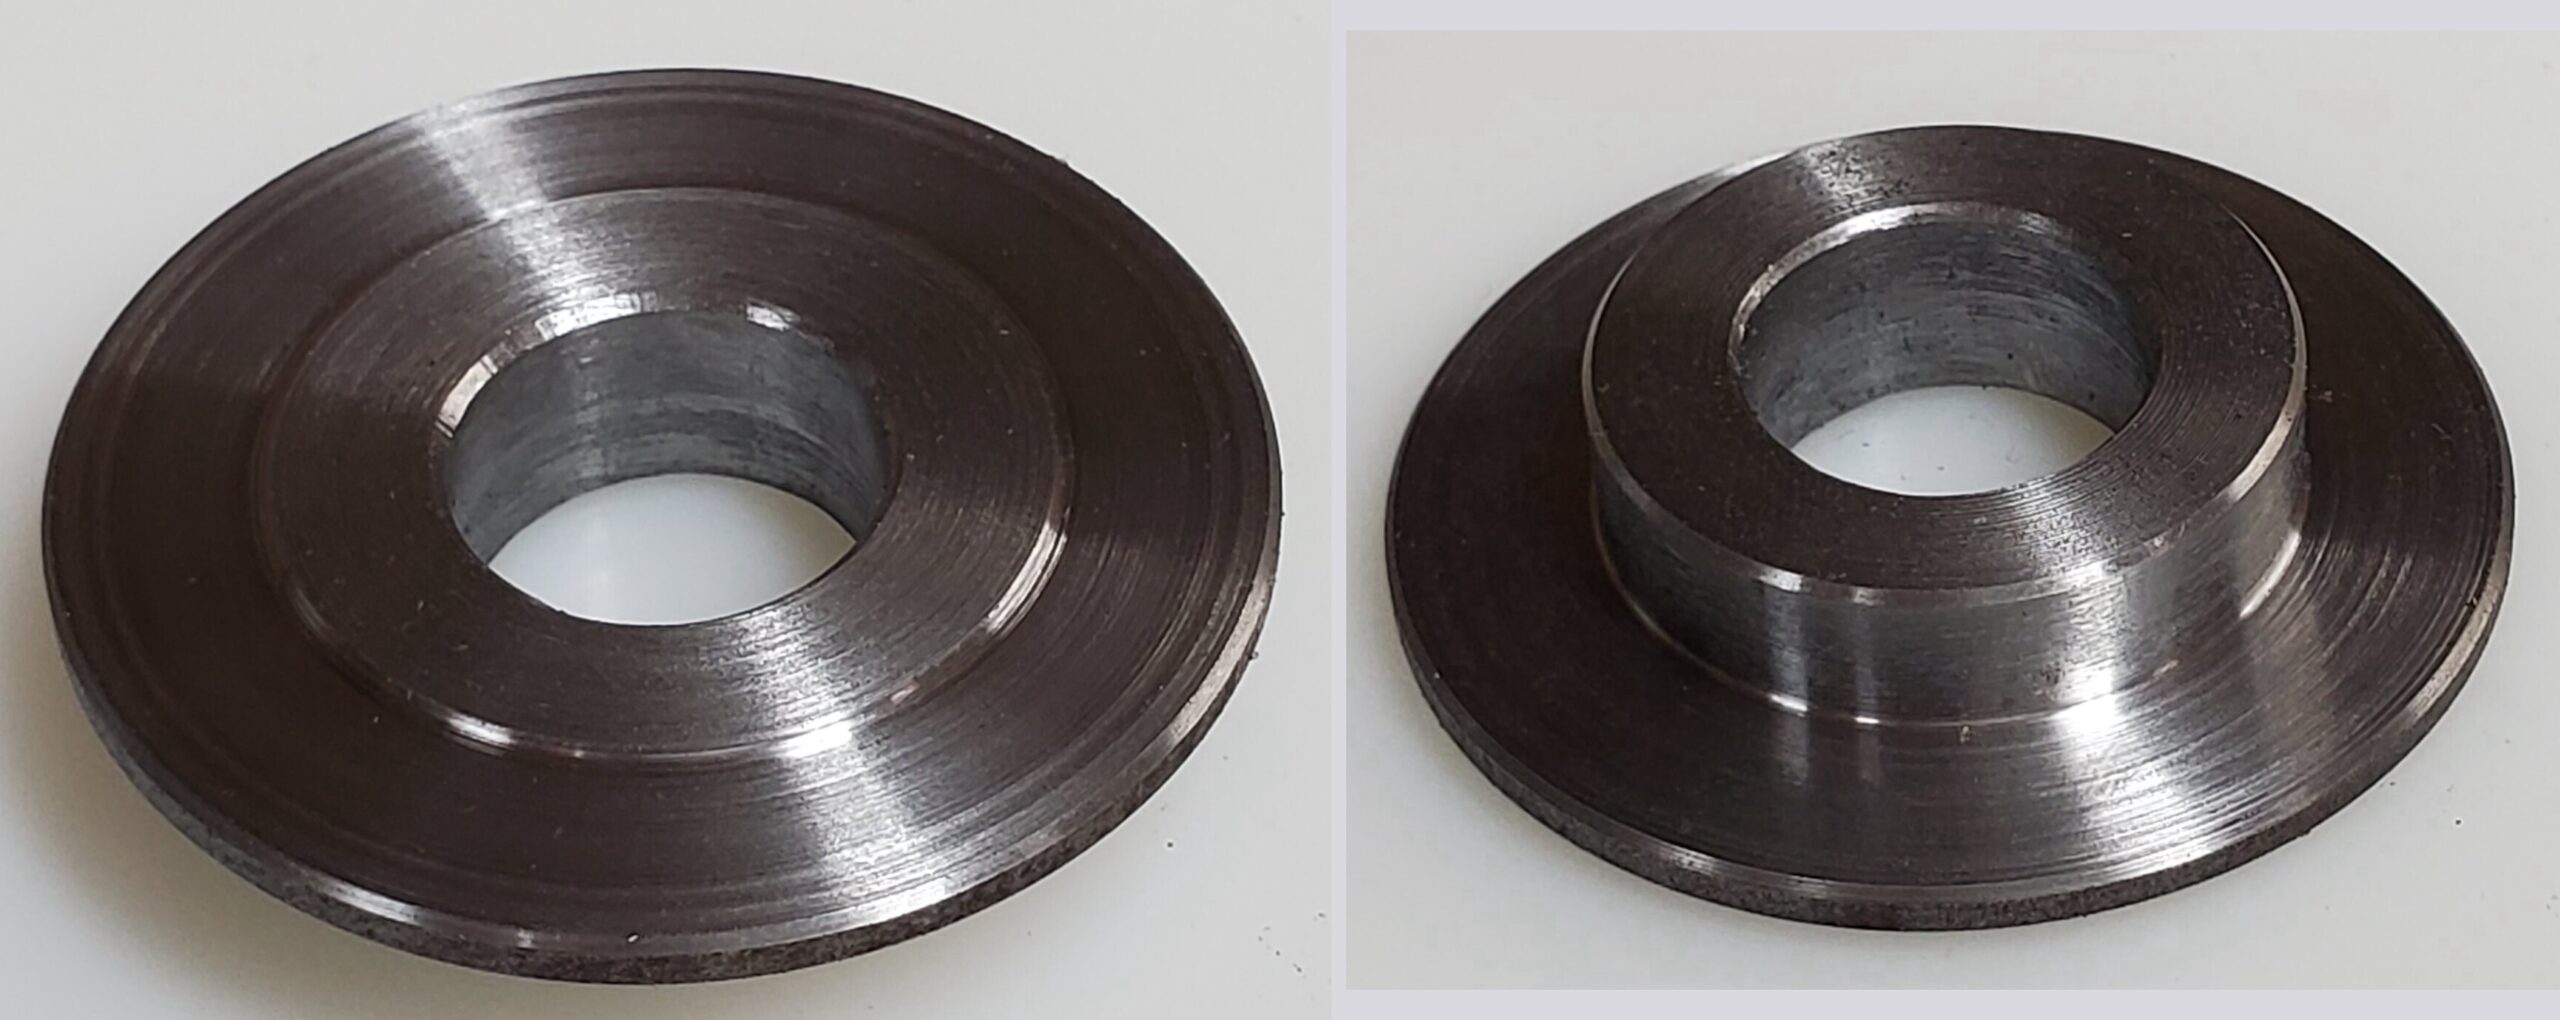
I also made a replacement for the plain washer that was between the nut and spring. The replacement has a shoulder to hold the spring centered, and a slight boss so the nut can be adjusted without scraping the top of the washer.
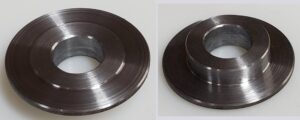
Combined washer/spring seat (top and bottom views)

I now have the column, pull handle, toggle mechanism, and platen all assembled on the press again. The original nut and washer have just been placed loosely on the top of the eye bolt to preserve them
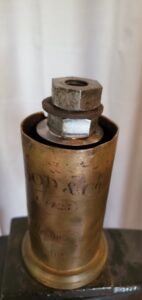
The pull handle now retracts properly again, though it still strikes the platen bolt. There is still something uneven between the platen, bed, and frisket frame, and I want to take some careful measurement here before I actually shorten the one platen bolt to its final length.

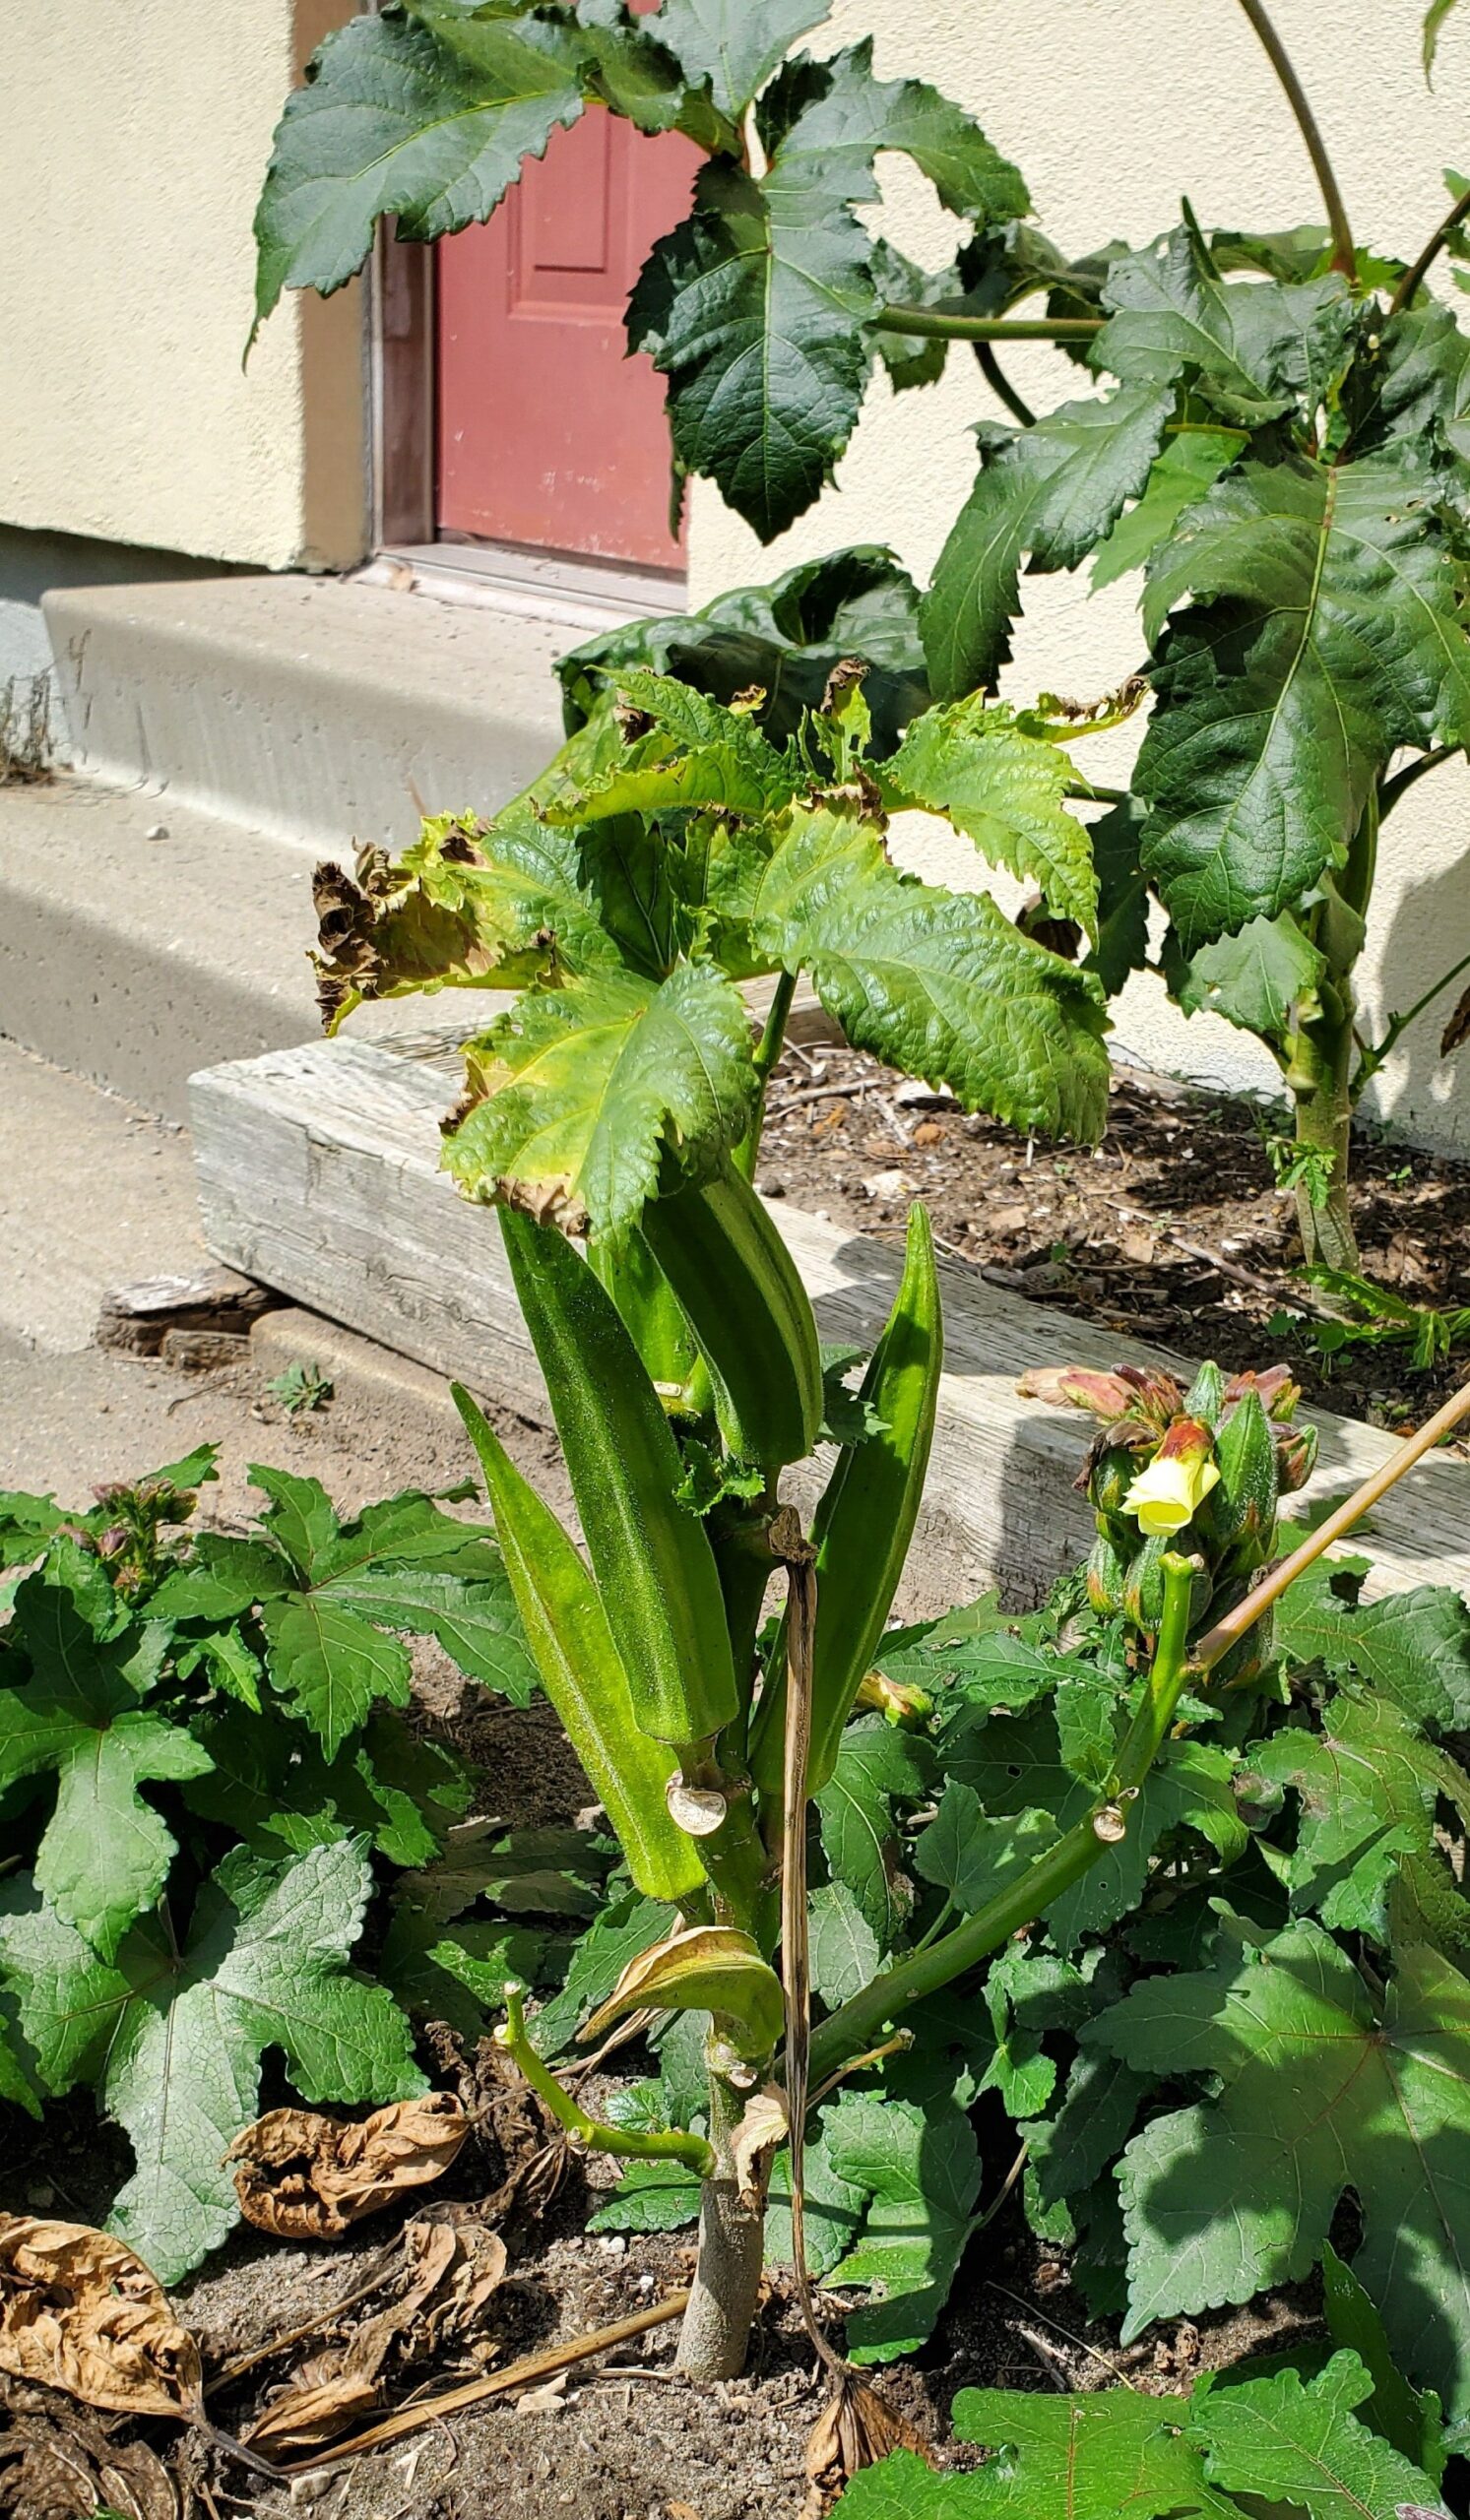
Tororo-aoi in full bloom

The tororo-aoi plants I’m growing come from several seed sources, with one producing plants much obviously larger than the others. Up until now only the larger plants had bloomed, and they now have several very large seed pods on them.

But finally, the smaller plants have started blooming, at least the ones seeded indoors, though the direct-seeded plants are still behind in development.

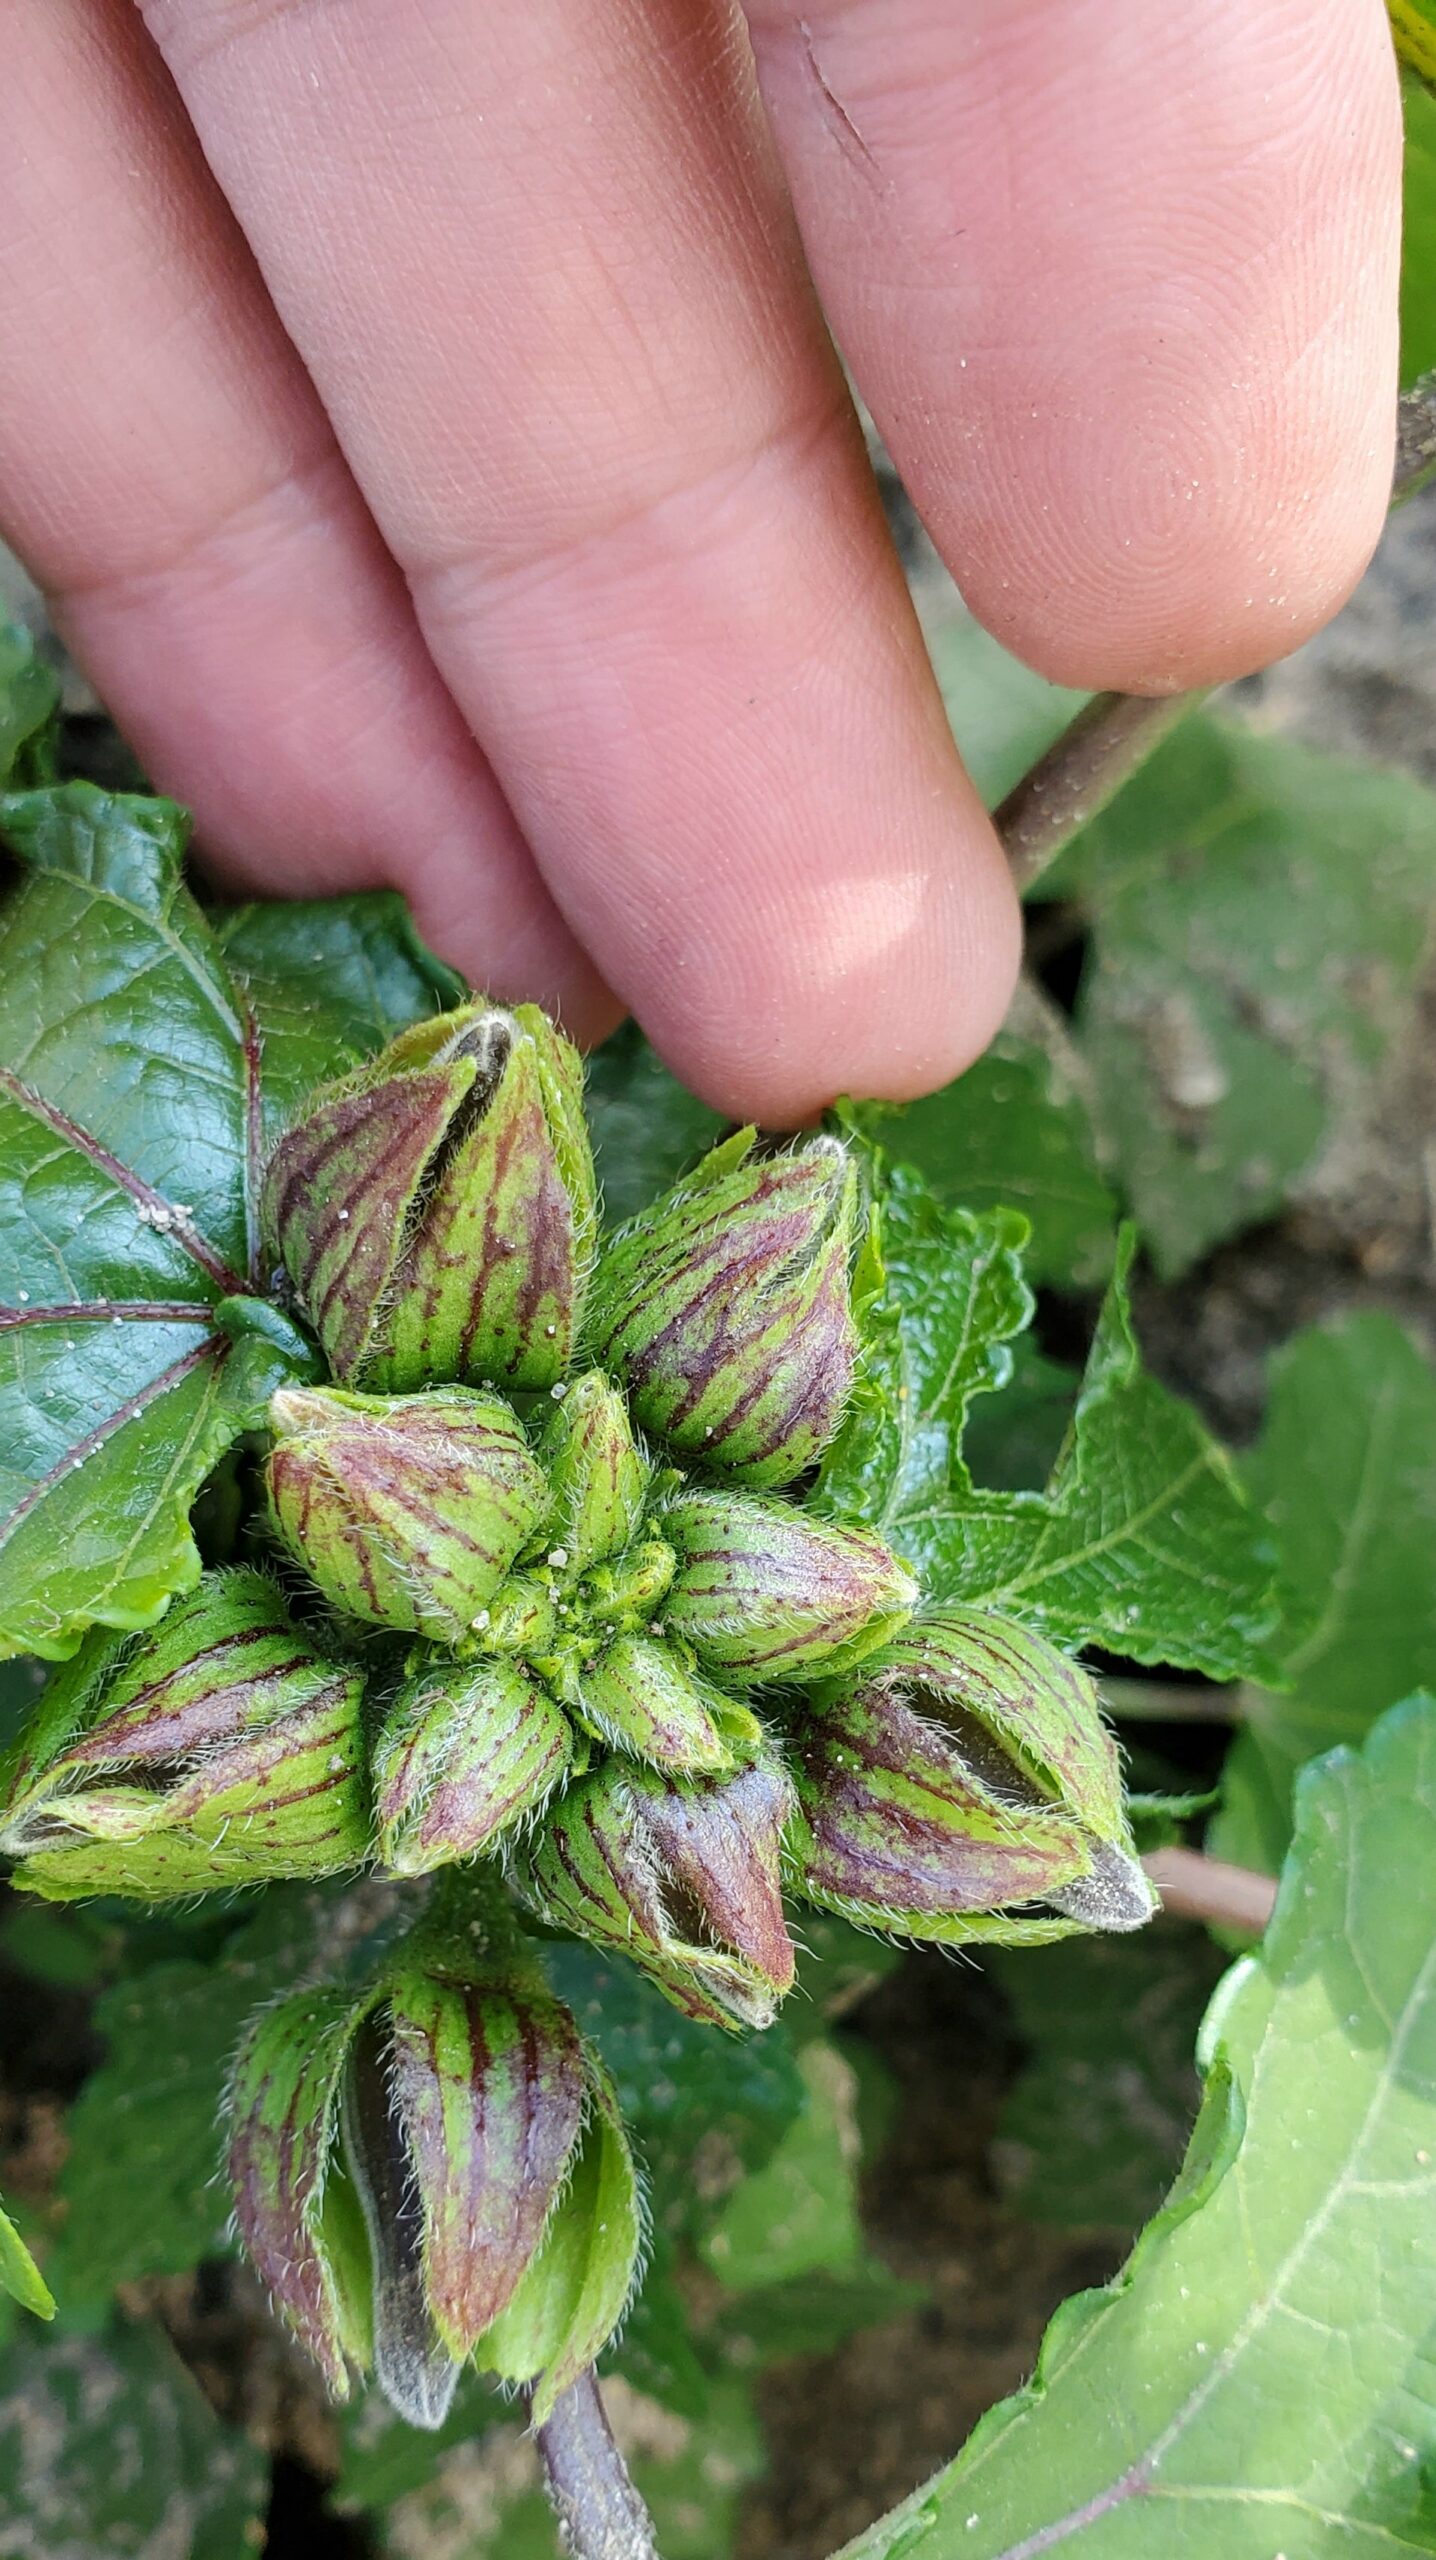
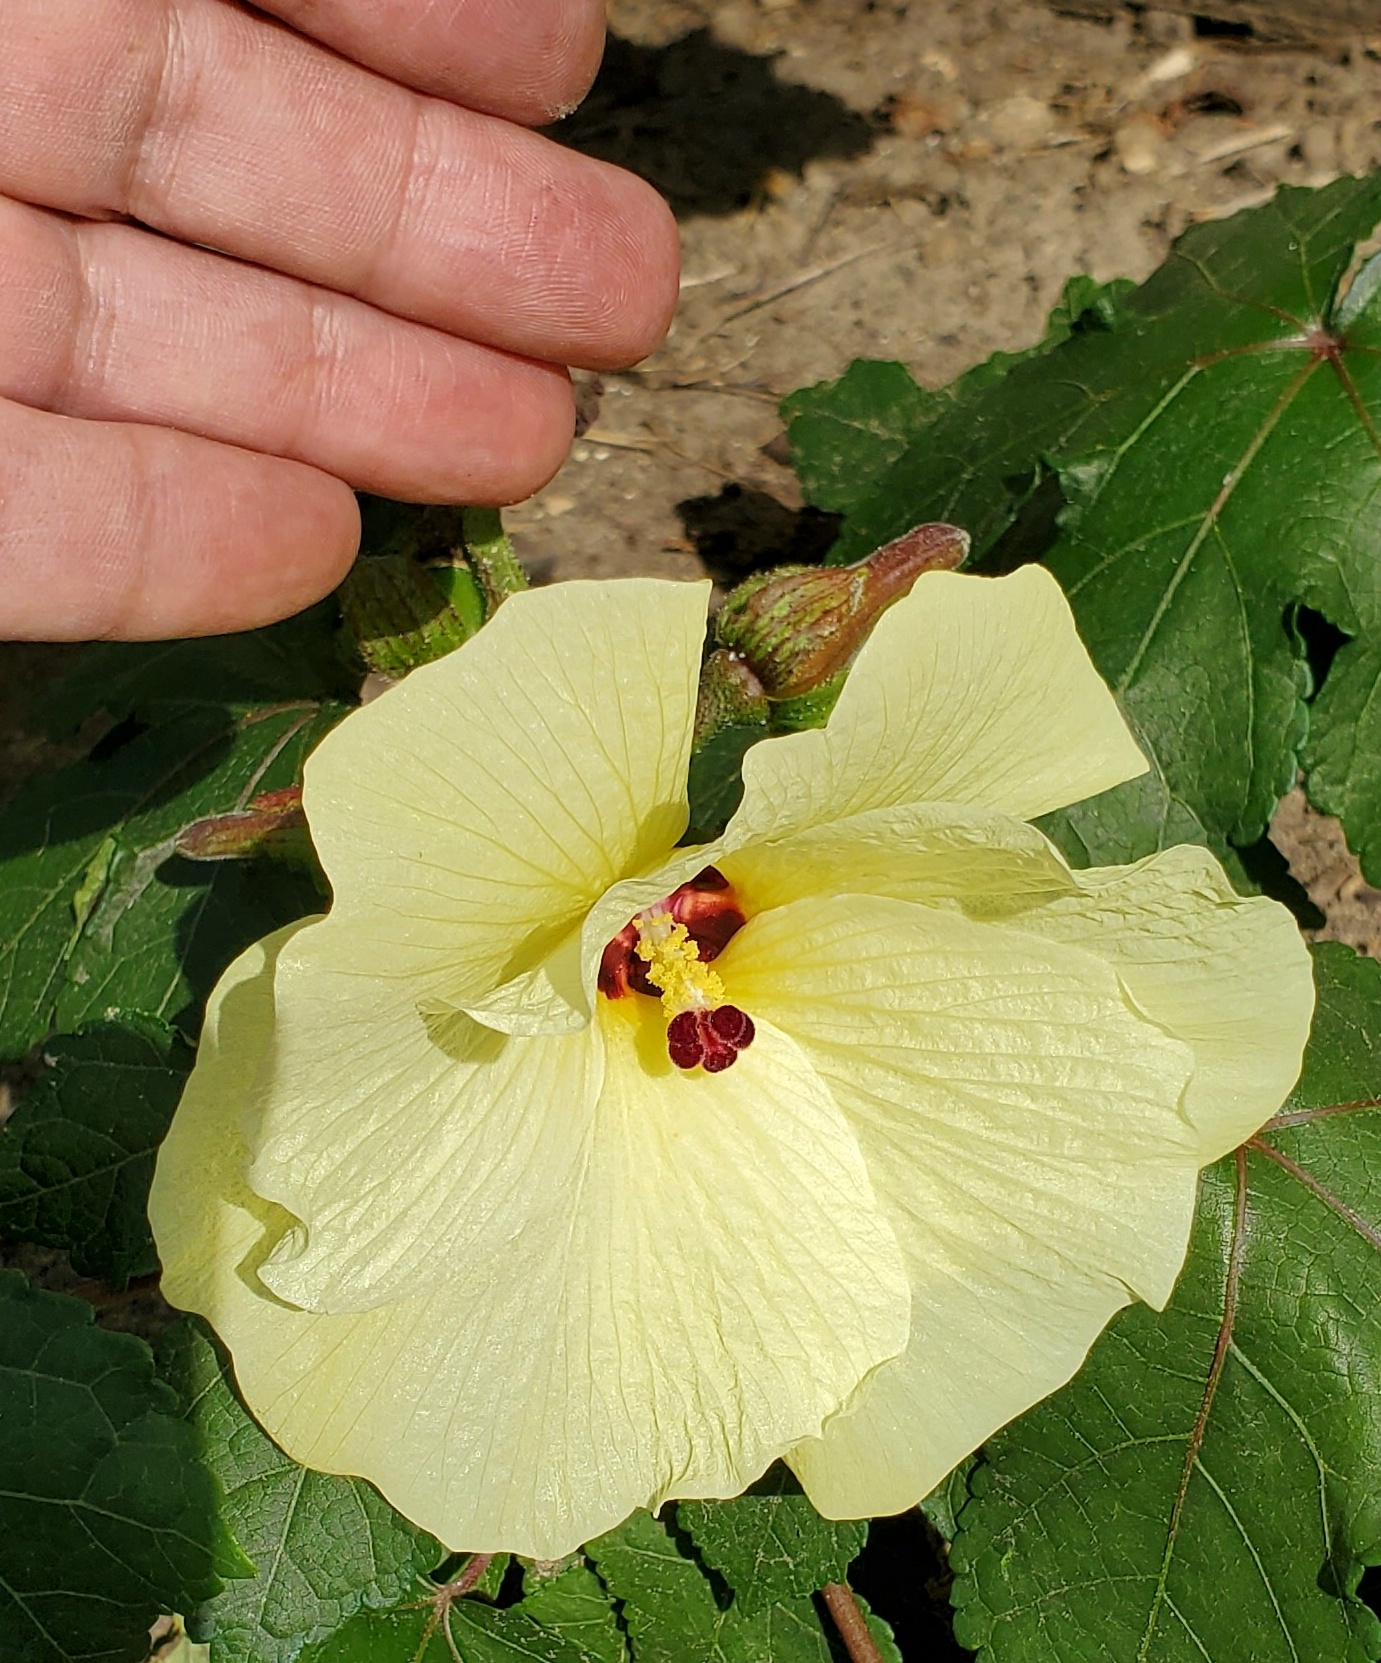
This variety seems to produce numerous flower buds from a single spot at the growing tip of the plant, and the flowers are noticeably larger than the ones on the larger plant.

Buds on one of the smaller plants on July 23rd. I count at least ten buds here.

Large flower on small plant, August 1st.

Most of the indoor-seeded small plants are now in bloom, August 6th.

In order to avoid cross-pollination, I’m now removing any flower buds from the larger plants. These plants already have plenty of seed pods for me to collect when they ripen.

Tororo-aoi Fast Growth (in the smoke)

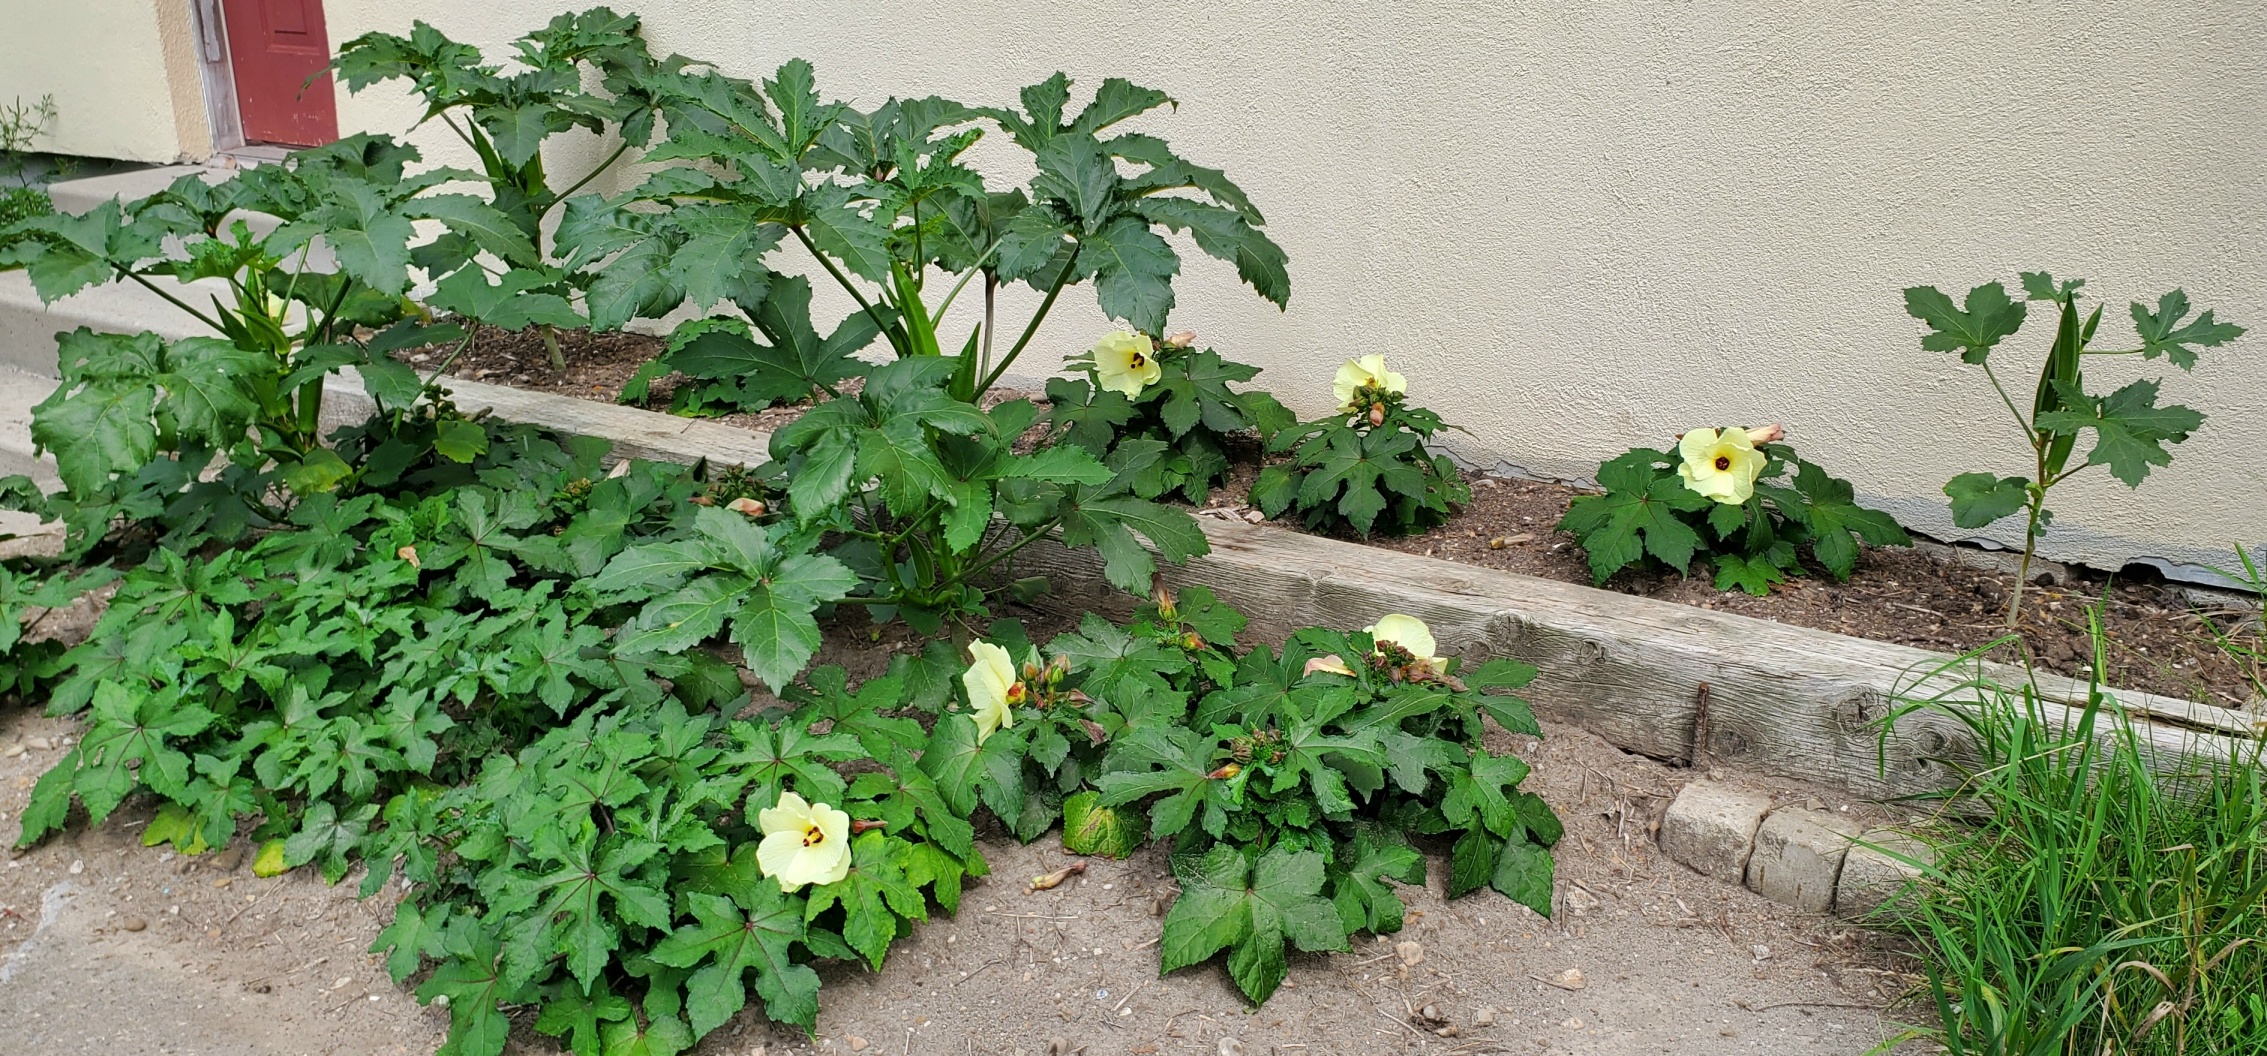
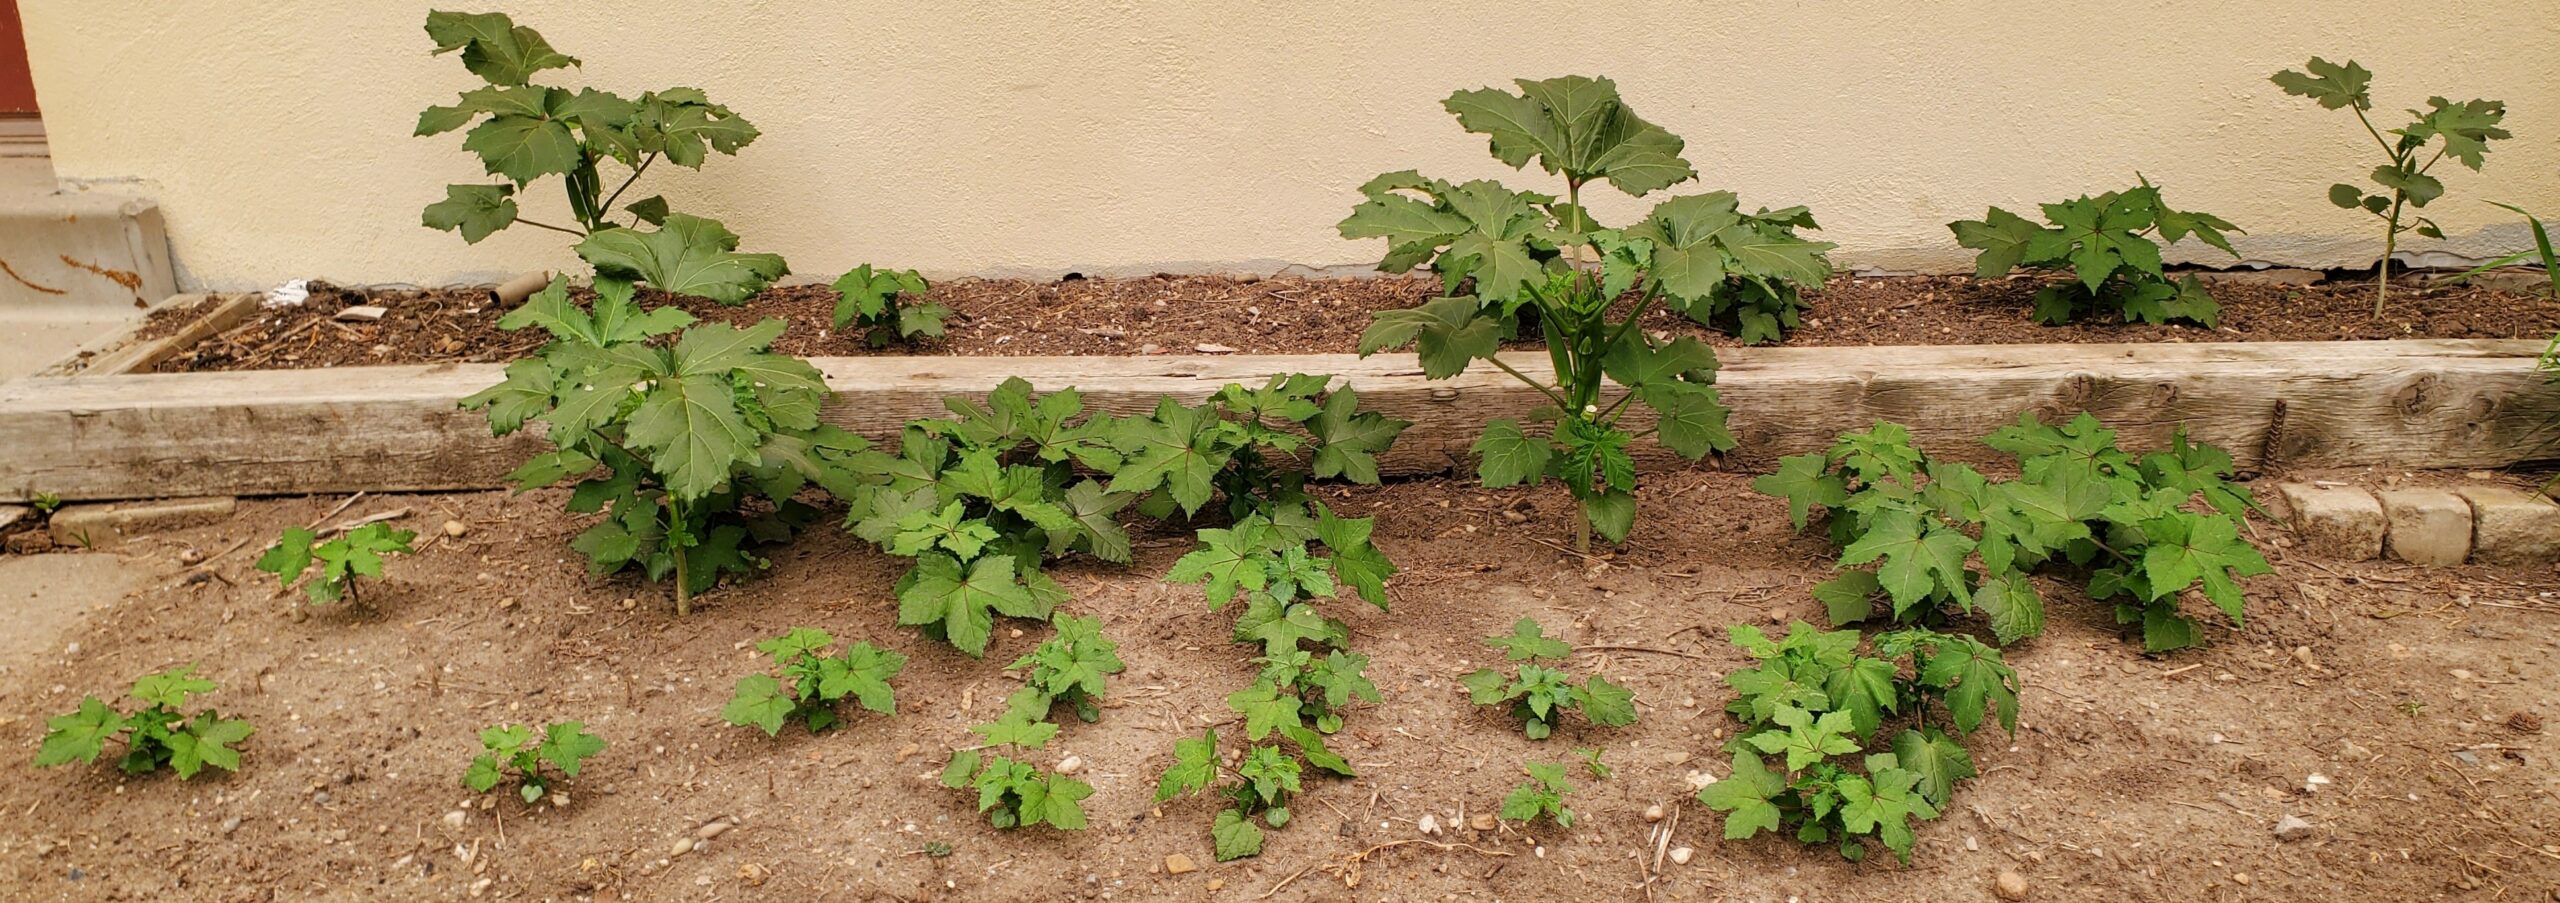
My last post, from four days ago, only showed details of some of the plants. Here is what the tororo-aoi patch looks like overall:

The difference between the four larger plants, the smaller indoor-sprouted medium plants, and the smallest direct-seeded plants is evident. I’m also managing an uncharacteristically (for me) good job of controlling the weeds.

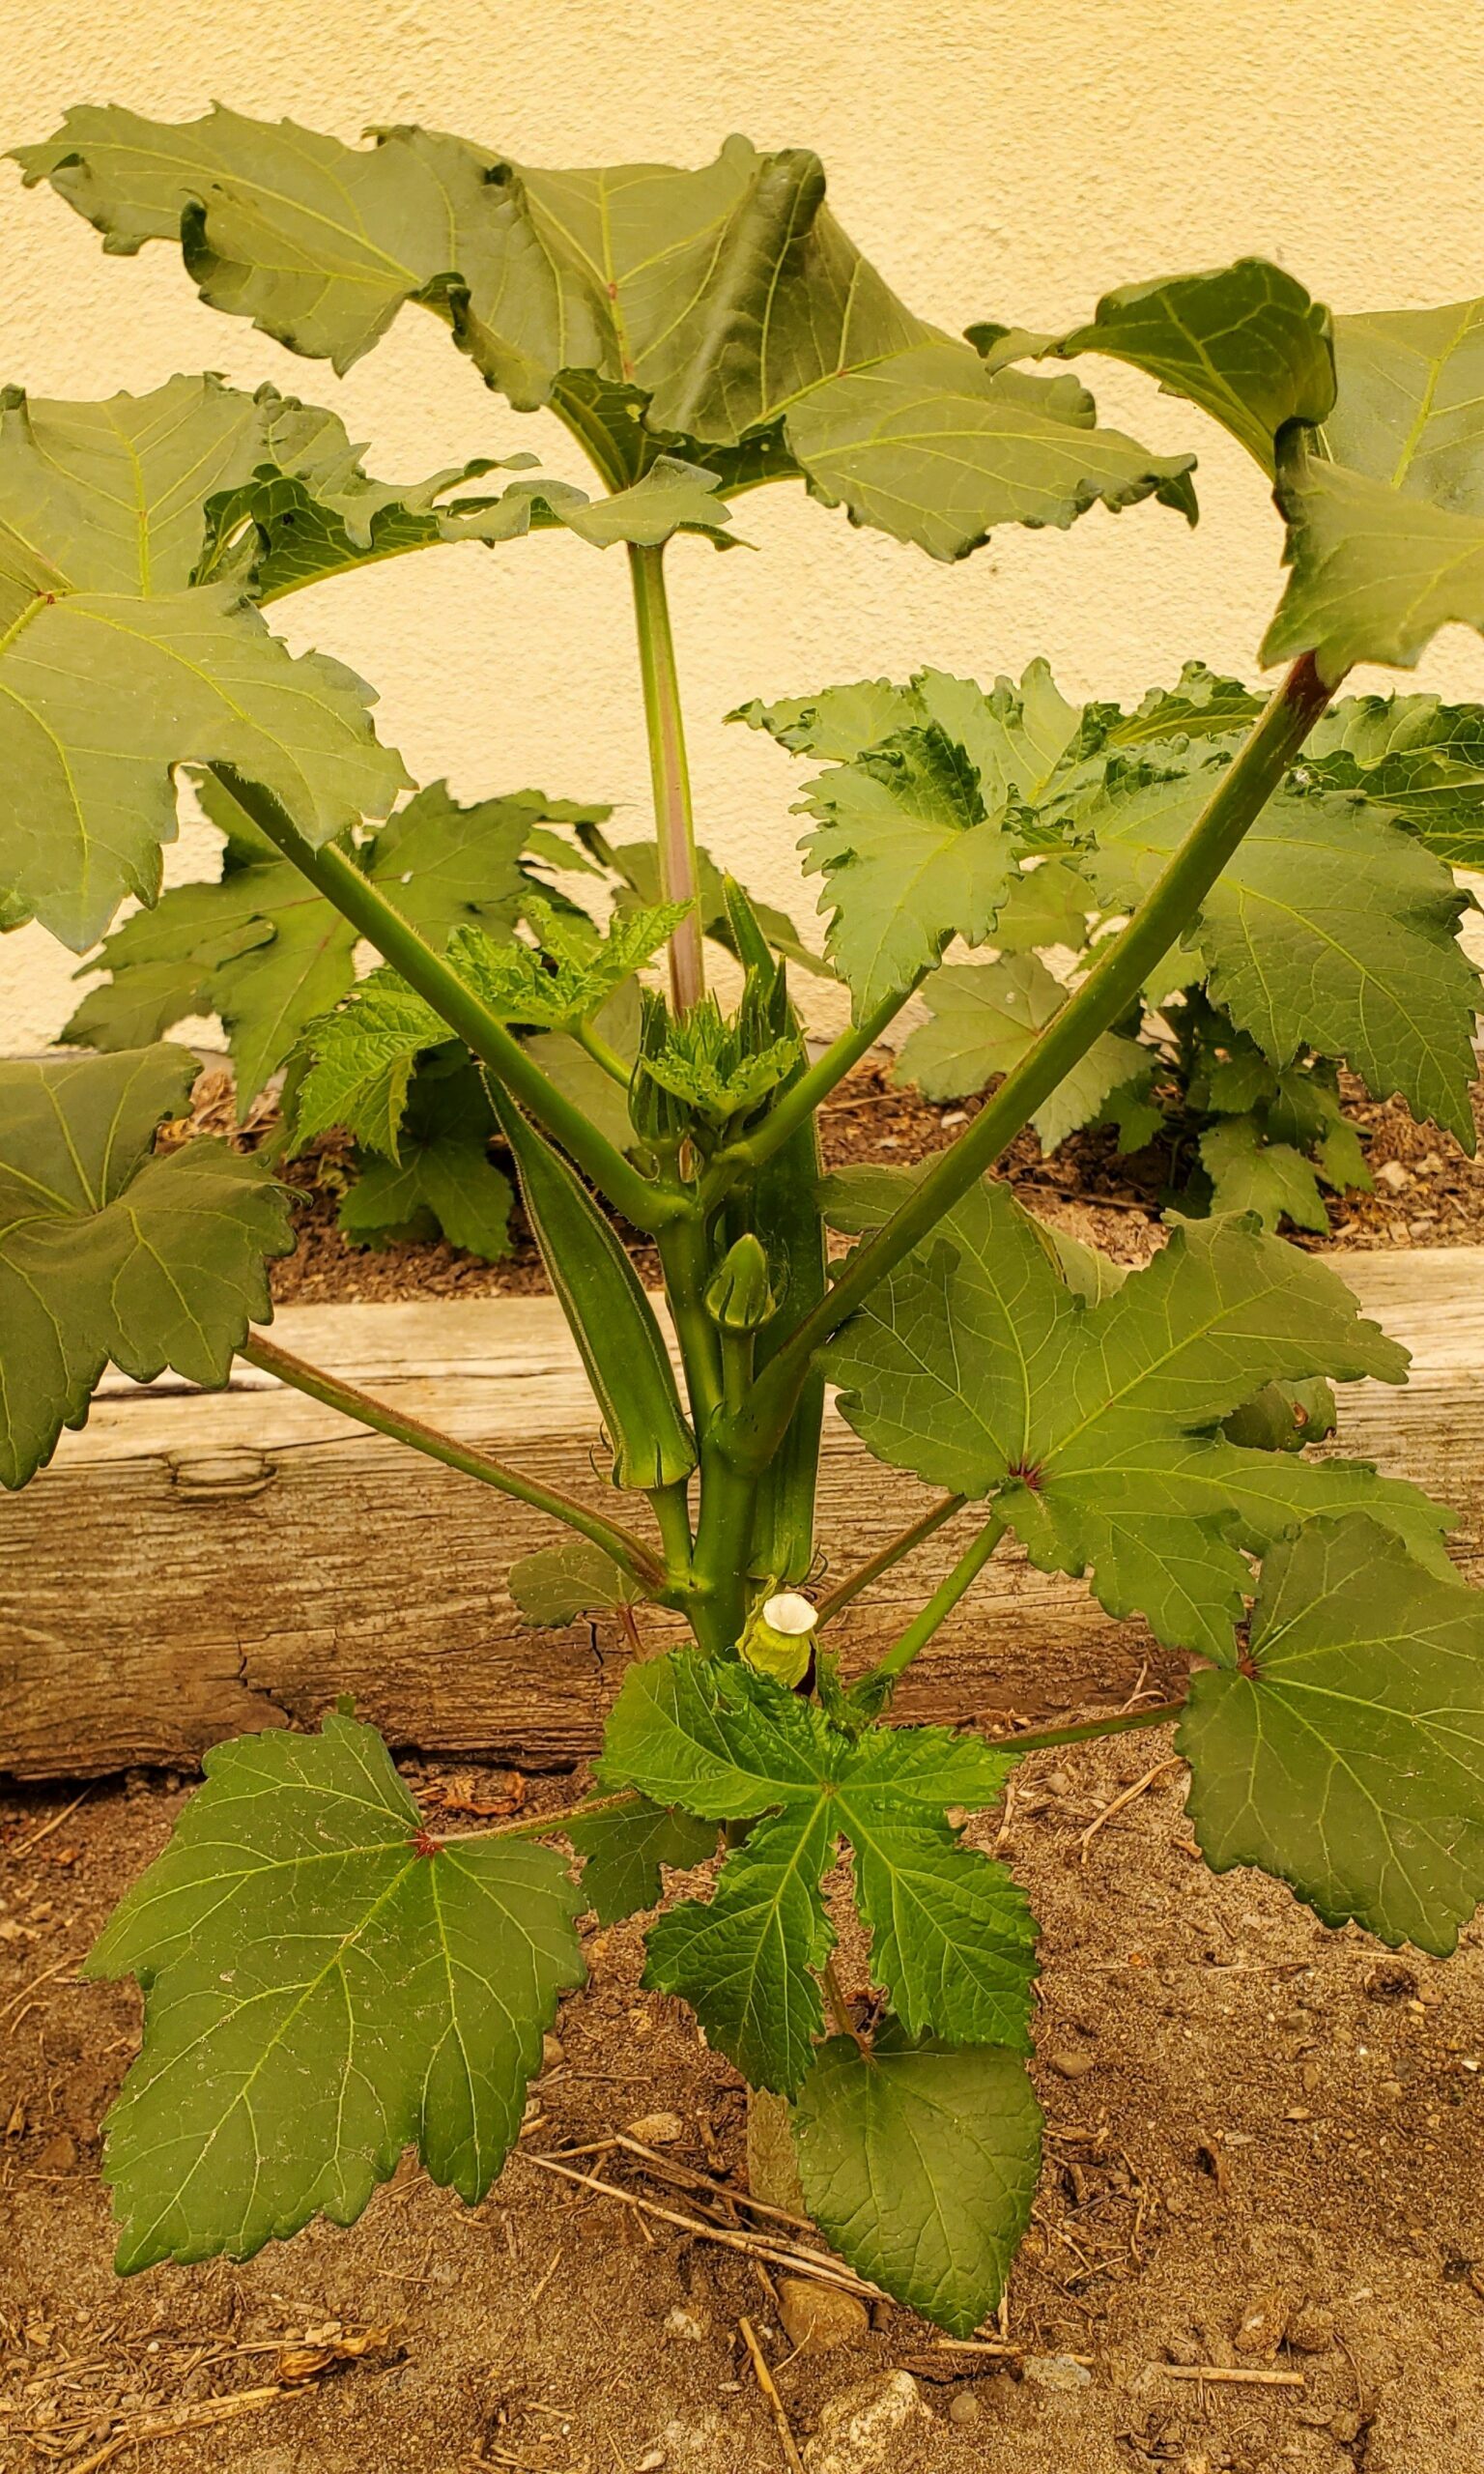
The largest plant in the centre has a pod about 15cm long:

This is the same plant that was in the third photo in the previous post.

The smaller plants are just developing flower buds, and it looks like the flowers will be smaller, but more numerous, occurring in clusters of about three.

Both these photos, especially the second one, show a strange yellow colour cast. This is due to smoke from wildfires (I don’t know why they stopped calling them “forest fires”) in northern Ontario, beyond Thunder Bay. This made for other strange visual effects because the colour is often what the sky looks like when it is about to start raining. It also made the (normally white) instruments on the car’s instrument panel look very purple.

Tororo-aoi in Bloom Already

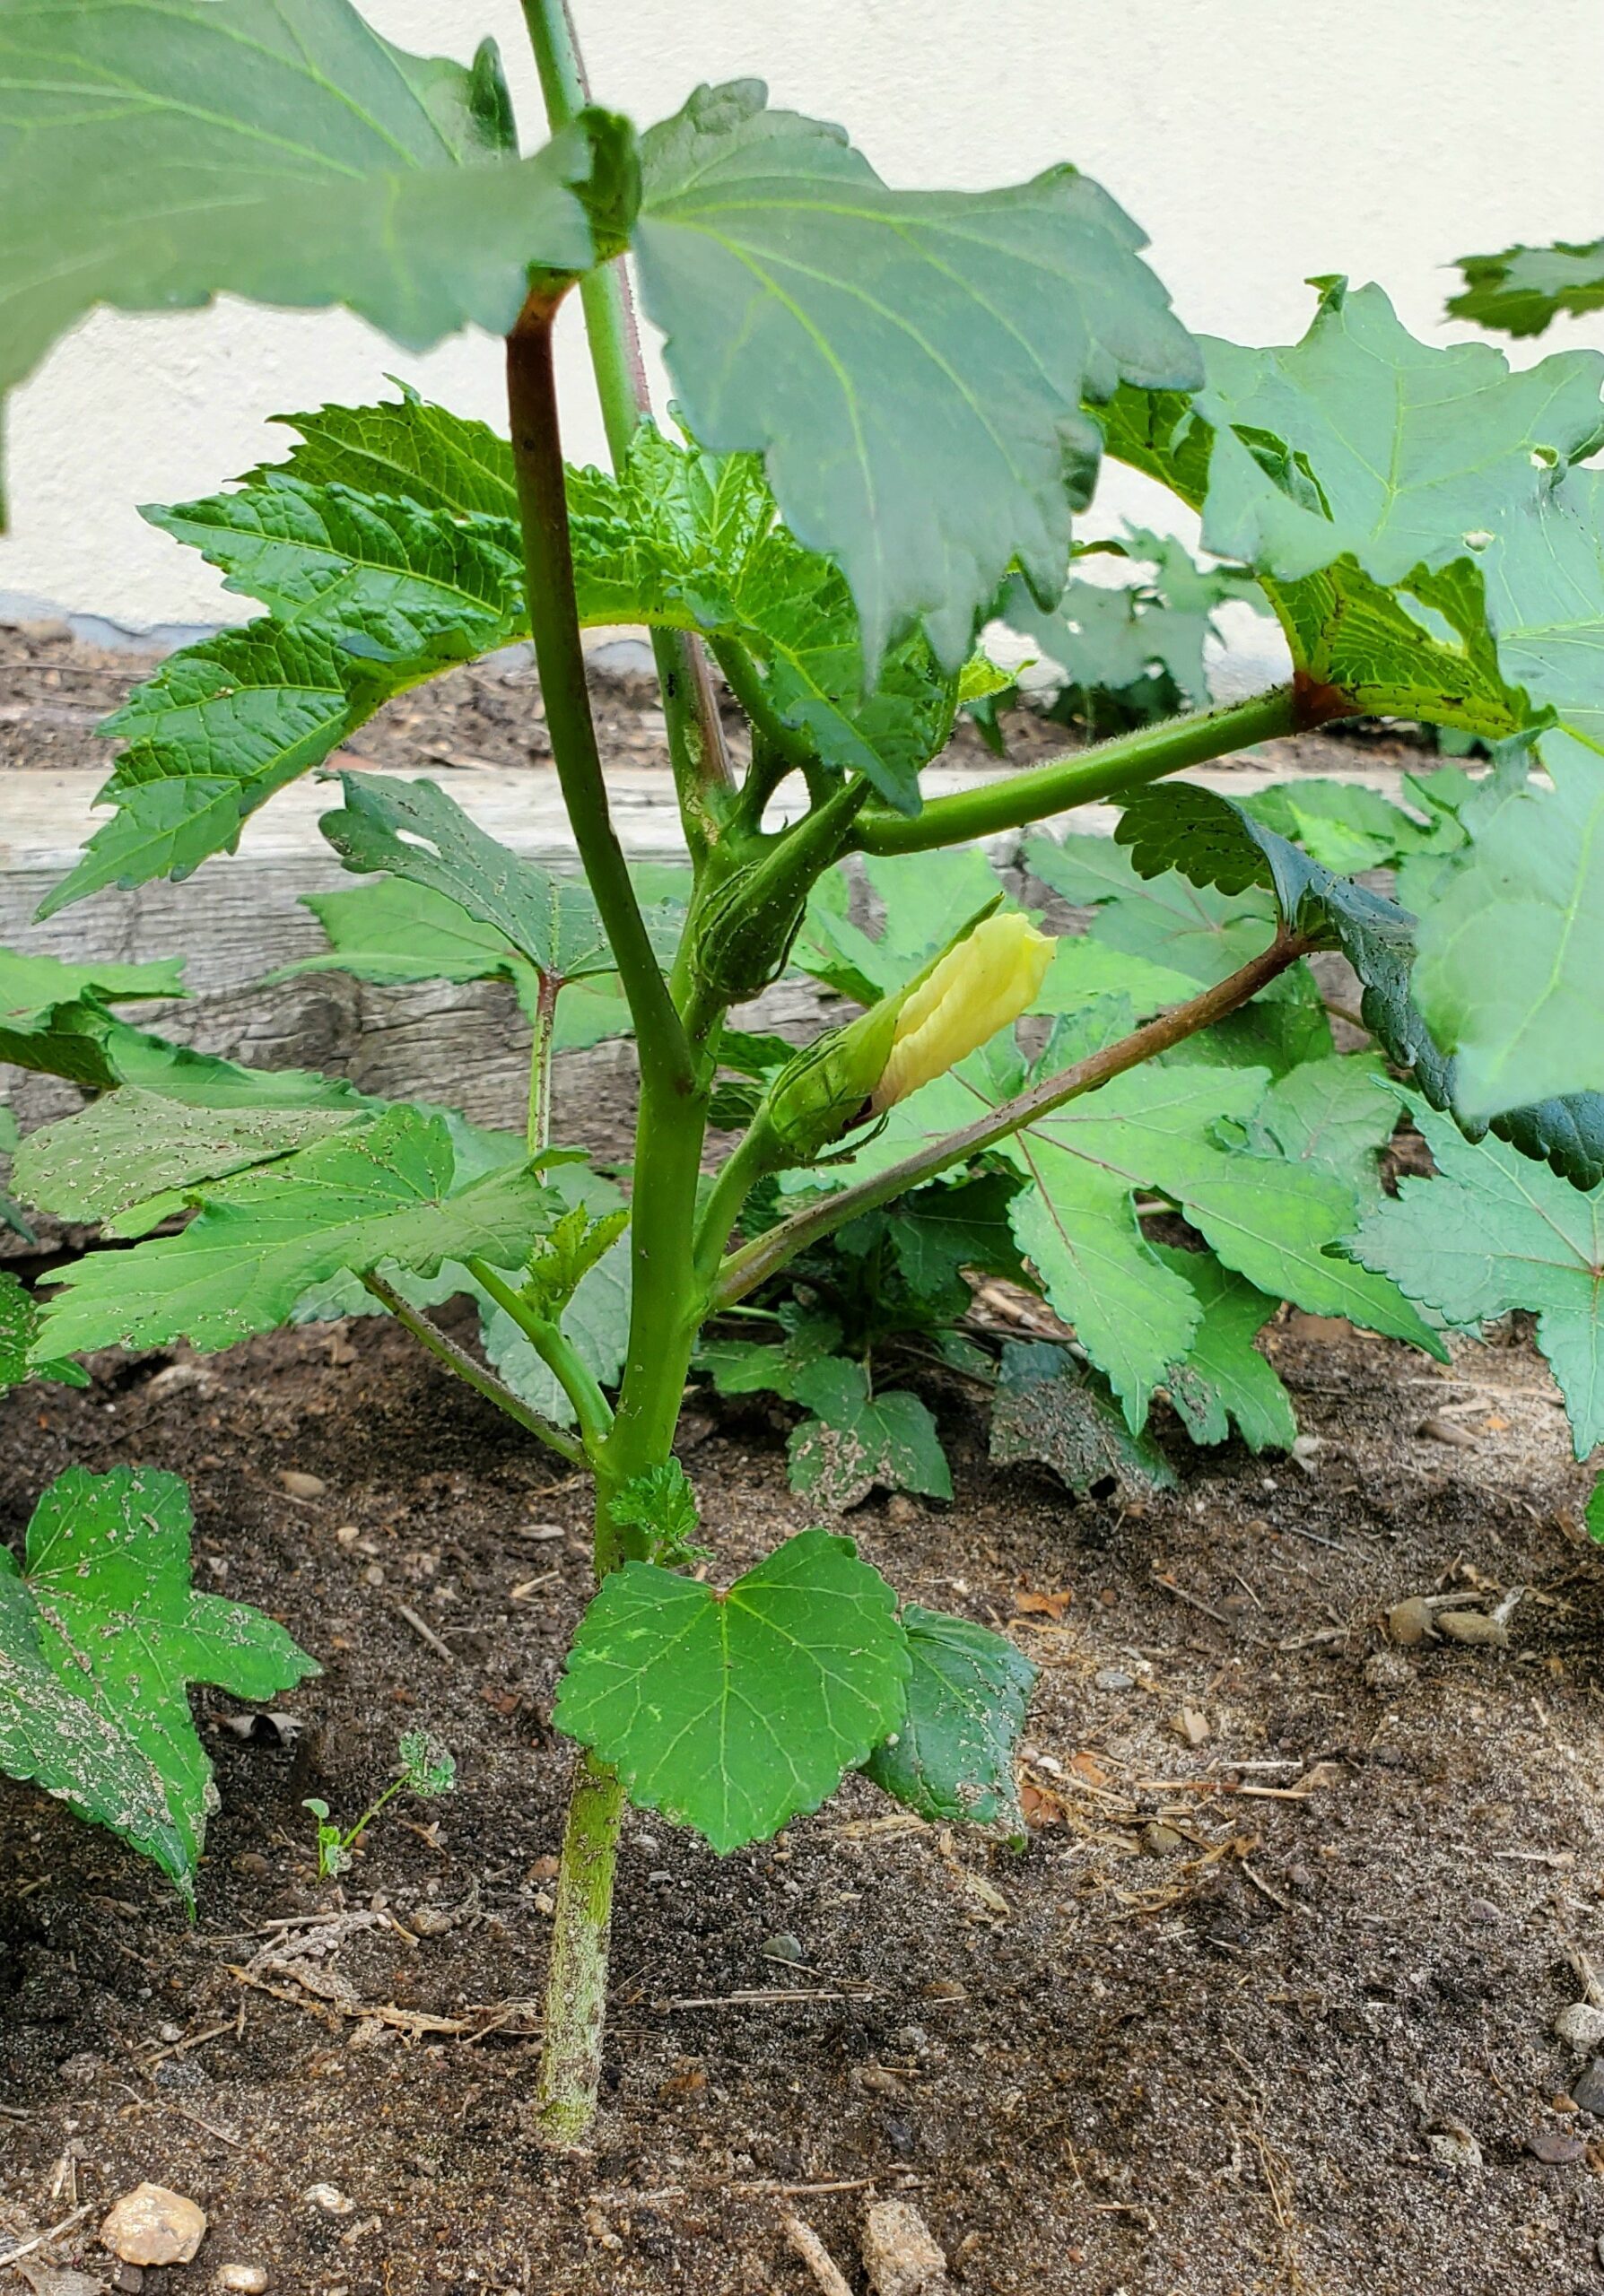
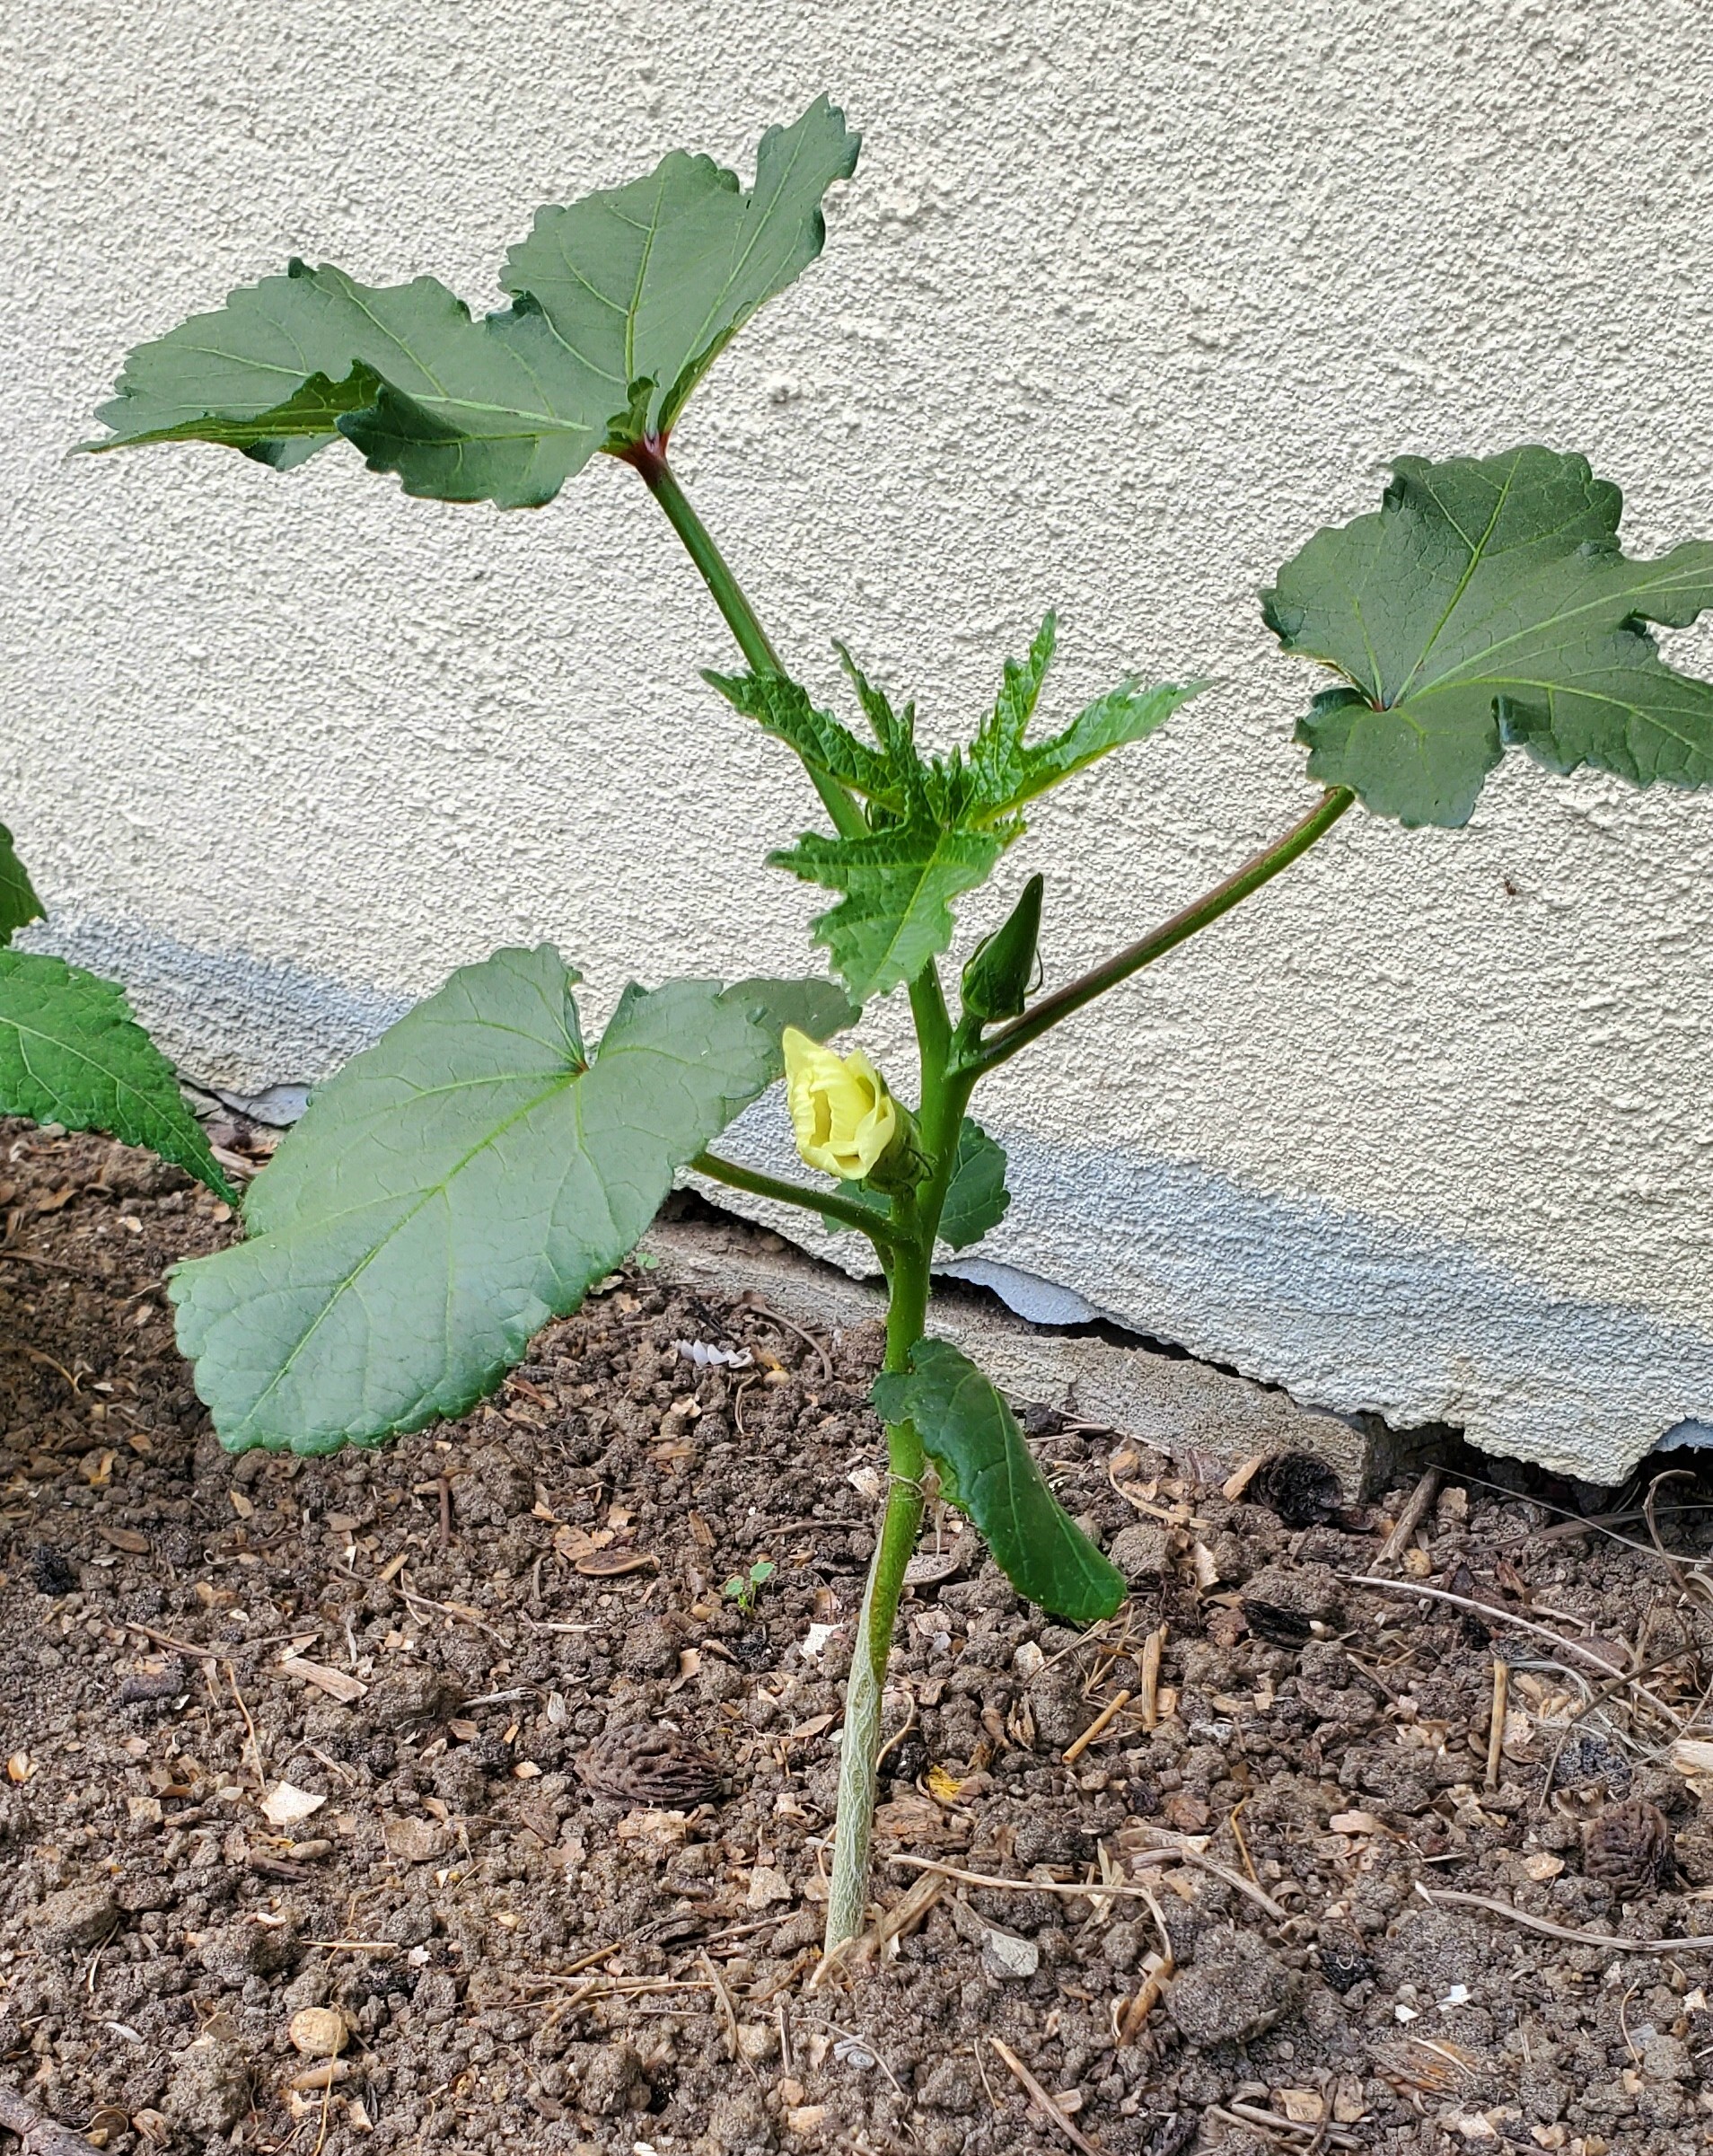
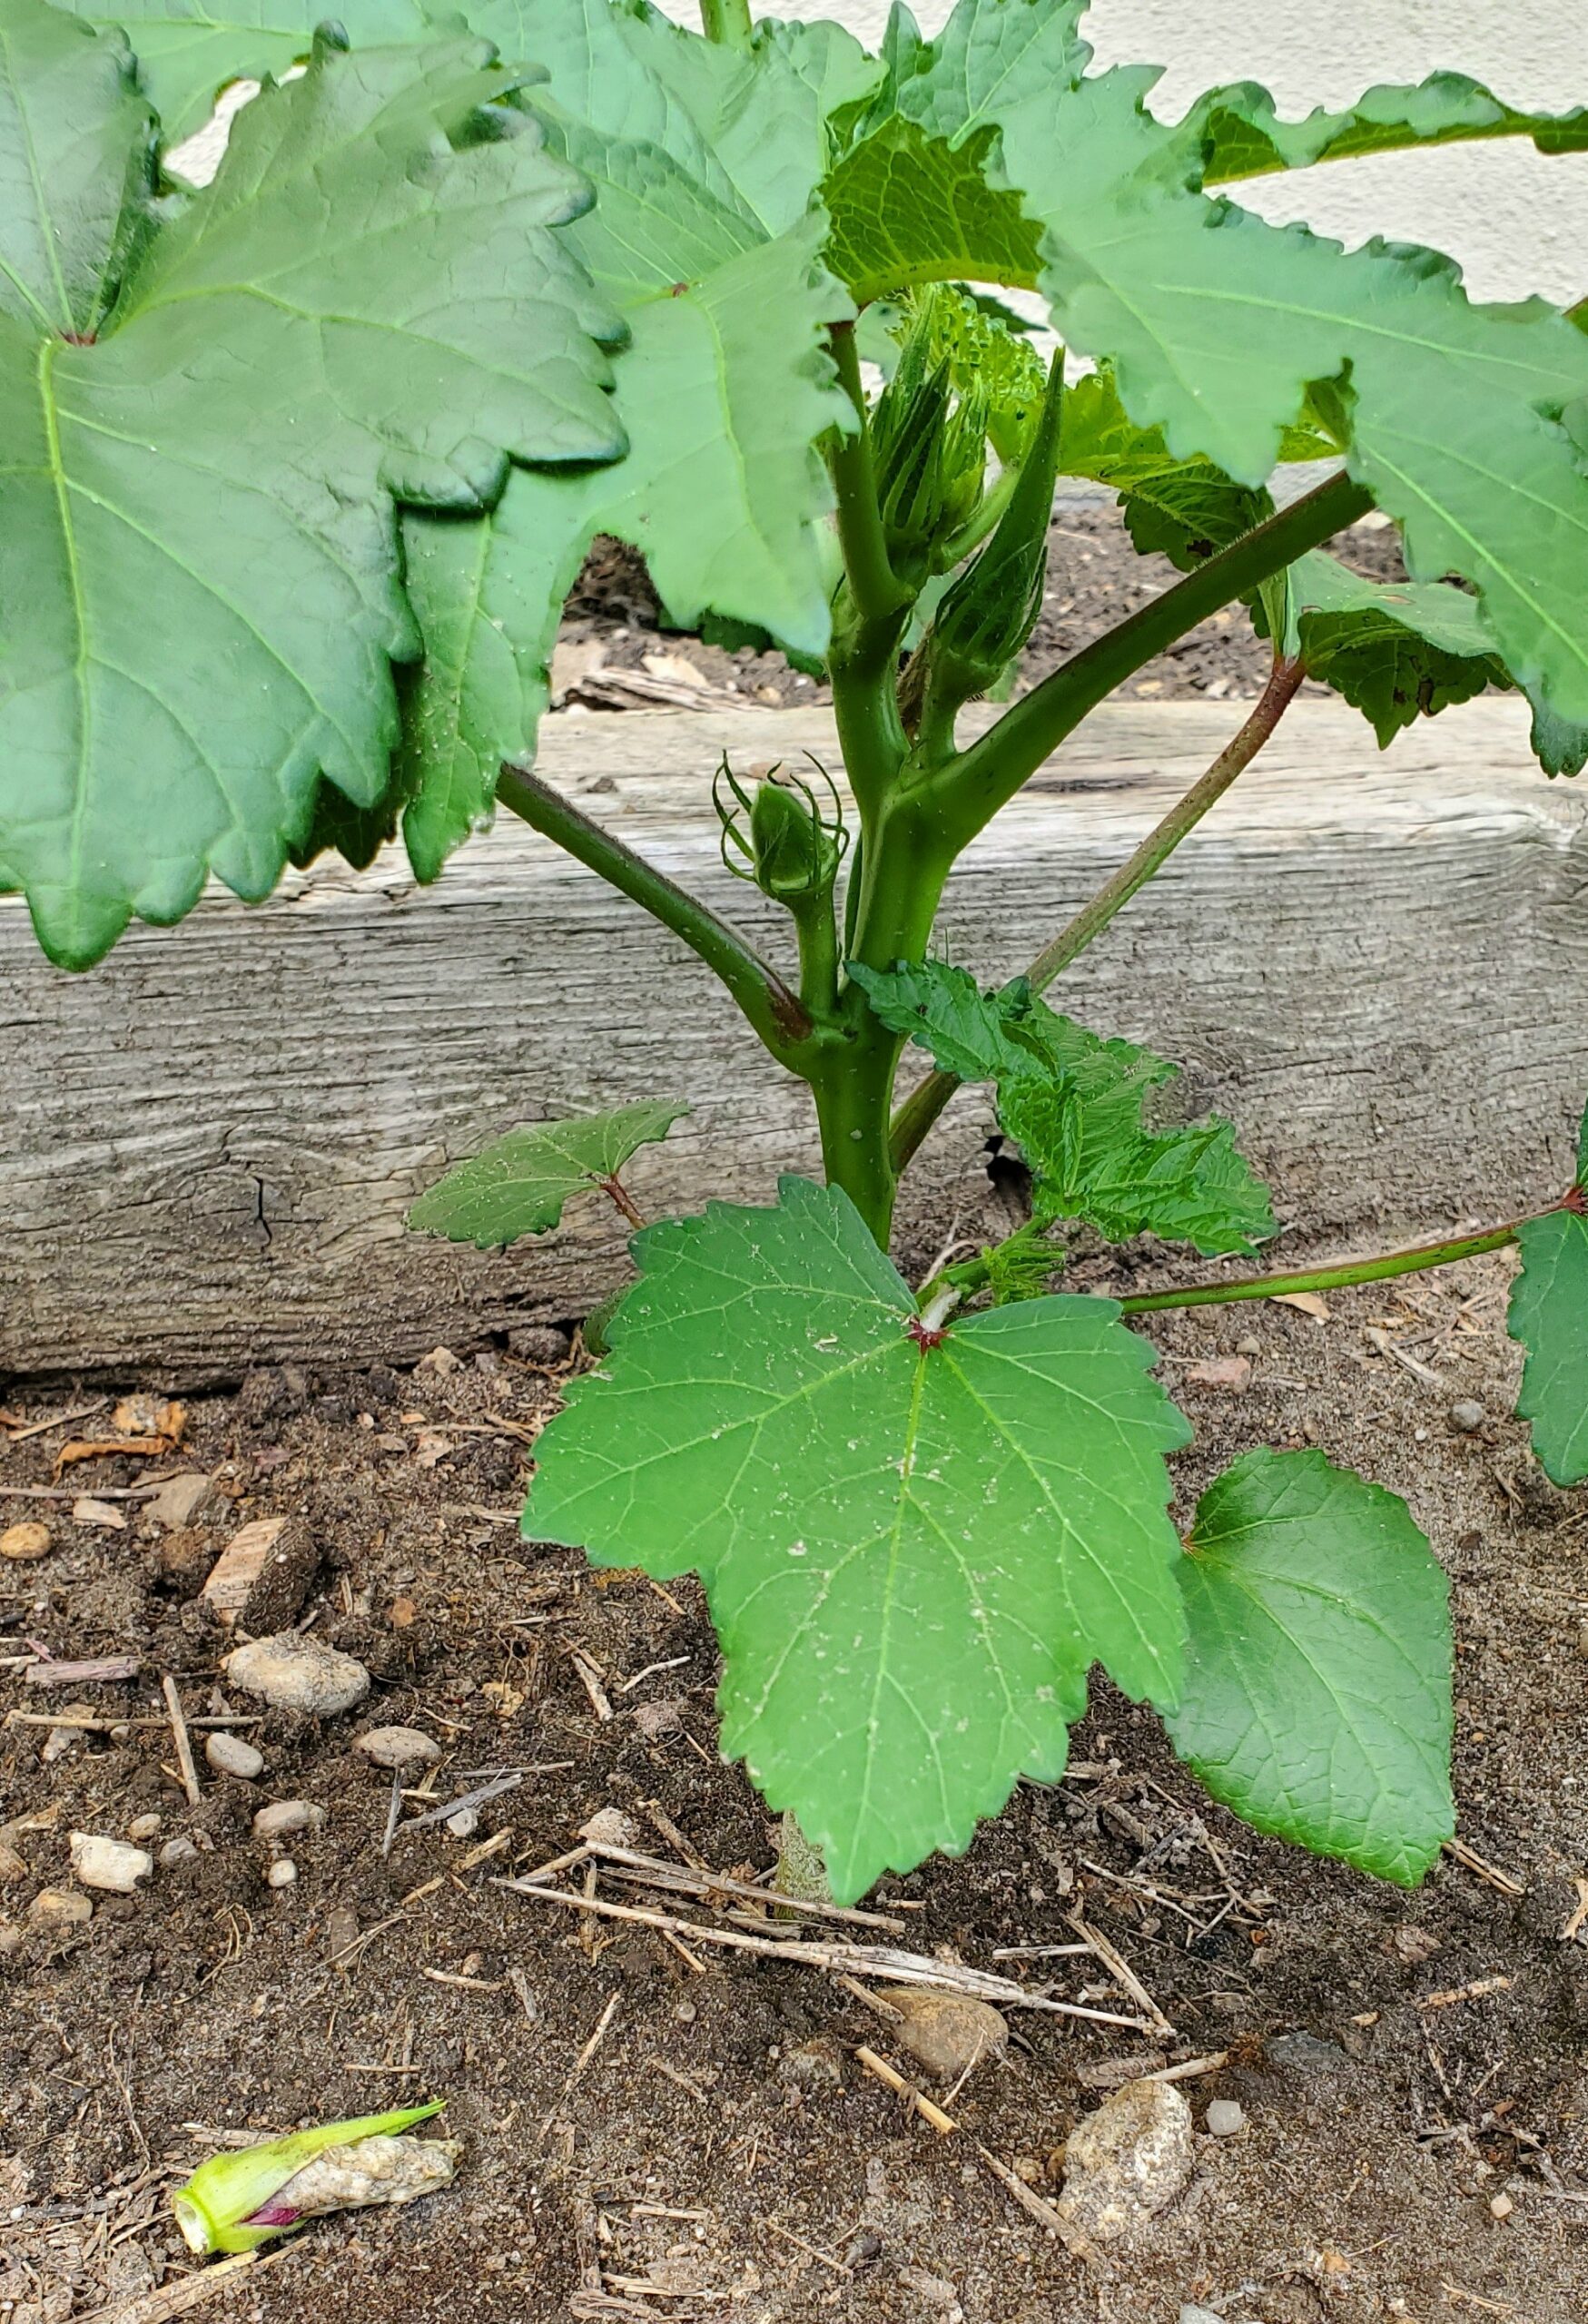
Some of my tororo-aoi plants are already producing flowers, about 3 weeks after transplanting into the garden. The flowers don’t last long so I don’t have a photo of one in full bloom yet, but in one of the photos you can see the dropped blossom with the young seed pod on the plant.These flowers are all on the four of the plants that are by far outgrowing the others, and I believe these are the ones sprouted from the old seeds I had purchased from Richter’s. All the plants are the same species, but I expect it comes in different varietals (just as tomato plants come in different varietals to produce different tomatoes), and this particular one is bred for big plants with showy flowers. The other seeds would be bred to produce larger roots, since that is the part used for making neri.

Once the smaller plants start to produce flowers and pods, I’ll leave all the flowers to coexist for a while, then I’ll start removing the flower buds from these larger plants. As a result I should get large-plant seeds from the early pods on the large plants, small-plant seeds from the later pods on the small plants, and various hybrids from the pods produced when all plants were in bloom.

I may also start trimming back some of the large plants so I can see in the fall if this makes them produce larger roots.

Growing Tororo-aoi Again

This year, after my encouraging results in workshops both at Bishop’s University last August and in Japan this March, I wanted to try growing my own tororo-aoi plants again. The roots of this plant are used to produce neri, a slimy formation aid used in Japanese-style papermaking.

I had previously grown some in 2007 in my vegetable garden with moderate success, using seeds I obtained from Tim Barrett at the IAPMA conference in Banff, and also in 2017 in my front garden using seeds from various sources. The 2007 effort gave me several good roots, some of which I’ve used and some of which are still in the freezer. I have yet to thaw them to see if they still produce good neri after 19 years frozen. The more recent crop yielded almost no useful roots, but I don’t know if the problem was growing conditions, soil quality, or plant variety.

Read more ›

Tagged with:

Papermaking Workshop, August 15th, 2026

We will be holding our Introductory Papermaking workshop on Saturday, August 15th, 2026.
The workshop runs from 9am to 4pm with a 1-hour lunch break, at our shop in New Dundee, Ontario. The cost for the workshop is $80 plus HST, for a total of $90.40, including materials.

Top