
When I got this press earlier this year, I printed off a nice copy of the instructions. Challenge Machinery still exists, and their web site is quite useful in that they seem to be trying their best to have manuals for their older products available there.
One thing I had noticed when looking at the parts diagrams is that there should be a back on the press, joining the two pedestal legs. The back not only closes off the shelf area under the press, but it also adds structural stiffening to its base. In its current condition, the press has a noticeable shake when the carriage reaches either end of its stroke with any speed faster than a crawl.
The Vandercook SP-15, of which this is a clone, has a cabinet base that is a single welded structure and so is quite rigid. The pedestal legs on the Challenge are nowhere near as stable.
Today I finished replacing the back on this press.
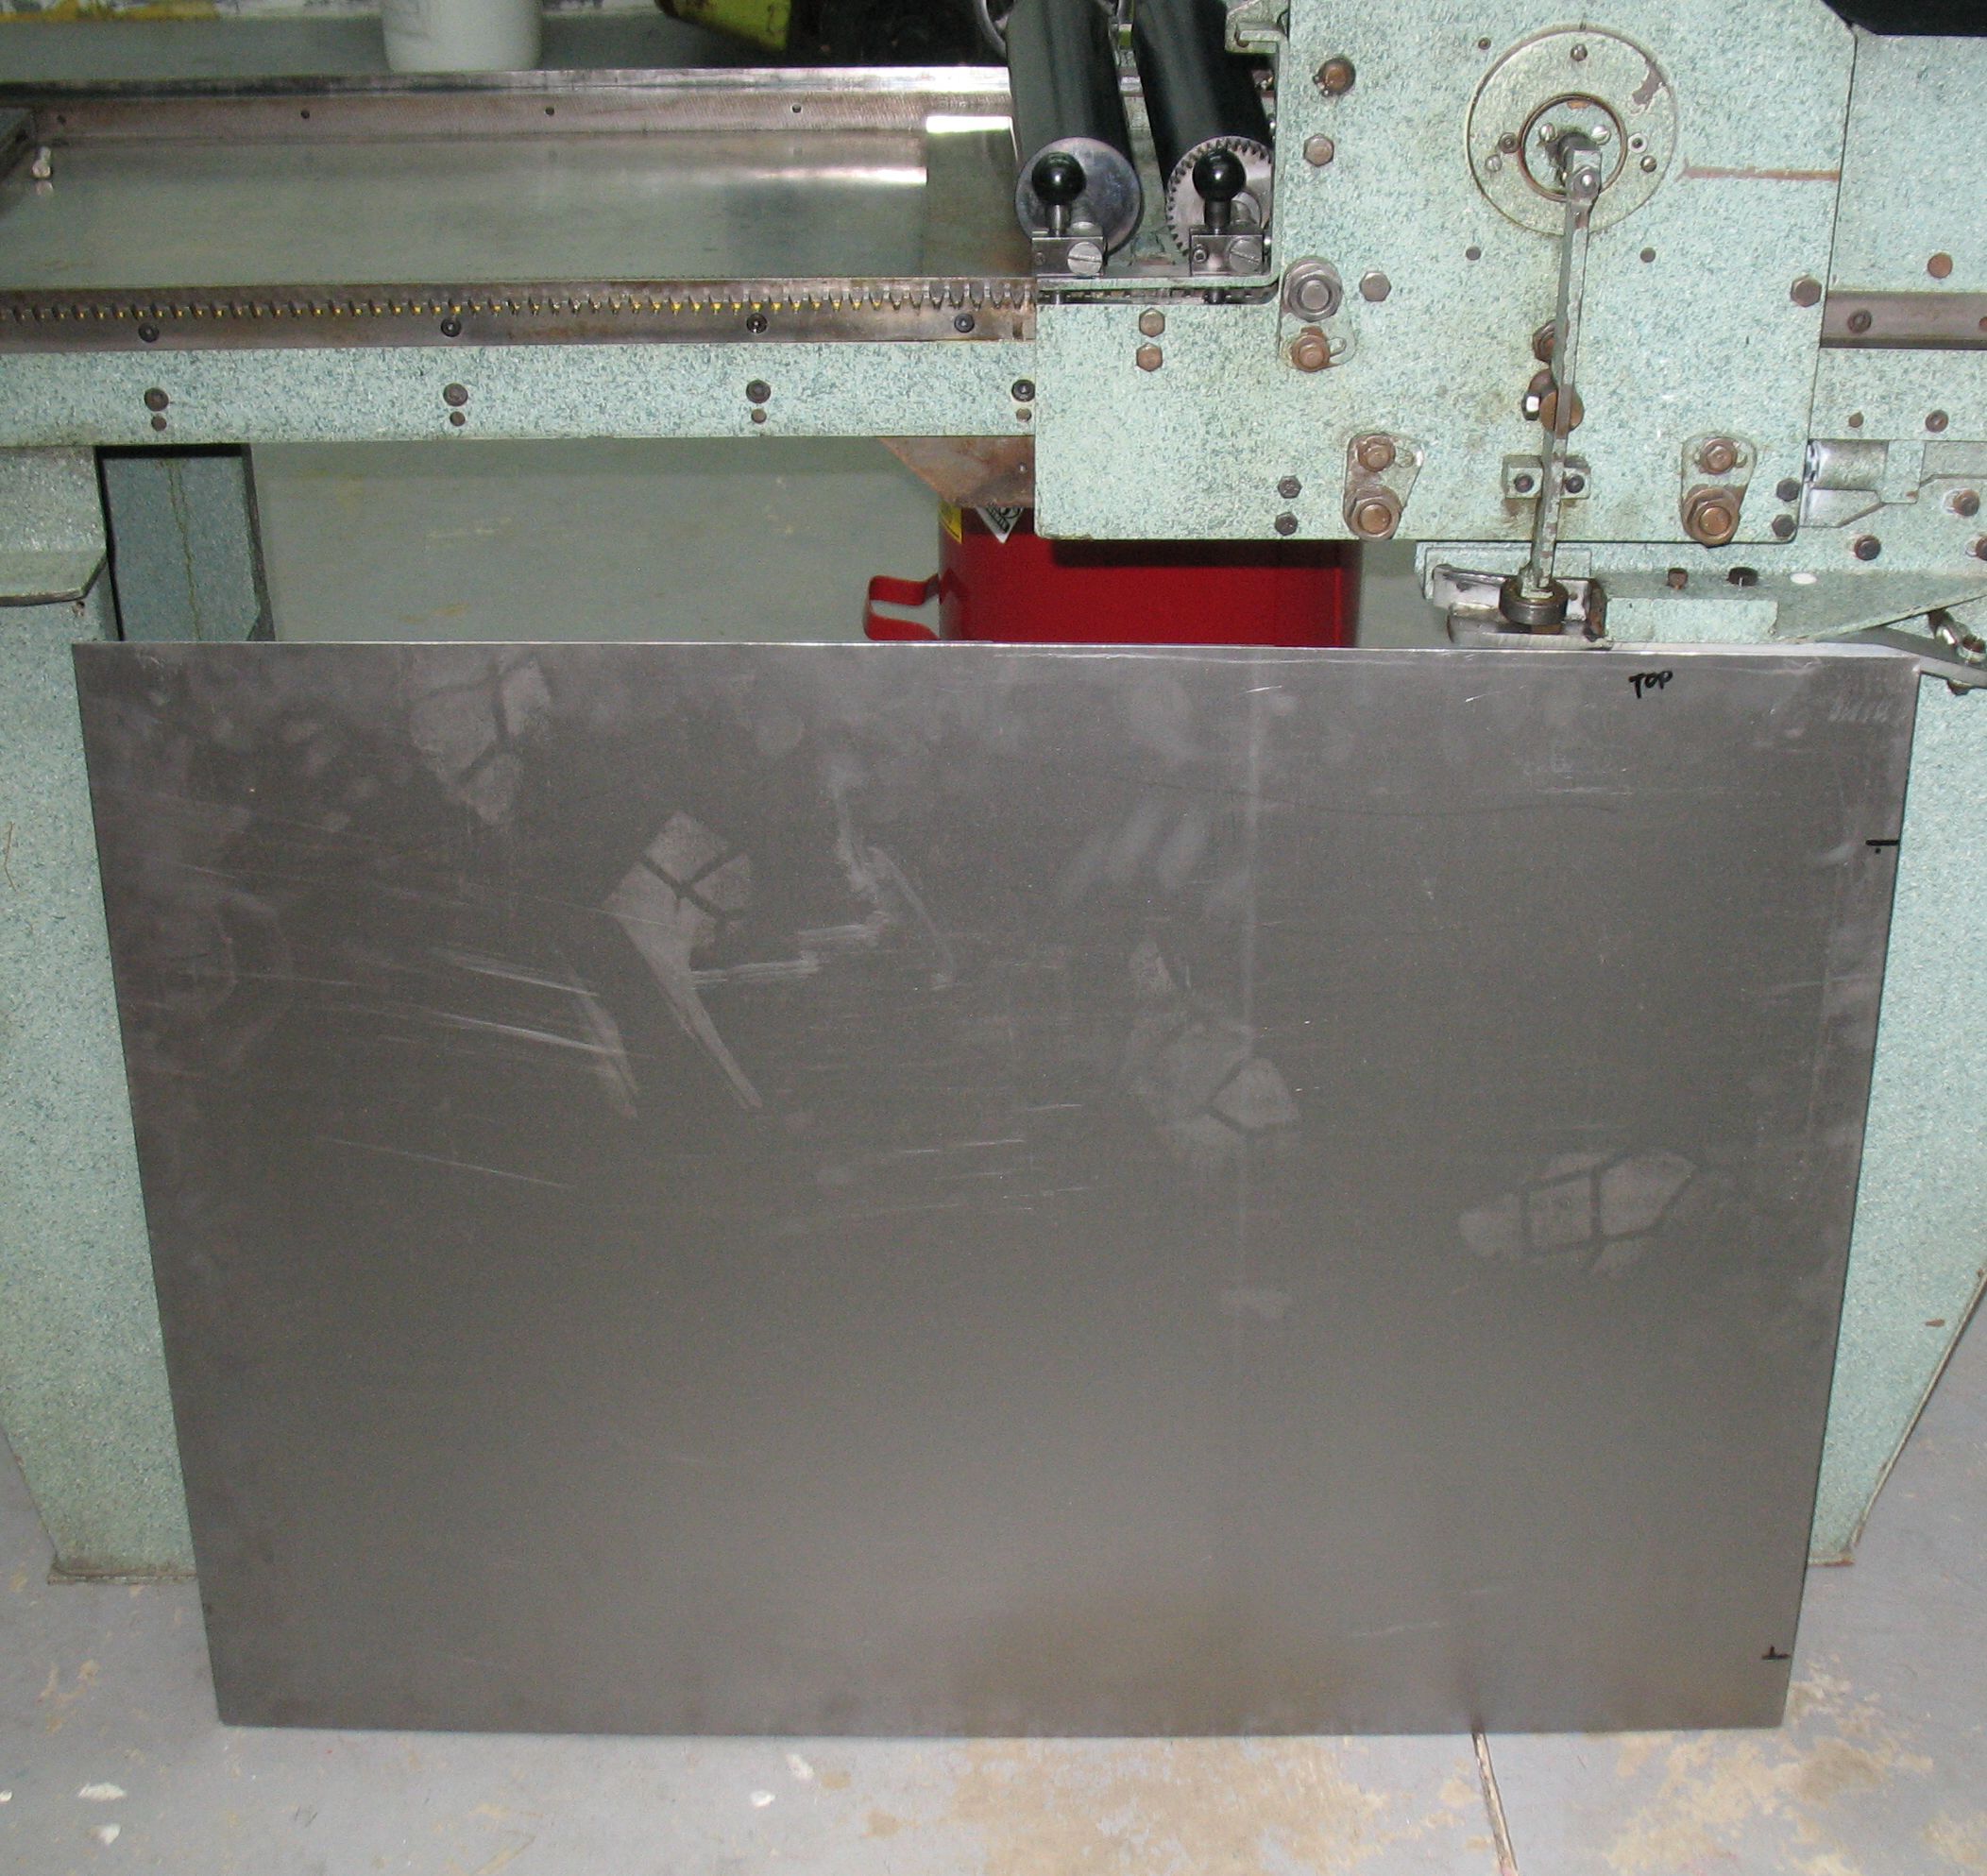
I started with a piece of 16 gauge steel sheet, cut to size by the supplier. I marked two of the screw holes by direct measurement and layout, drilled them, and used them to attach the back temporarily. Then I used a small felt-tip marker to mark the remaining holes from the front side of the press and drilled them as well.
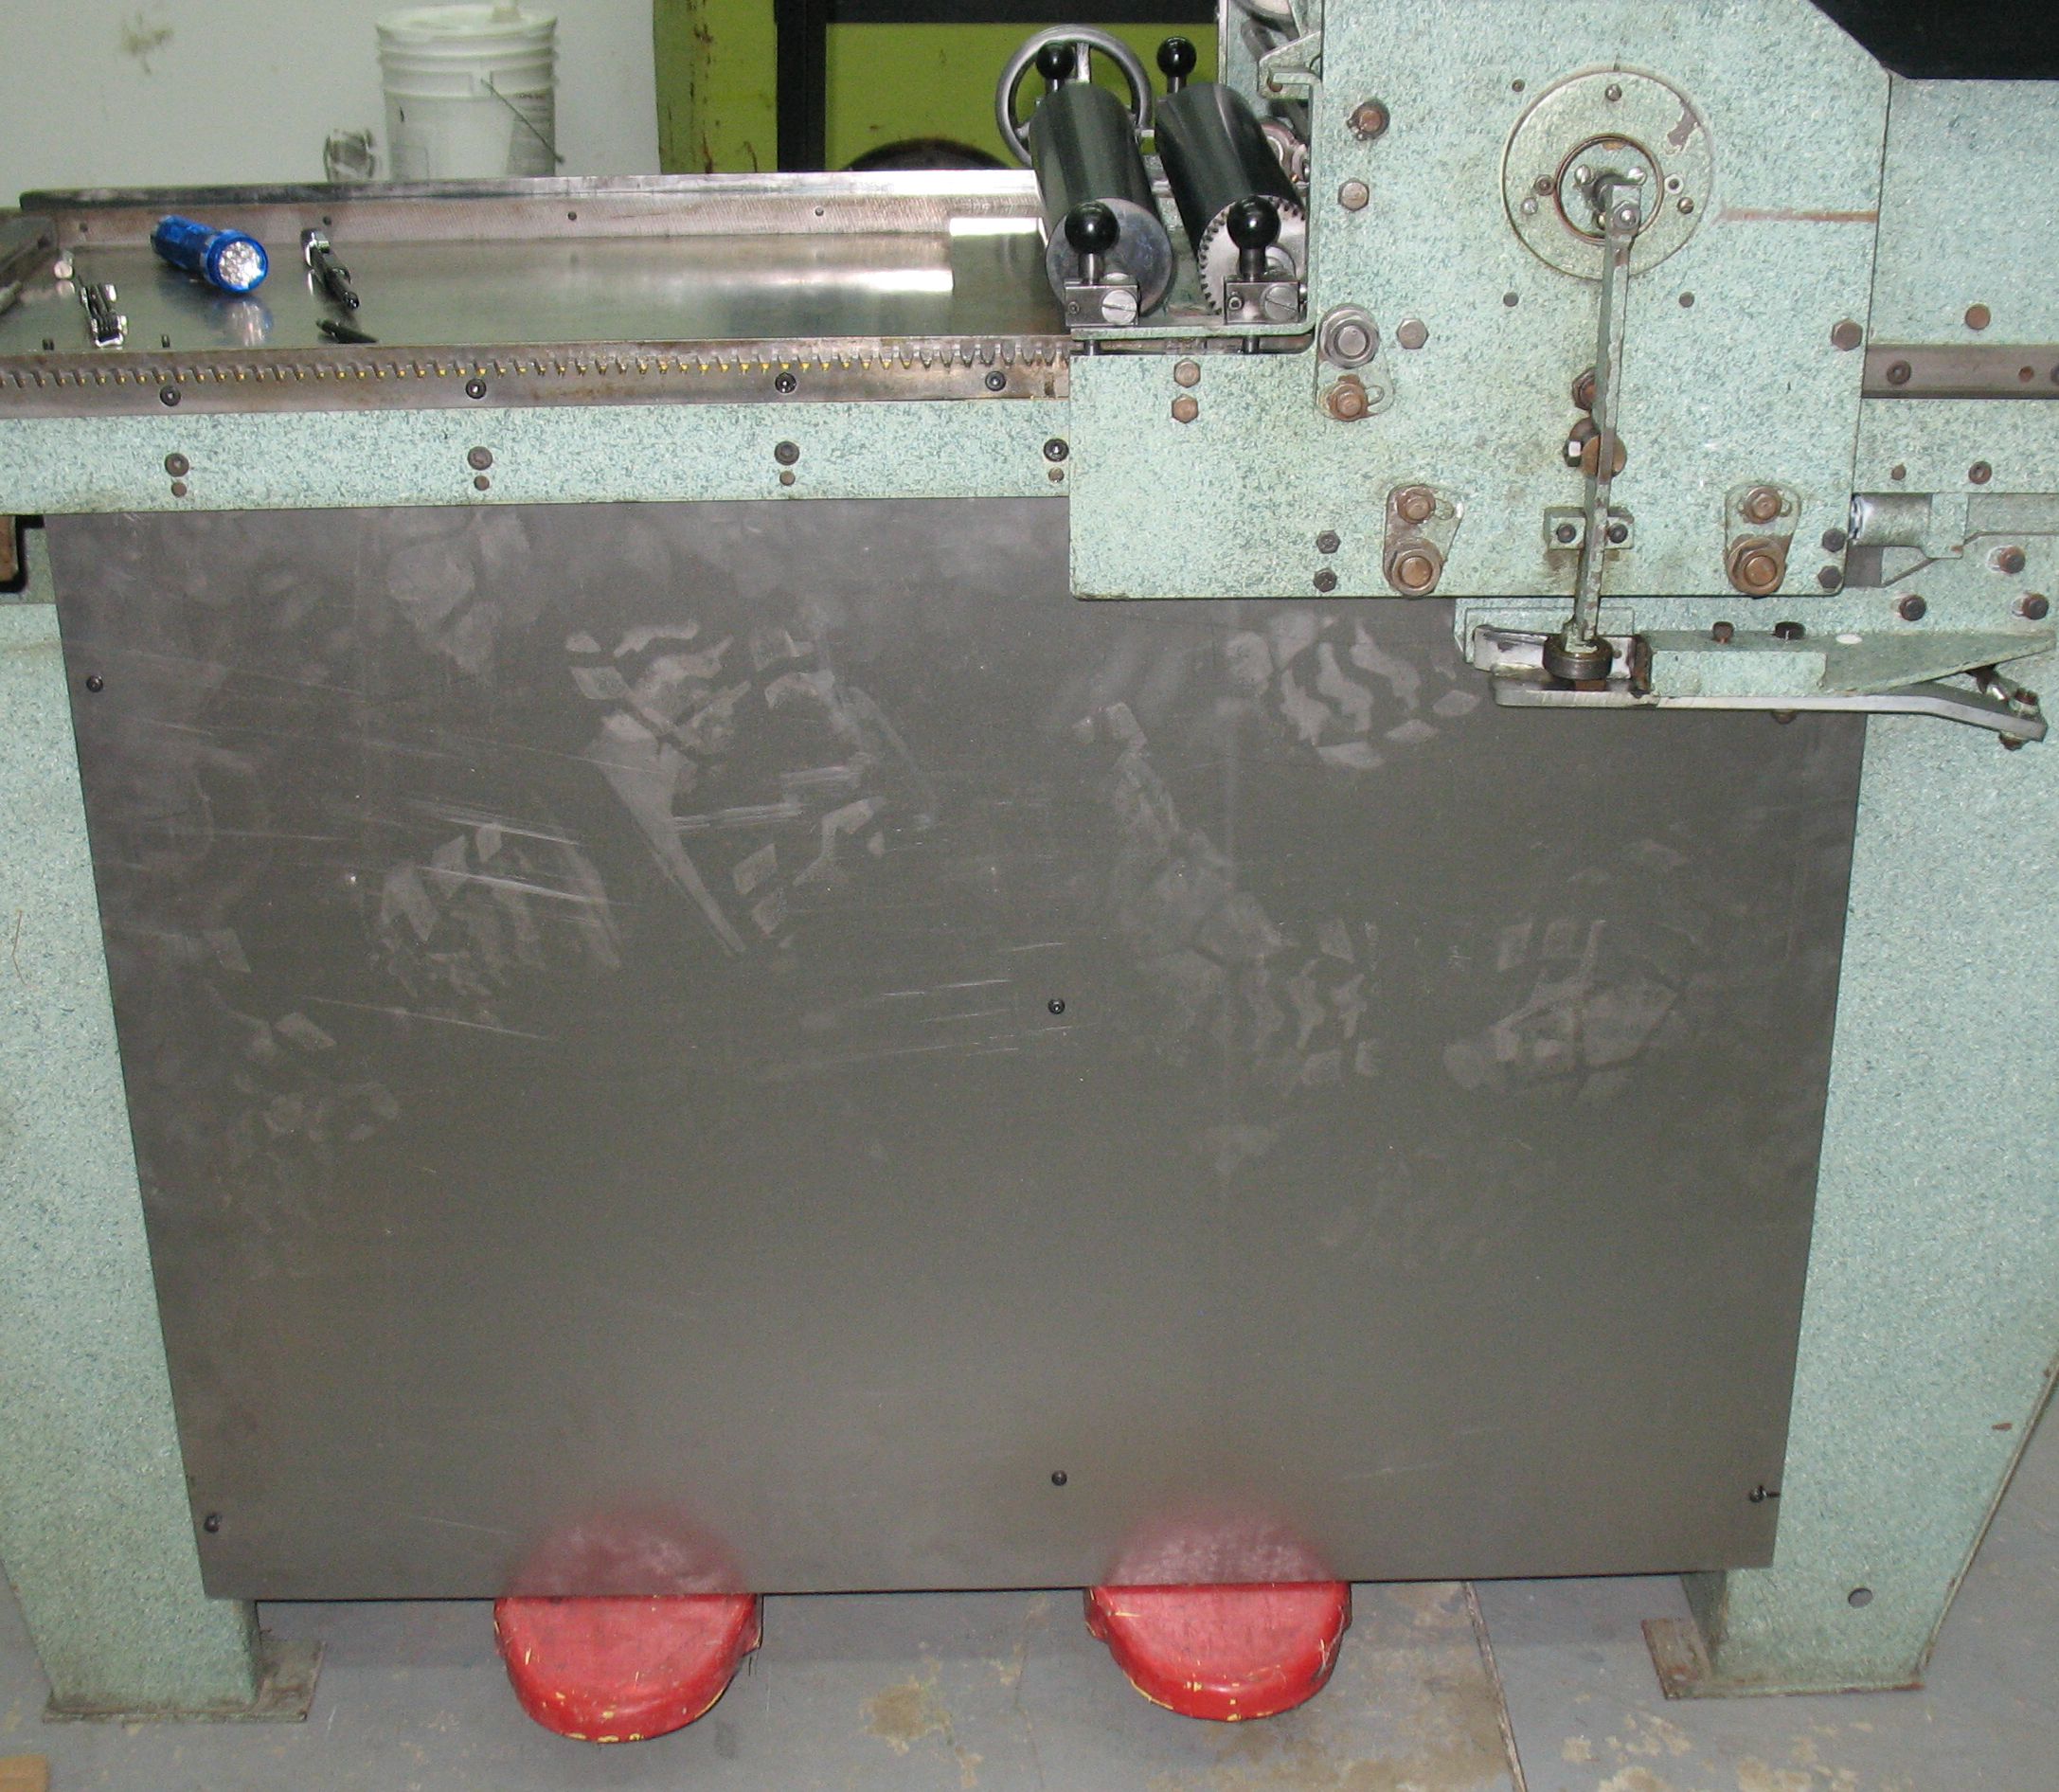
This is the back screwed in place for a test fit. I had to enlarge a couple of the holes to get their screws in.
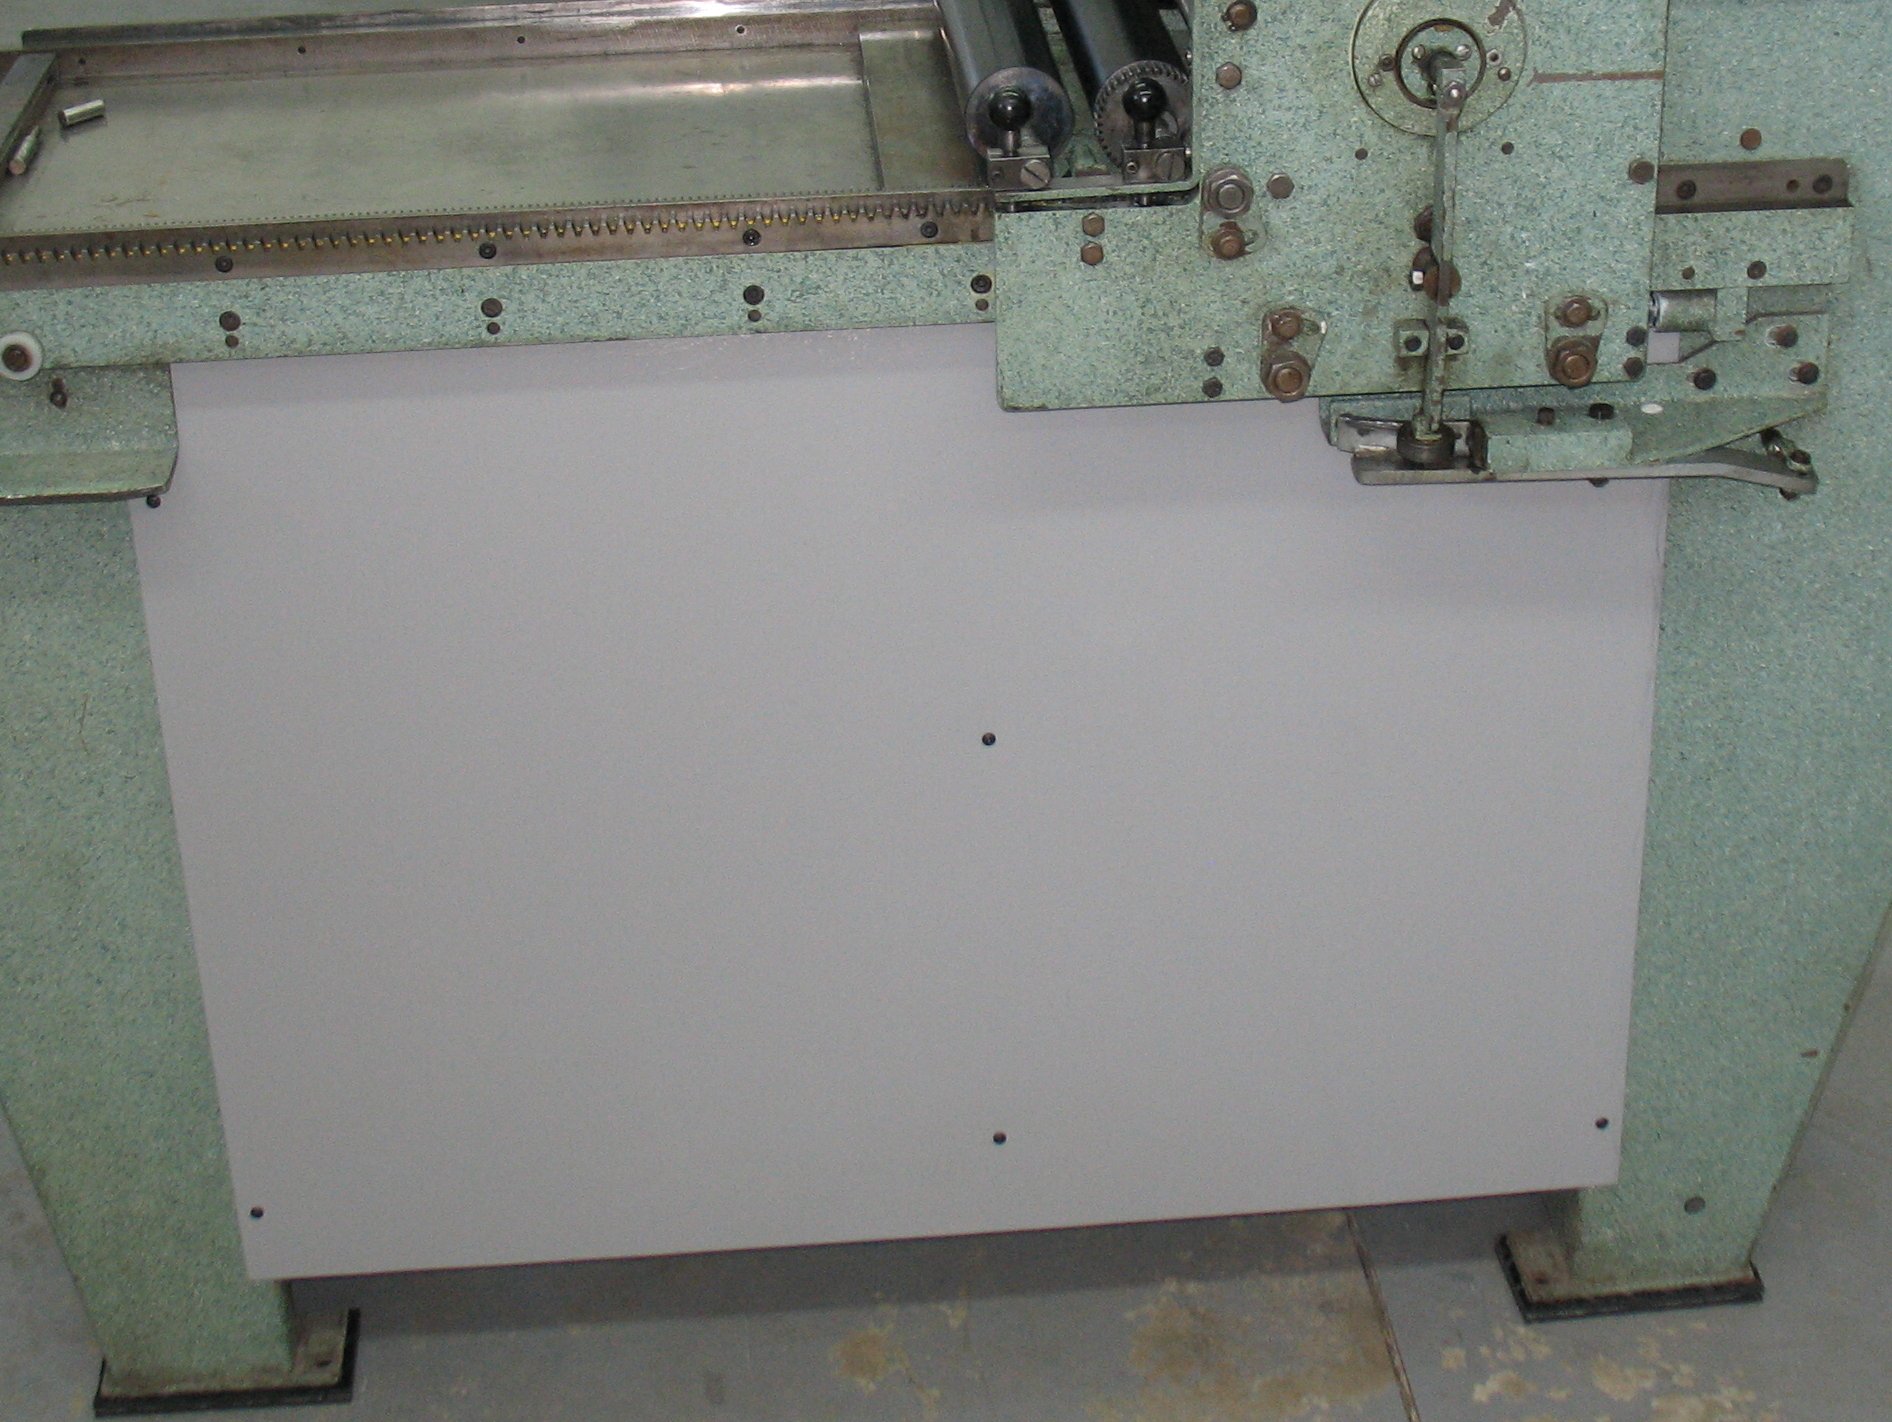
I removed the back again and painted both sides. I decided to skip trying to match the stippled green finish of the press and went for boring gray. There is also something to be said for using the paint I already have on hand. Once the paint was dry I reinstalled it and gave the carriage a few test runs. Things now seem a lot more rigid at the end of the carriage stroke.
Leave a Reply