
Several years ago I purchased at an auction a laboratory scale for doing precision weighing. Up until now it has sat in a corner collecting dust, covered with auction stickers and missing one cover.
I recently undertook to clean and fix it up. The scale is a Precisa 125A which has a range of 125g (about 4 ounces avdp) and a readability of 0.1mg (from later tests, that’s about the weight of a speck of dandruff).
The weighting platform is enclosed in a glass cabinet to keep it clean and also so air currents don’t disturb the weighing. This cabinet was missing its top cover although the handle for the cover was included. The remaining glass and cabinet frame had residue of masking tape adhesive, dust, and a sticker from the auction.
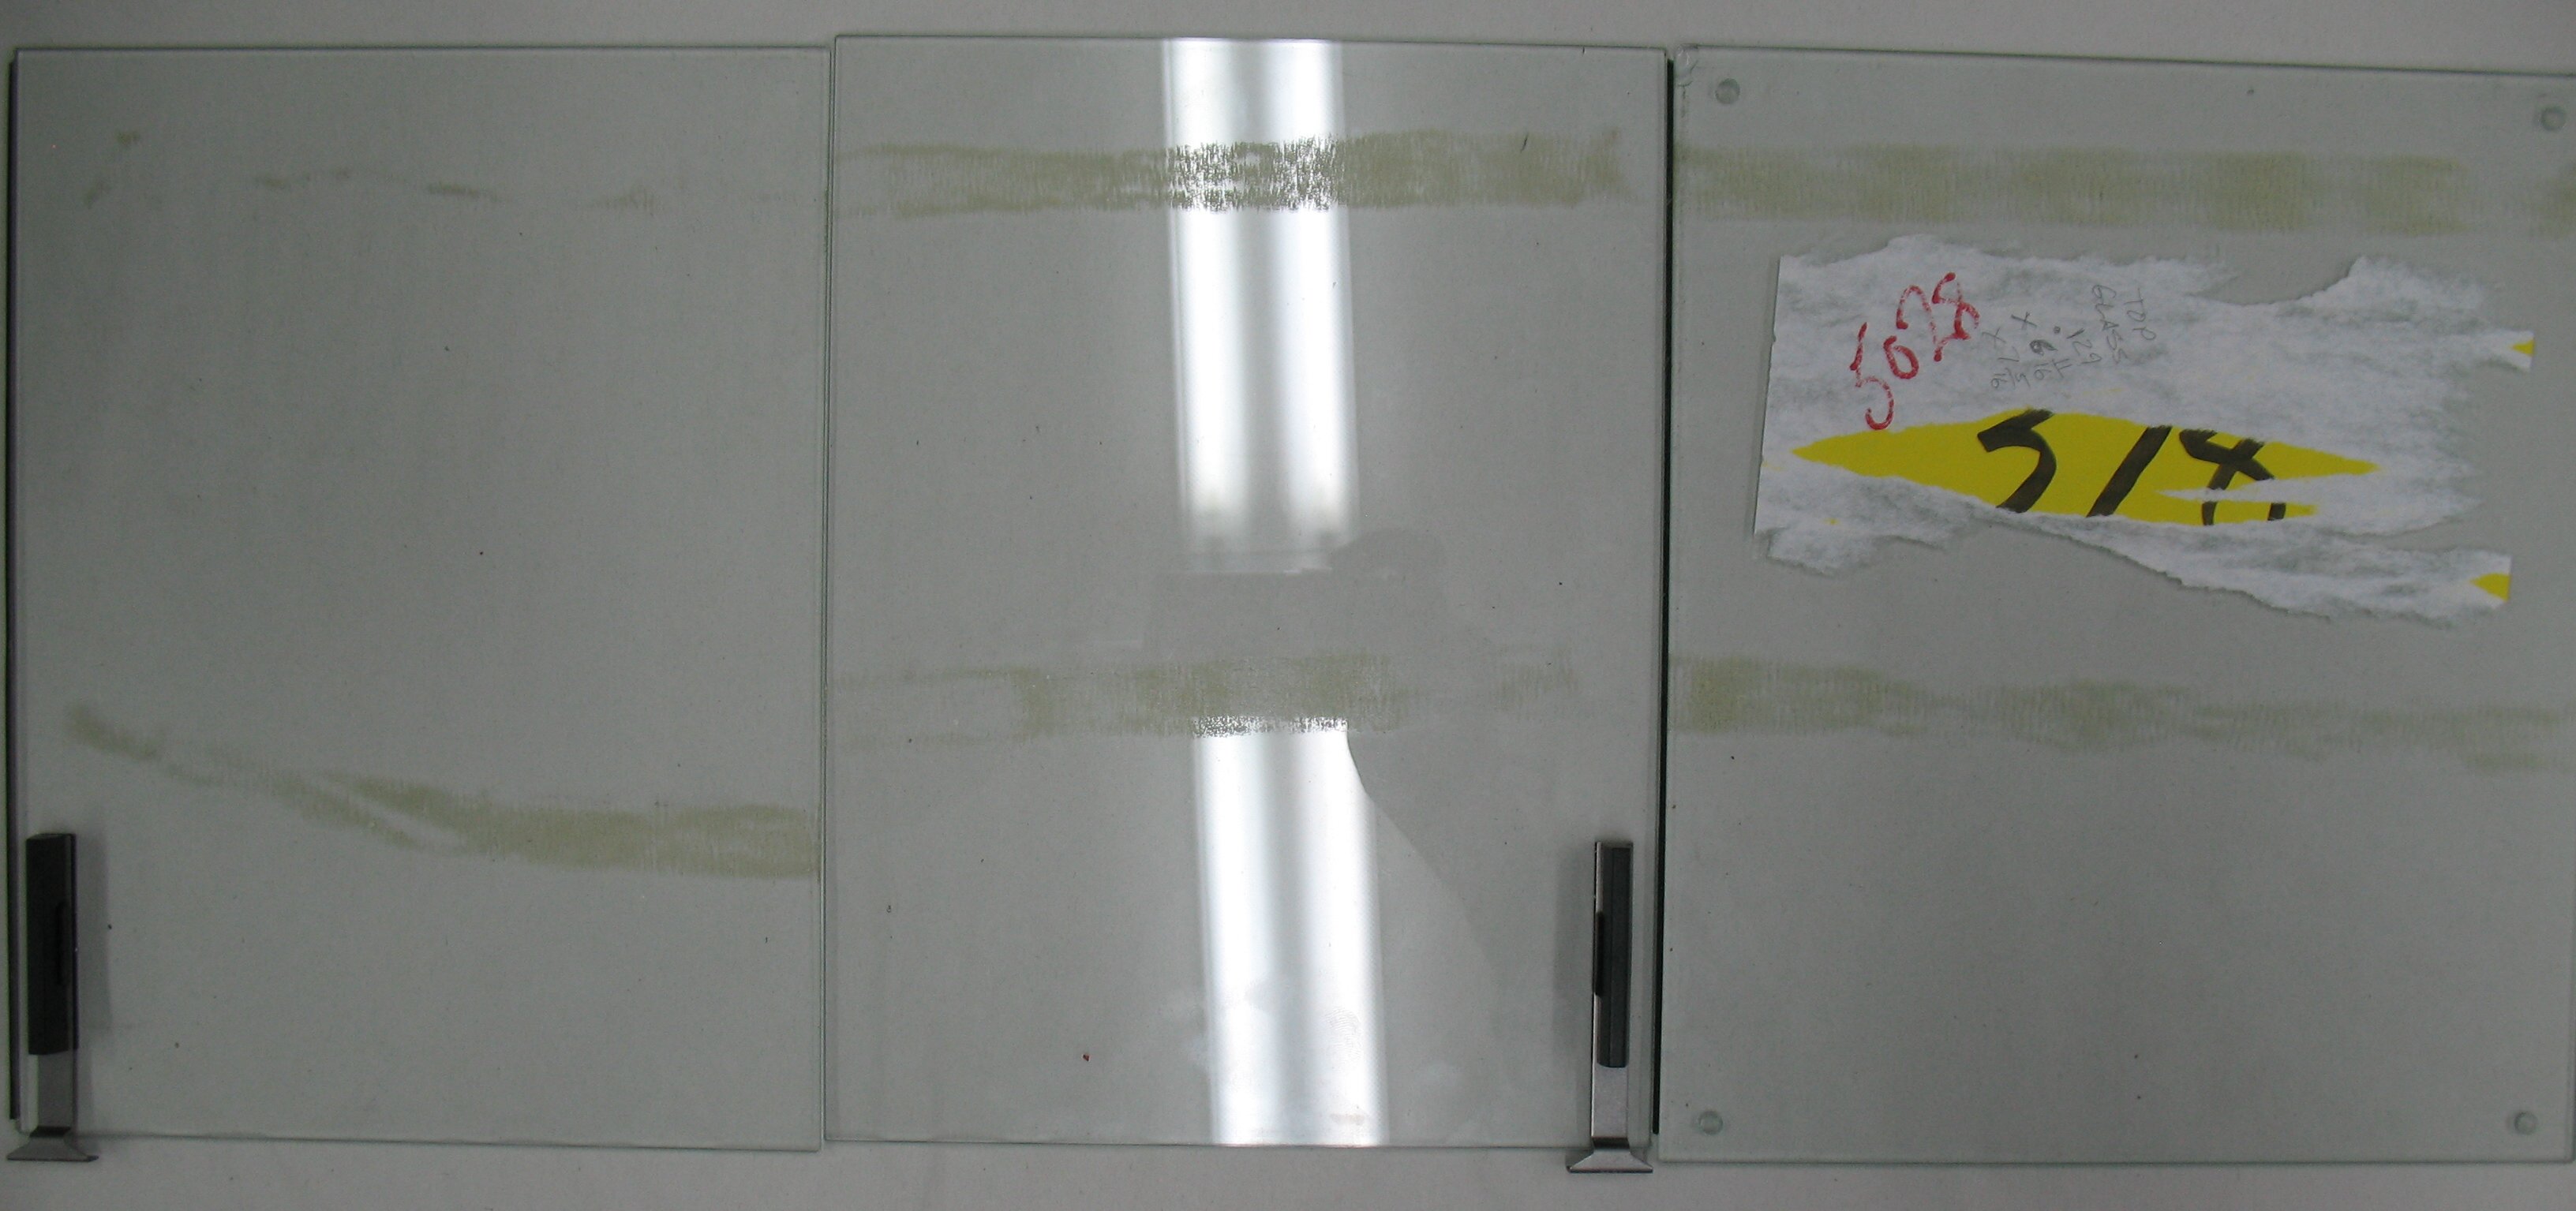 Some work with lighter fluid and a plastic scraper blade, followed by glass cleaner, gave me 3 clean panes.
 I cut a piece of 1/16″ glass to fit the top. The rough cut was a bit too wide so I used a diamond cutting disk in my Dremel to remove a bit of the width. Then I polished all the edges smooth and round using a coarse diamond sharpening stone with soapy water to lubricate the work and wash away the glass dust.
I set up my Dremel drill press with a ⅛″ diamond grinding bit to drill the holes.
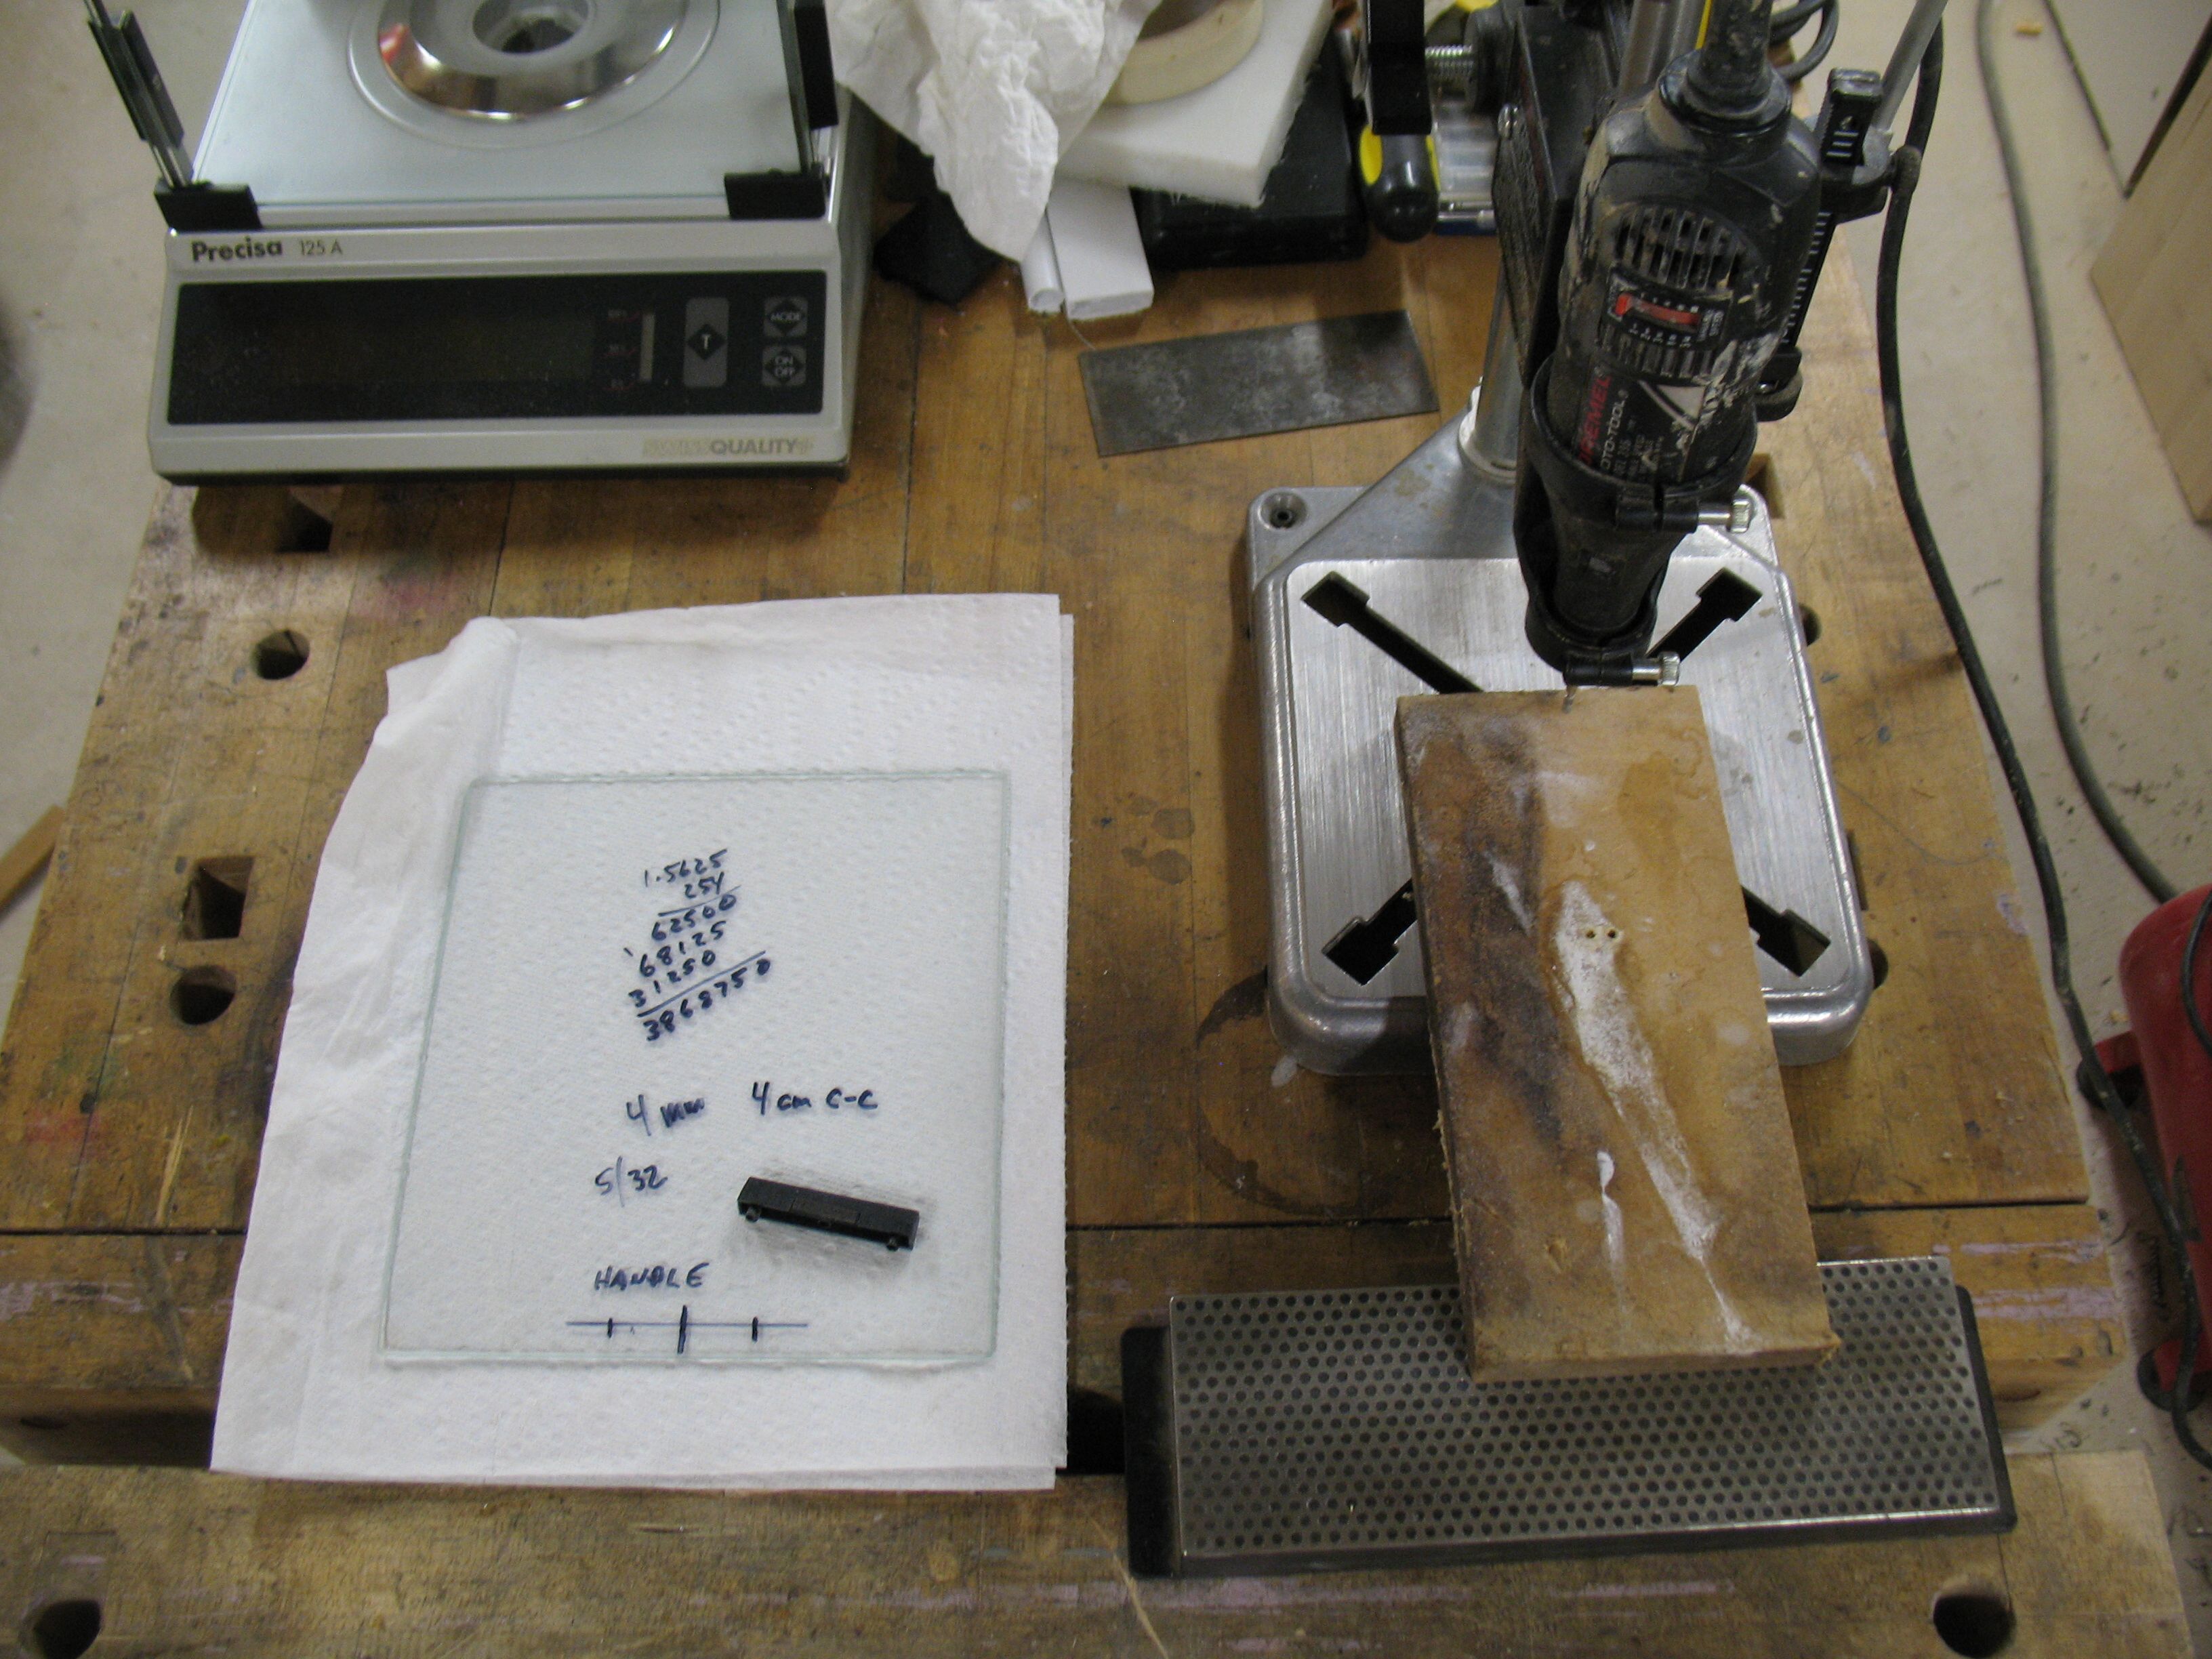 The diamond sharpening stone also turned out to be just the right height to support the scrap board that would hold the glass for drilling. The handle for the top cover is sitting on the glass, and needs two 4mm holes 4cm apart. I have a video of me drilling the holes and enlarging them to 4mm.
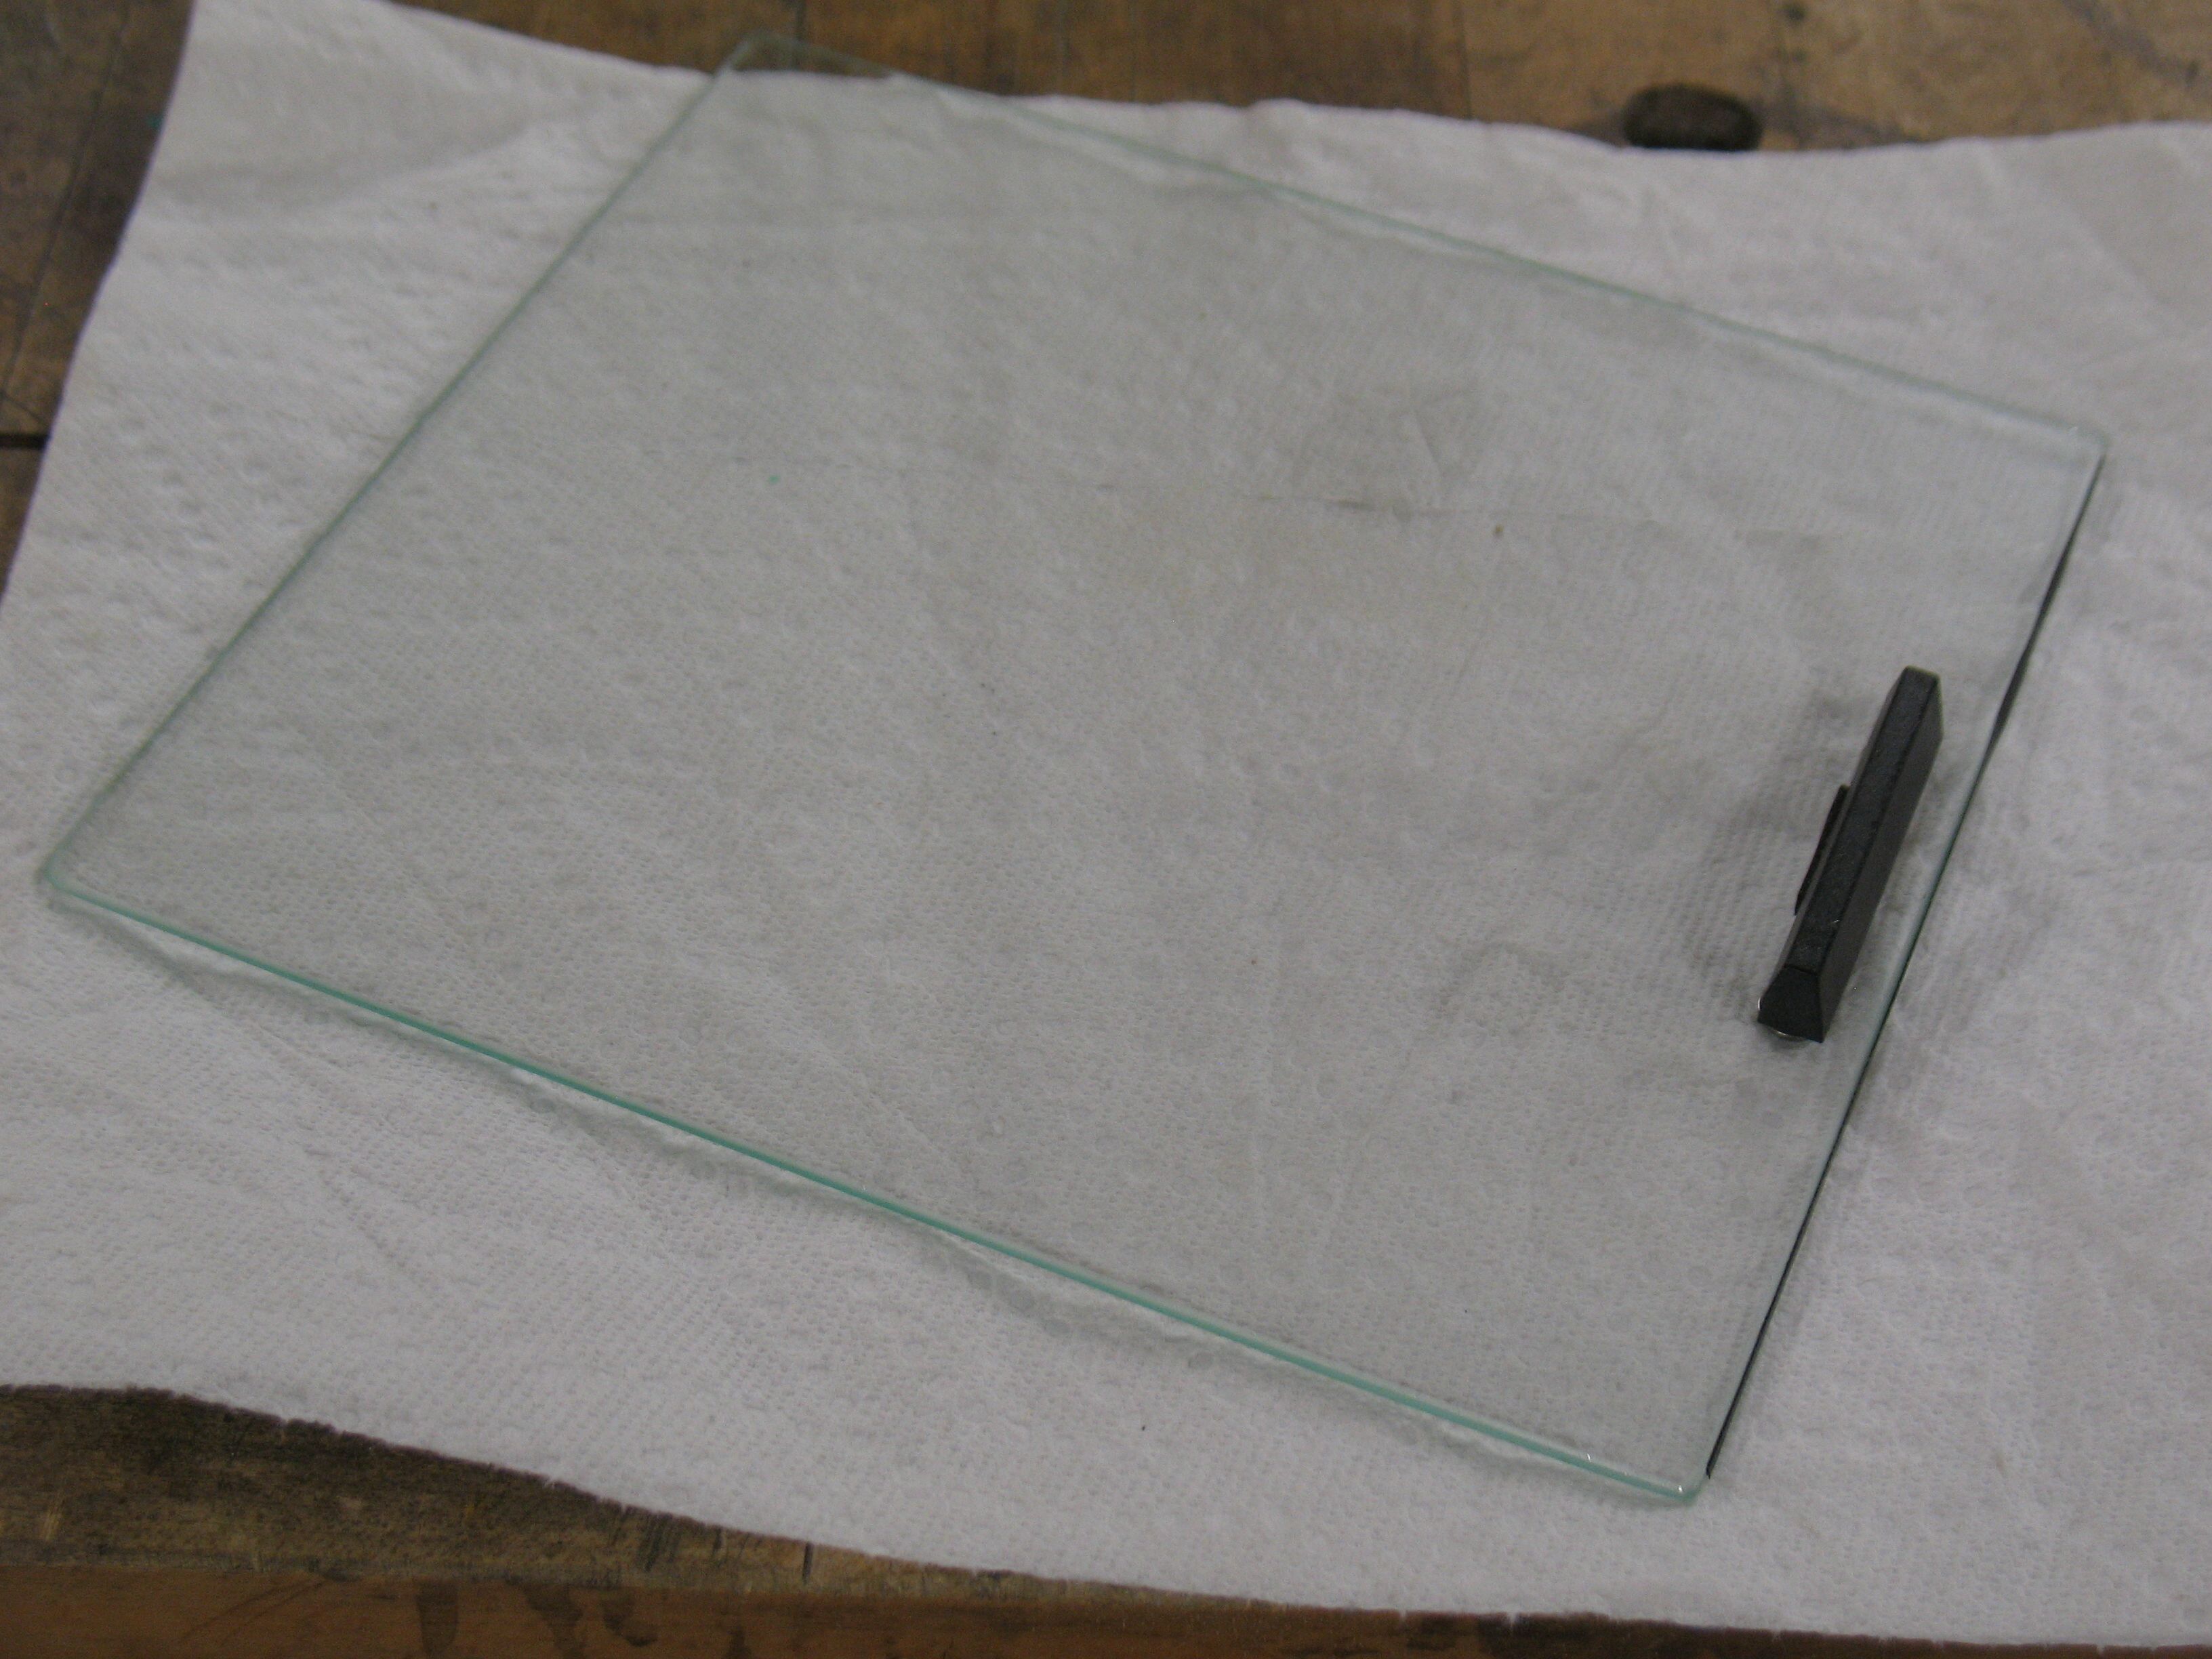
Here is the top cover with the handle attached. I used two tiny screws and washers recovered from dead computer equipment to hold it on. I also placed a narrow strip cut from PVC electrical tape along one edge to act as a bumper and dust seal where this cover meets the front glass of the cabinet. I use my heat gun to eliminate any stretch in the tape (from unrolling it) before applying it to the glass in the hopes that this will reduce the tendency to peel. There are already similar strips on the two side covers.
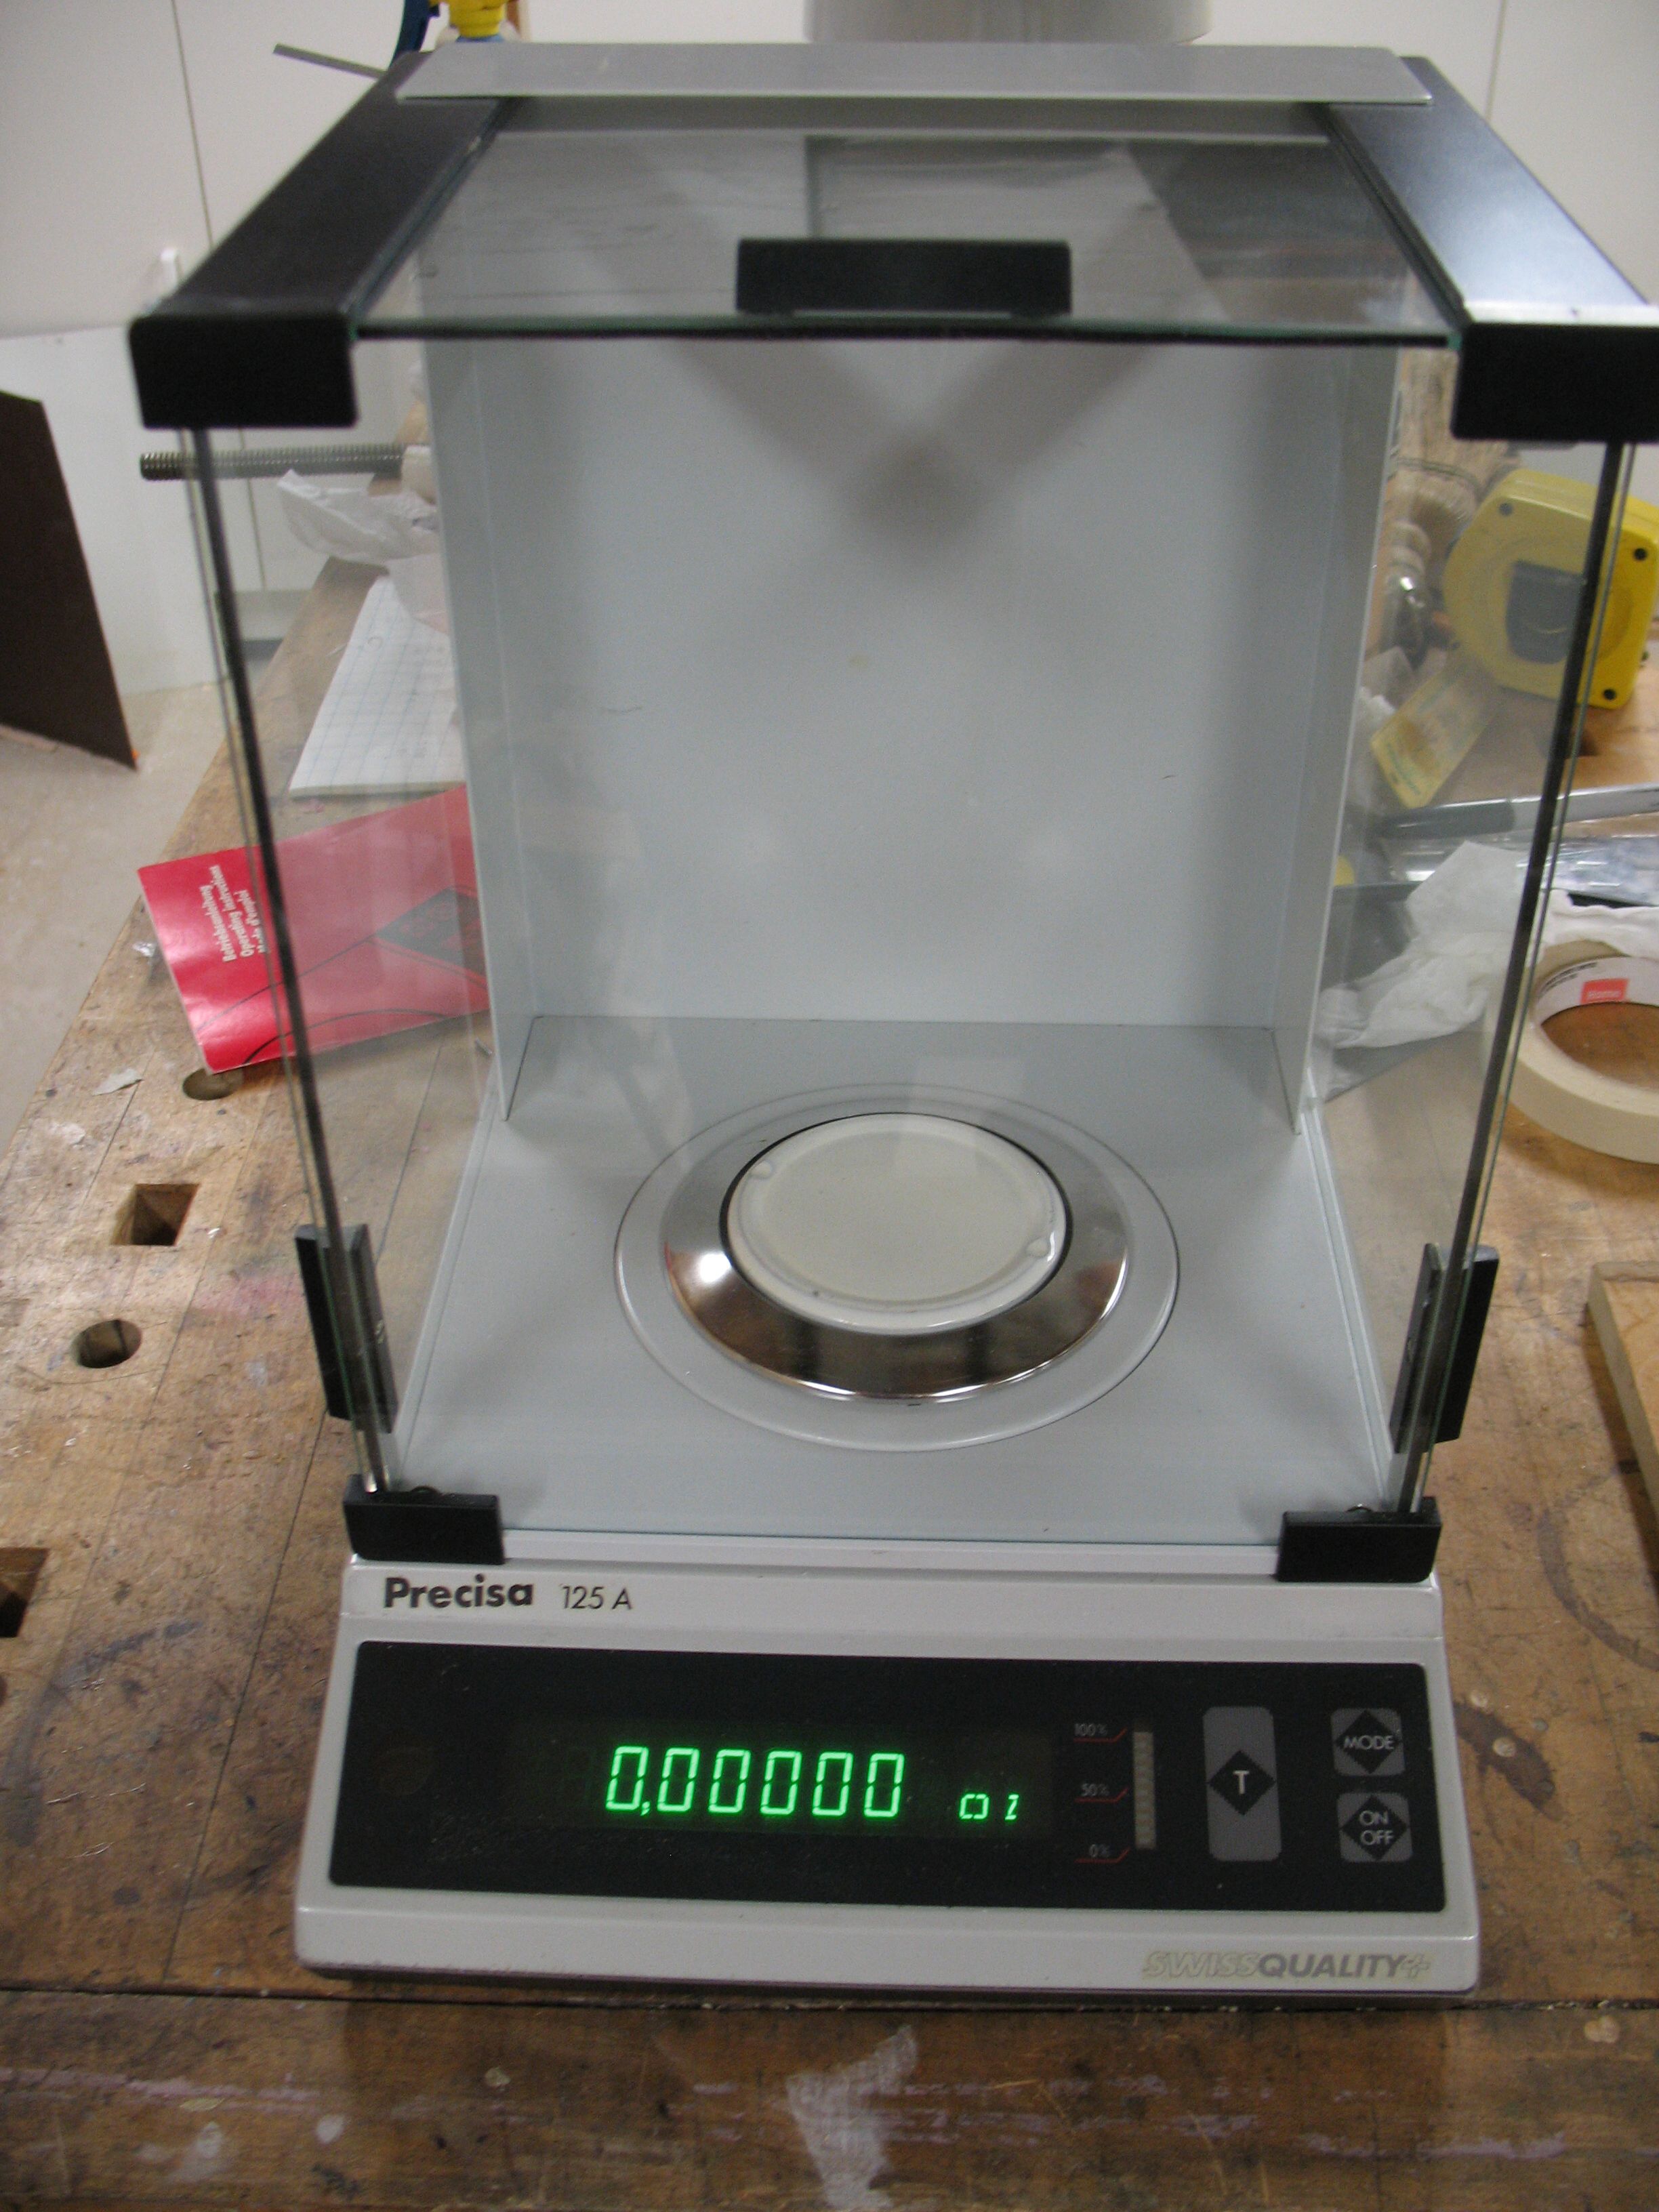
 Here is the scale all cleaned up with the cabinet assembled.
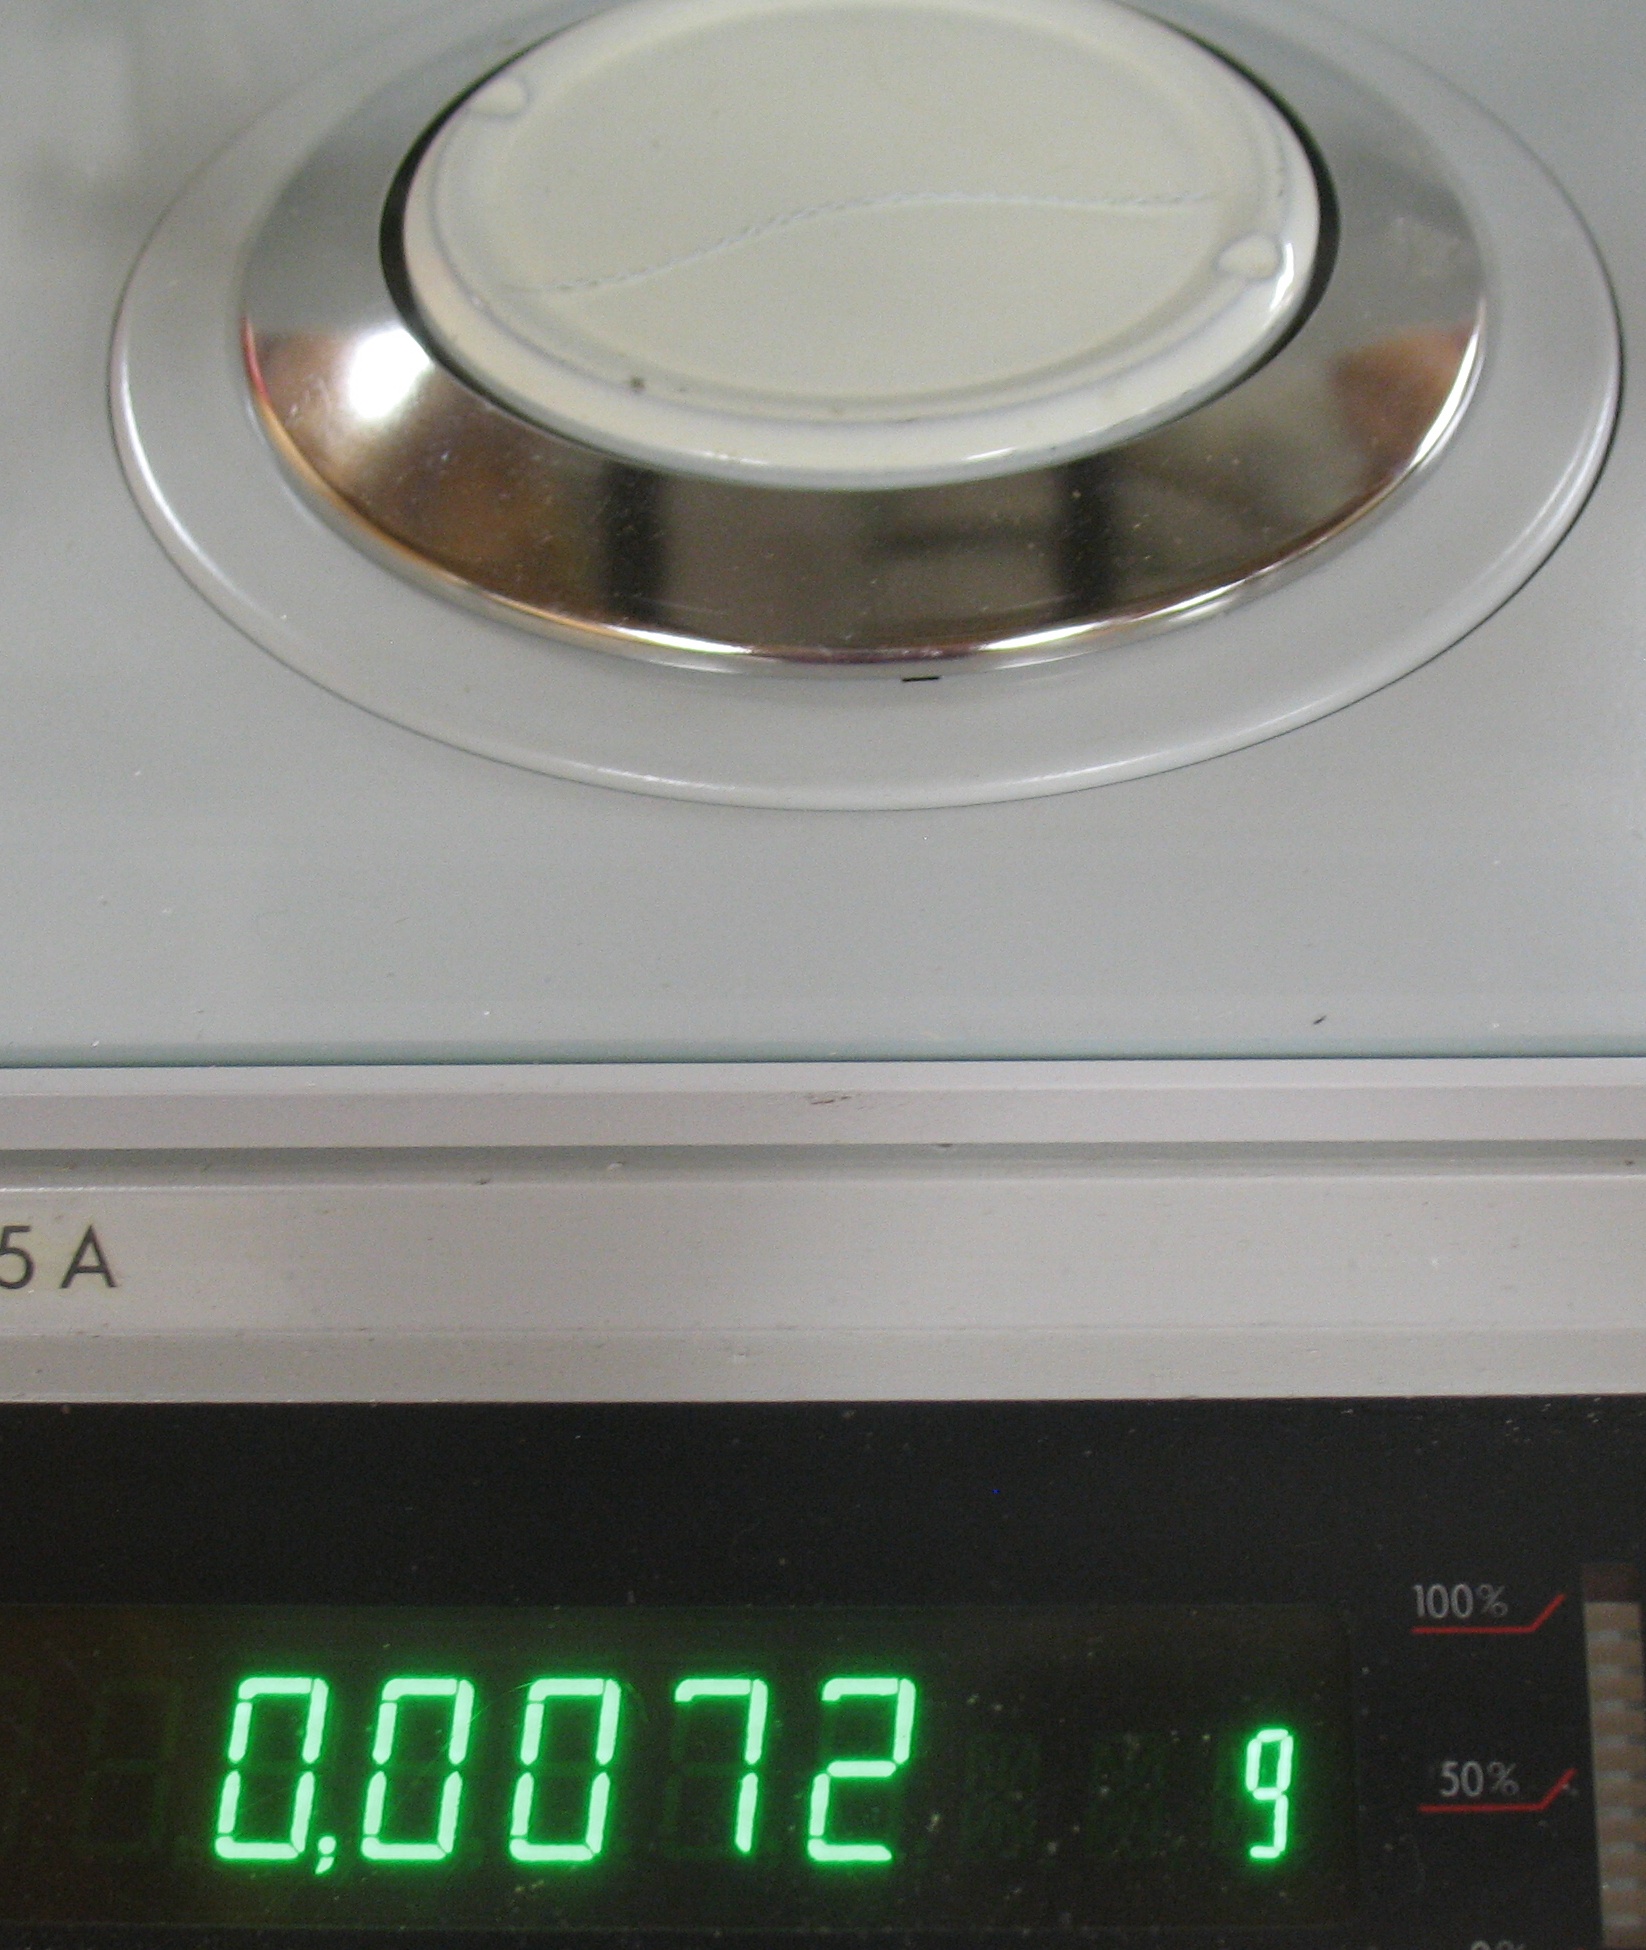
 And here it is weighing a short length of clear plastic (likely polypropylene) filament, weighing in at 7.2 milligrams. I couldn’t find anything in my shop that I could see and pick up that weighed less than about 5mg. I suppose I should have tried a shorter length of the filament.
 Now that I have a precision scale I can try using my pycnometer to measure the water content of our glycerin.
Another project has now suggested itself: a dust cover for this scale, including pockets for the power cord and manual. While I’m at it I should also make covers for my microscope and the binocular scope mounted on my lathe.
Leave a Reply