
The first parts of my 10-point mould to be cleaned and reassembled are those that form the mould blade. The flat end of this blade forms one side of the cast type, and the caster adjusts the width of the type by the position of this blade. A separate top section of the blade can remain closed to cast a low space rather than the character formed on the mat positioned over the mould. The blade also ejects the finished type from the mould cavity.
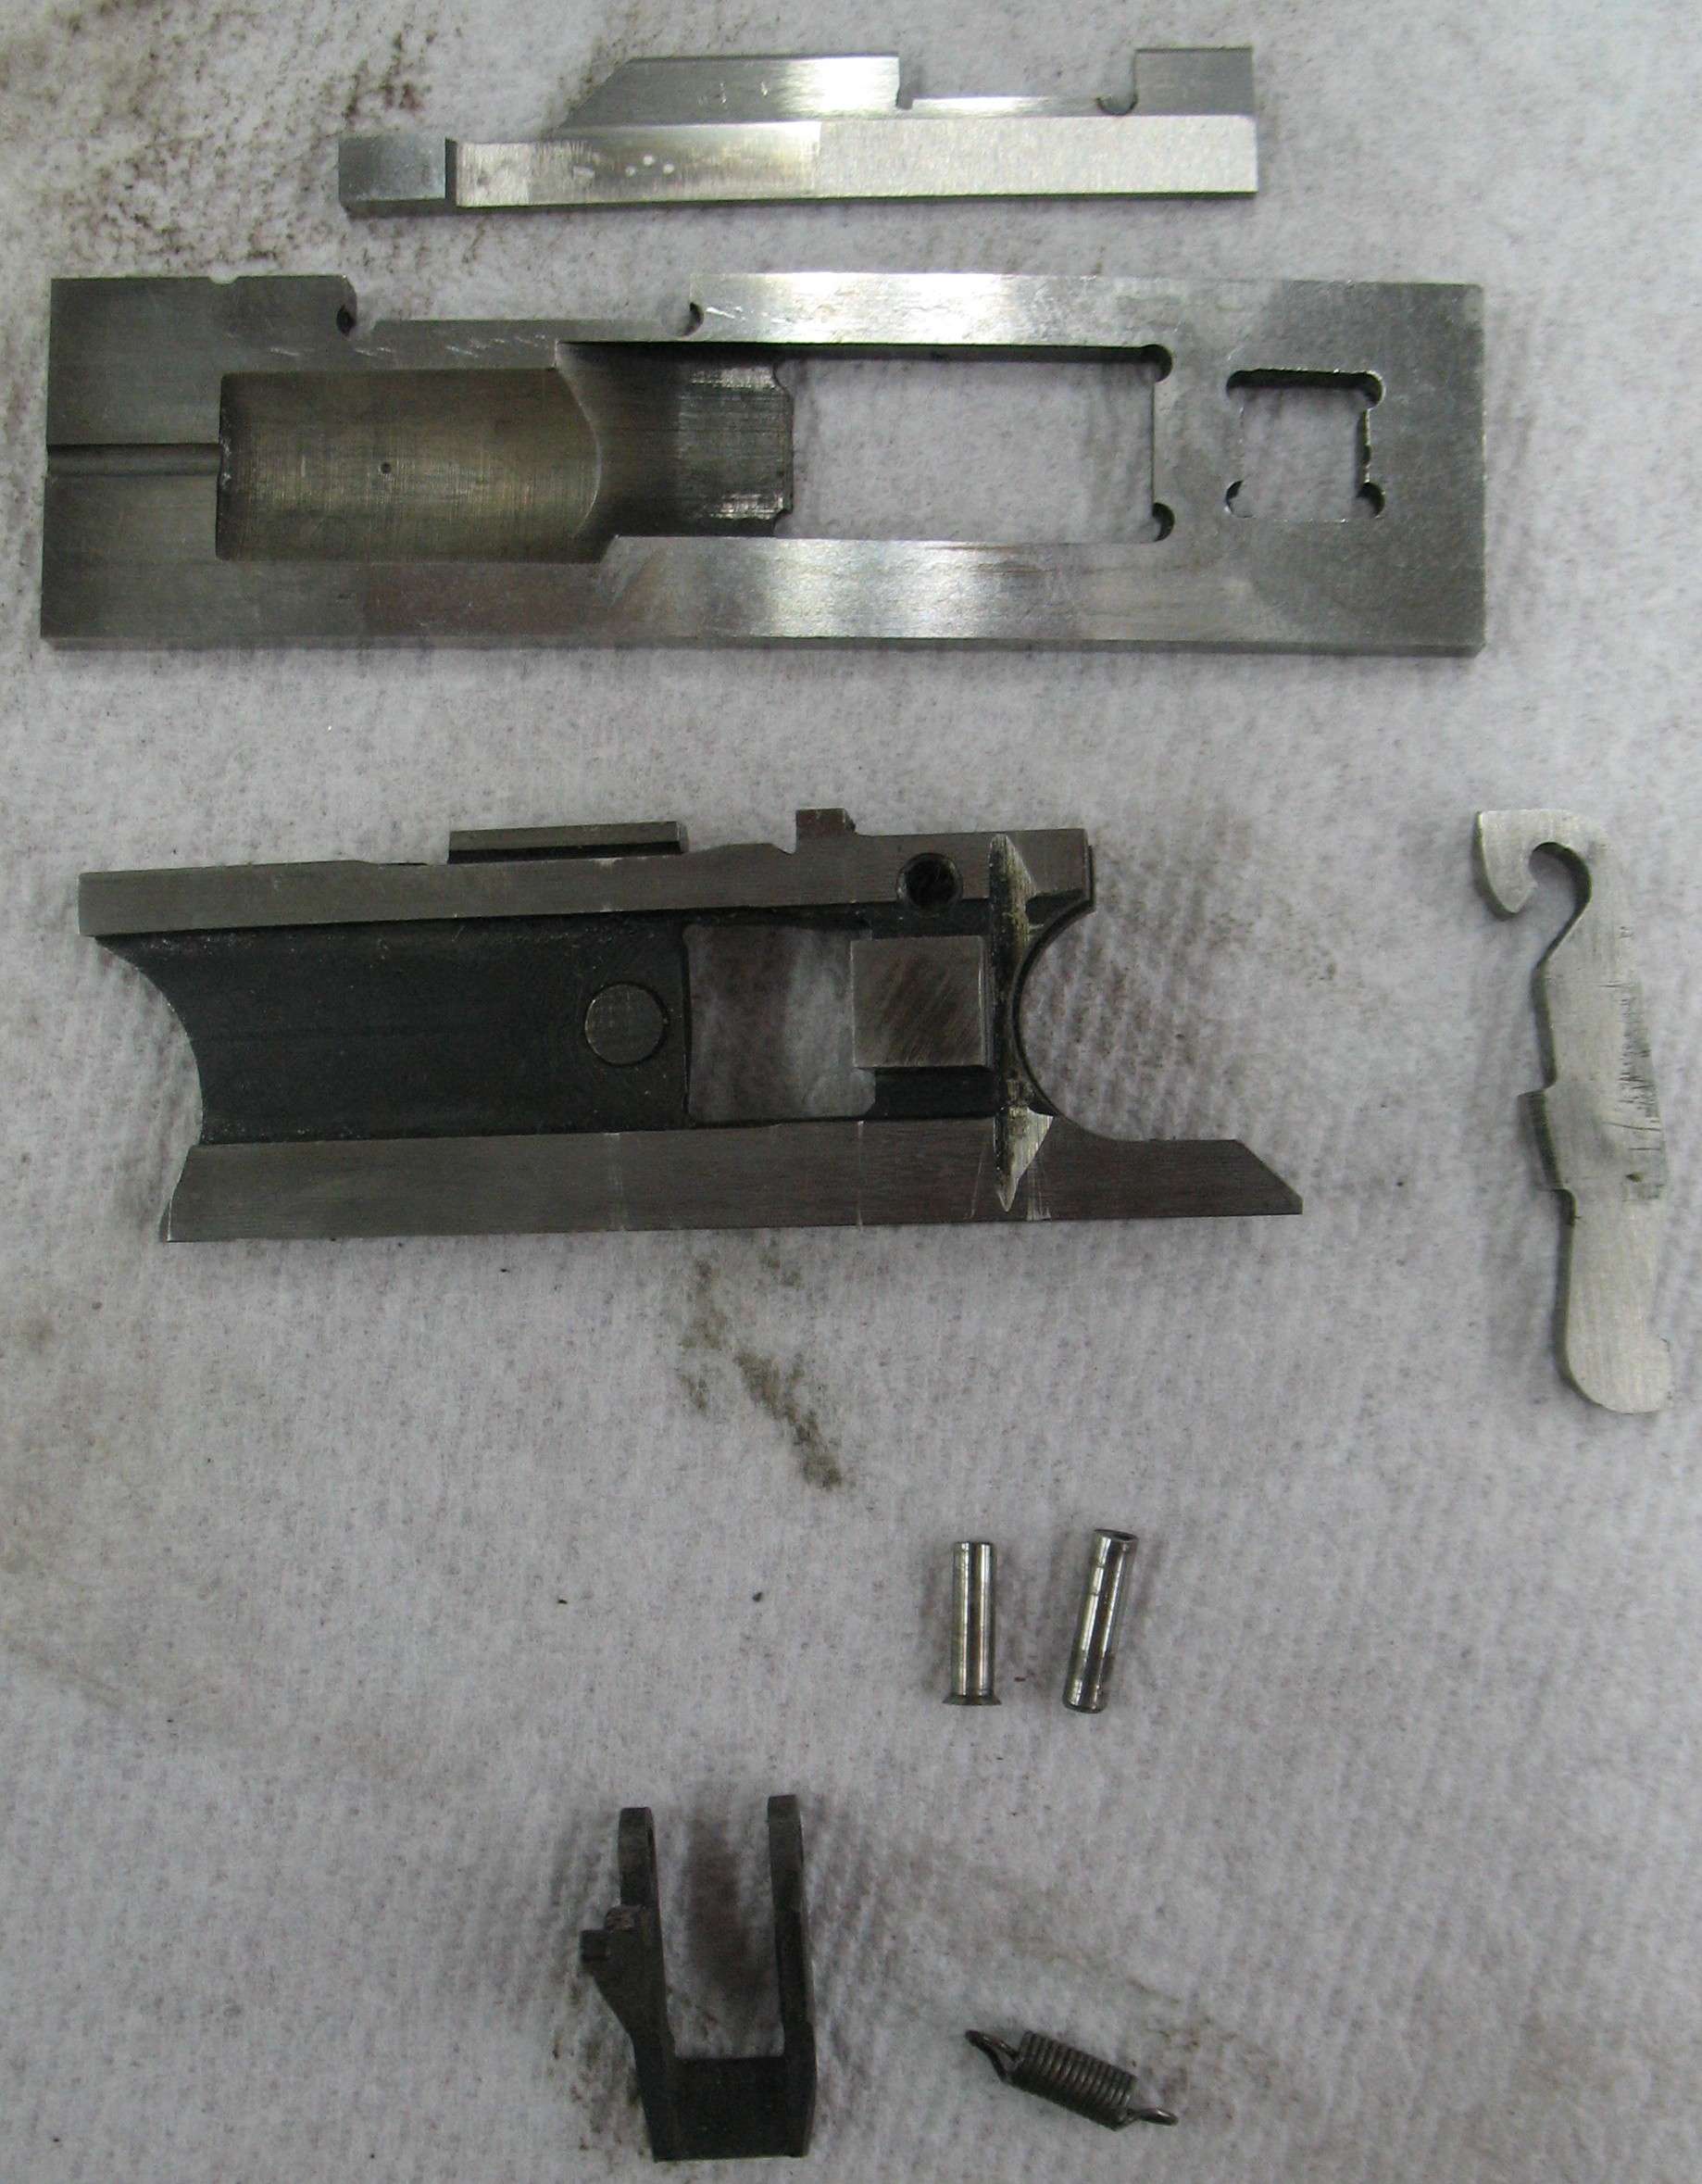 The main parts of the blade are the Upper Mould Blade, the Lower Mould Blade, and the Mould Blade Carrier. Below them are a couple of pivot pins, a spring, and the Mould Blade Carrier Latch. On the right is the lever that selects whether the upper blade opens for normal casting or remains closed for a low space.
The caster moves the lower mould blade using the square hole near its right end. The carrier latch normally makes the blade carrier move in unison with the lower blade, and the upper blade always moves with the carrier. Thus the upper and lower blades normally move together.
For low space casting, the lever releases the carrier latch and also pushes the carrier to the closed position, so the lower blade still moves as selected by the caster but the upper blade remains closed.
I suspect that my mould might be made from parts from several other moulds. In particular, the upper blade is wider (by about 0.001″) than the lower blade and also sticks out a bit (I didn’t measure this but it was enough to snag my fingernail). This would imply to me that the upper blade is a newer replacement. The two sides of the mould, between which the blade slides, also show a wear pattern consistent with the upper blade being wider. I’ll have to keep this in mind if there are problems with the cast type. This could also be compensation for differences in thermal expansion when the mould gets hot in use, although the width difference is close to 1% which is quite a bit more than I would expect for any expansion.
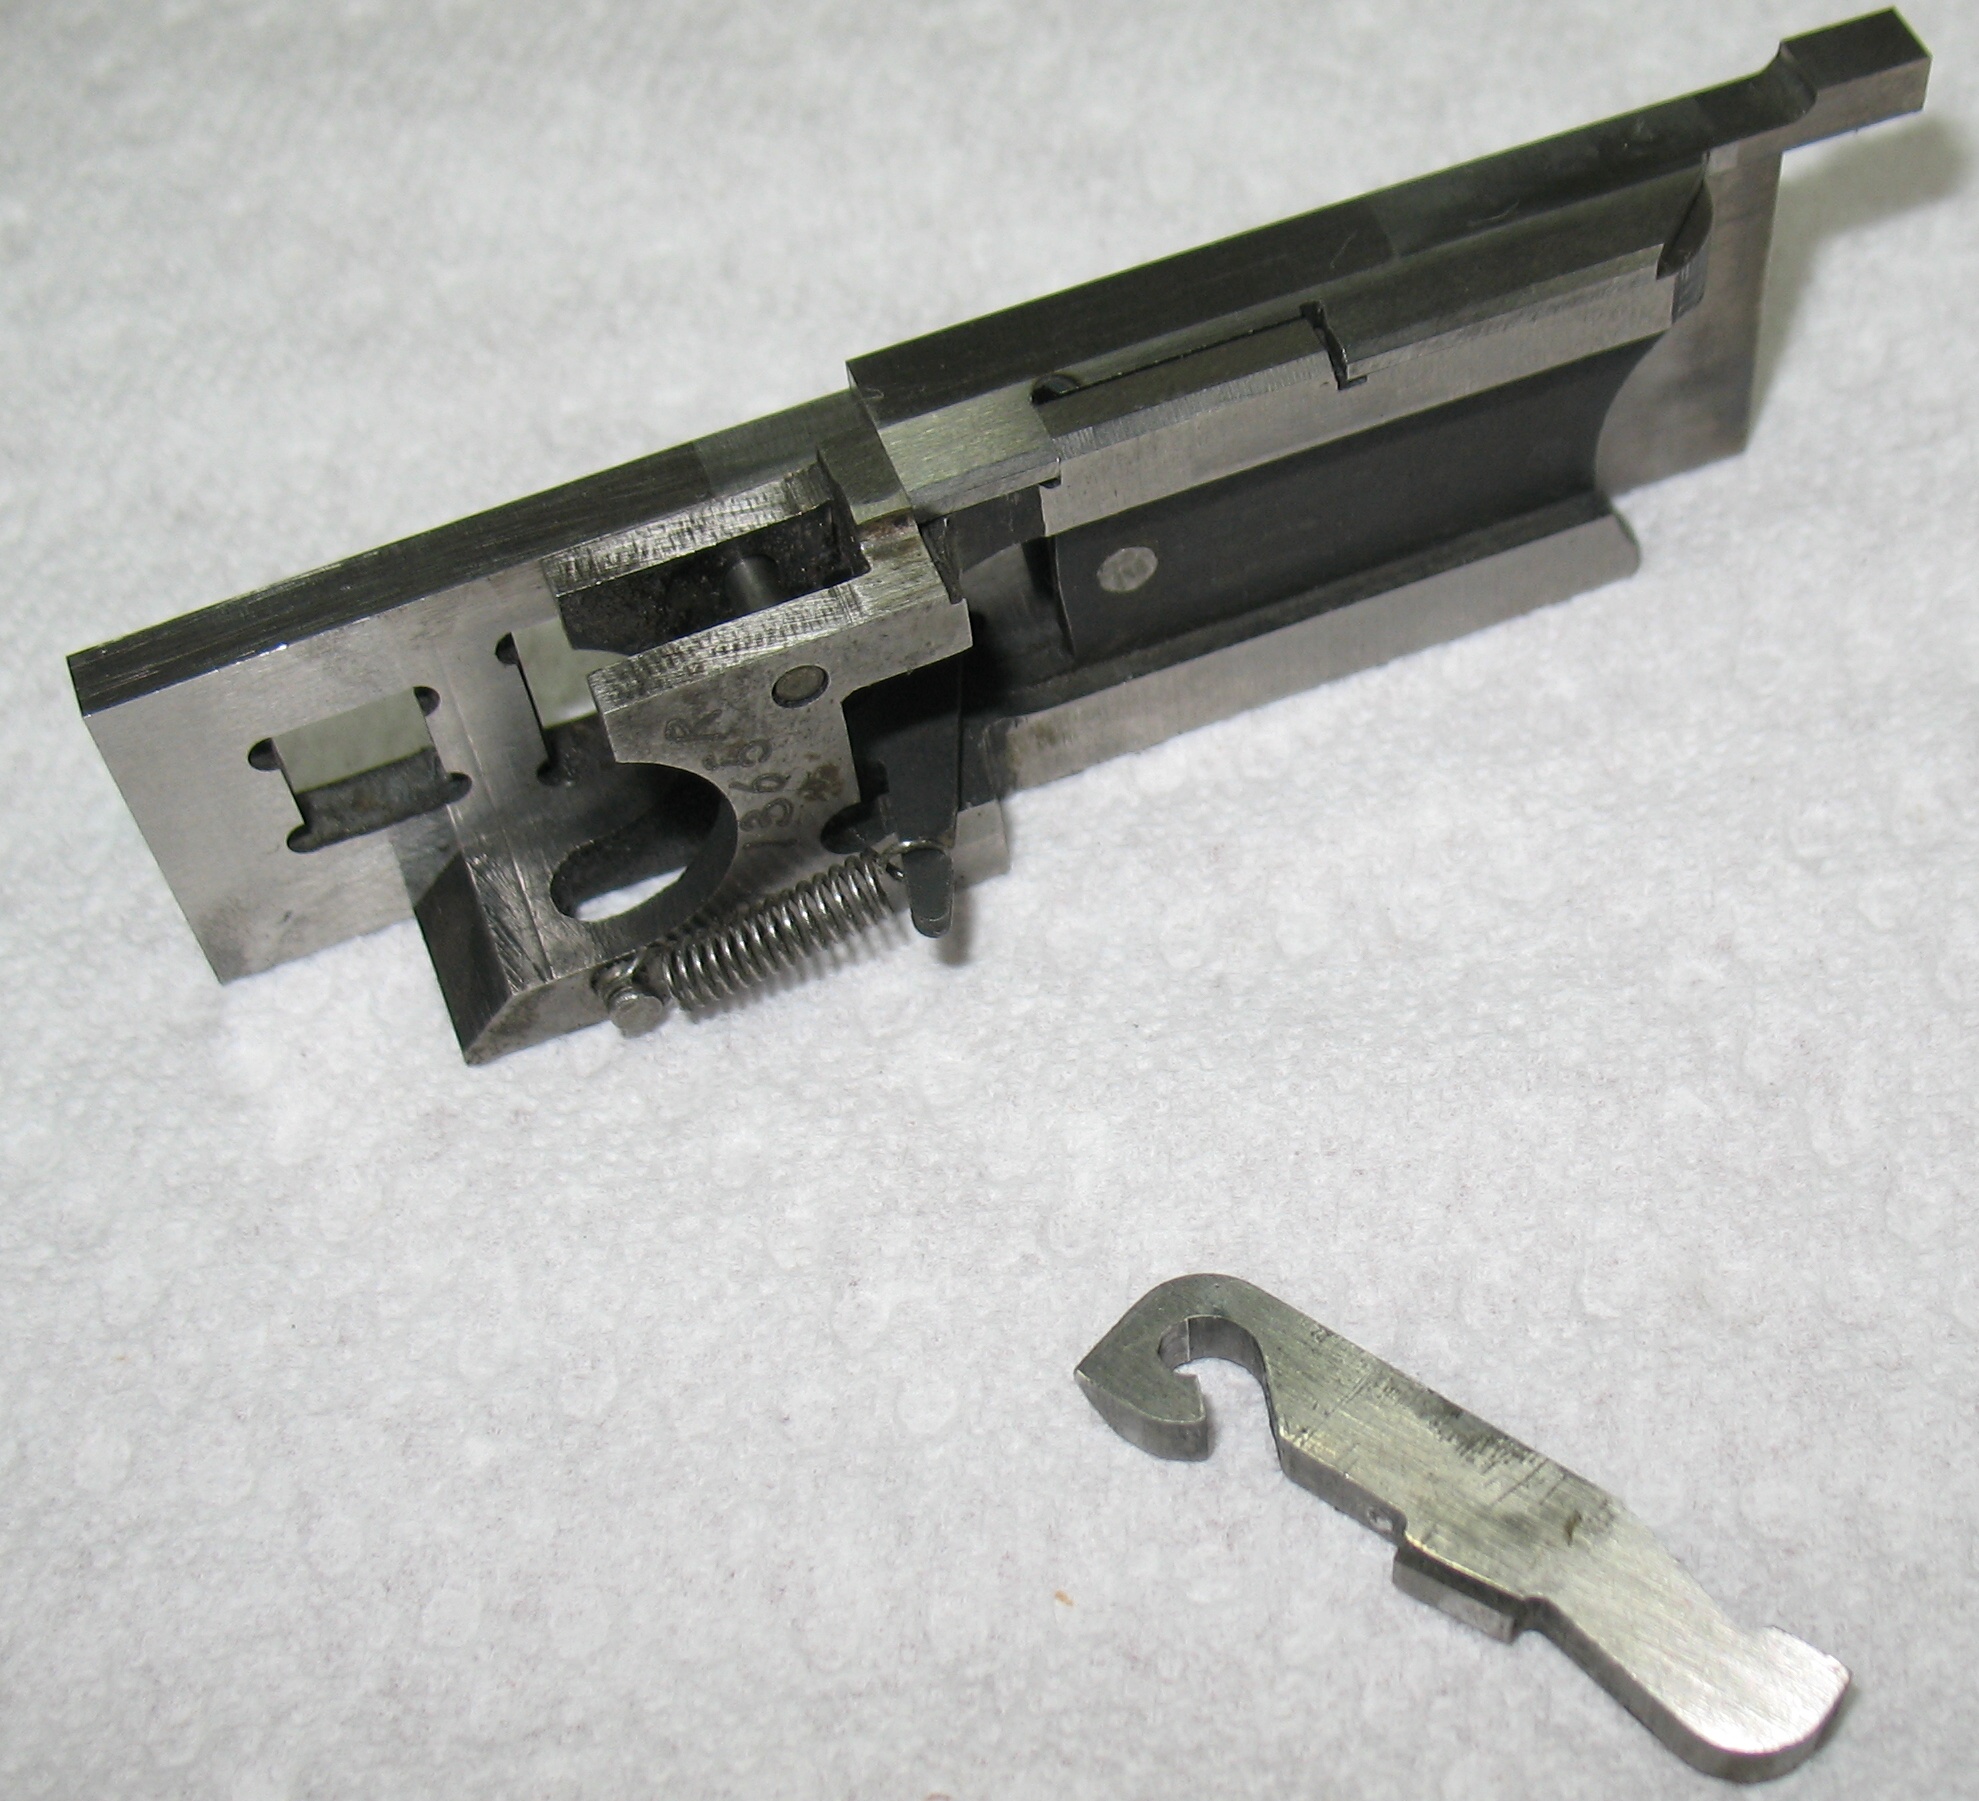 I have reassembled the blade, and it is shown on the left with the upper blade projecting beyond the lower blade, as if a very wide low space were to be cast. The lever cannot be installed until the blade is properly set into the mould.
Leave a Reply